The Ultimate Guide to 4x4 Suspension Maintenance for Lunar-Inspired Off-Road Adventures
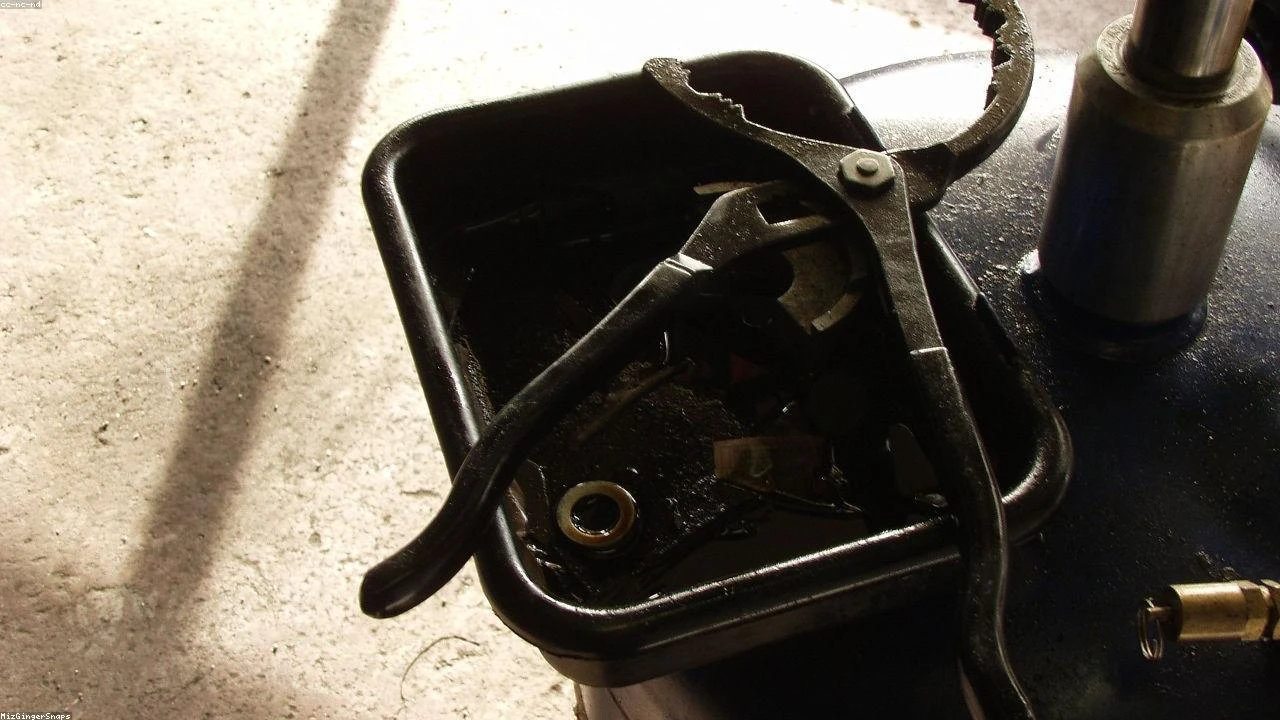
Table of Contents
- The Diagnostic / The Situation
- Technical Deep Dive
- Pre-Work Checklist
- Step-by-Step Guide
- Pro Tips & Common Mistakes
- Cost Analysis: DIY vs Mechanic
- Frequently Asked Questions
The Diagnostic / The Situation
The Apollo missions’ lunar rovers have inspired a new generation of off-road enthusiasts to push the limits of their 4x4 vehicles. However, the harsh conditions of off-road driving can take a toll on a vehicle’s suspension system. As a Master Jeep Mechanic and Off-road Engineer, I’ve seen firsthand the importance of proper suspension maintenance for extreme off-road adventures. In this guide, we’ll explore the technical background of 4x4 suspension systems, common failure points, and provide a step-by-step guide on how to maintain your suspension for lunar-inspired off-road adventures.
Technical Deep Dive
A 4x4 suspension system is designed to absorb shock, maintain stability, and provide traction on various terrain. The system consists of coil springs, shock absorbers, control arms, and steering components. Common failure points include worn-out ball joints, loose control arm bolts, and damaged coil springs. The lunar rovers’ suspension systems were designed to withstand the harsh conditions of the lunar surface, including extreme temperatures, rocky terrain, and low gravity. While our 4x4 vehicles may not face the same conditions, we can learn from the lunar rovers’ design principles to build a more robust suspension system.
🔧 Related Guides:
Pre-Work Checklist
At a Glance Table
| Difficulty | Time | Cost | DIY vs Shop |
|---|---|---|---|
| 3/5 | 4-6 hours | $500-$1000 | DIY (with experience) |
Tools Required
- 10mm Socket
- 12mm Socket
- Torque Wrench
- Ball joint separator
- Coil spring compressor
- Shock absorber compressor
Safety Warnings
- Always wear protective gear, including gloves and safety glasses, when working with suspension components.
- Ensure the vehicle is securely lifted and supported before starting work.
- Never attempt to repair or replace suspension components without proper training and experience.
Step-by-Step Guide
Step 1: Inspect the Suspension System
Inspect the suspension system for any signs of wear or damage, including worn-out ball joints, loose control arm bolts, and damaged coil springs.
Step 1.1: Check the Ball Joints
Use a ball joint separator to check the ball joints for any signs of wear or damage. If the ball joints are worn out, replace them with new ones.
Step 1.2: Check the Control Arm Bolts
Check the control arm bolts for any signs of looseness. If the bolts are loose, tighten them to the recommended torque specification.
Step 1.3: Check the Coil Springs
Use a coil spring compressor to check the coil springs for any signs of damage. If the coil springs are damaged, replace them with new ones.
Step 2: Replace the Shock Absorbers
Replace the shock absorbers with new ones, making sure to follow the recommended torque specification for the shock absorber mounts.
Step 2.1: Remove the Old Shock Absorbers
Use a shock absorber compressor to remove the old shock absorbers.
Step 2.2: Install the New Shock Absorbers
Install the new shock absorbers, making sure to follow the recommended torque specification for the shock absorber mounts.
Step 3: Align the Wheels
Align the wheels to ensure proper tracking and stability.
Step 3.1: Check the Camber
Check the camber to ensure it’s within the recommended specification.
Step 3.2: Check the Toe
Check the toe to ensure it’s within the recommended specification.
Step 3.3: Adjust the Alignment
Adjust the alignment as needed to ensure proper tracking and stability.
Pro Tips & Common Mistakes
- Always follow the recommended torque specification for suspension components to avoid damage or injury.
- Never attempt to repair or replace suspension components without proper training and experience.
- Use high-quality suspension components to ensure durability and performance.
Cost Analysis: DIY vs Mechanic
The cost of maintaining a 4x4 suspension system can vary depending on the components and labor involved. A DIY approach can save money on labor costs, but may require specialized tools and expertise. A mechanic’s labor cost can range from $500 to $1000, depending on the complexity of the job. The cost of parts can range from $500 to $1000, depending on the quality and brand of the components.
Frequently Asked Questions
- Q: What is the recommended torque specification for shock absorber mounts? A: The recommended torque specification for shock absorber mounts varies depending on the vehicle and suspension system. Consult the vehicle’s manual or a reputable repair manual for the recommended torque specification.
- Q: Can I use a coil spring compressor to check the coil springs? A: Yes, a coil spring compressor can be used to check the coil springs for any signs of damage.
- Q: How often should I inspect the suspension system? A: The suspension system should be inspected every 10,000 to 15,000 miles, or as recommended by the vehicle’s manufacturer.
- Q: Can I replace the shock absorbers myself? A: Yes, replacing the shock absorbers can be done DIY, but it requires specialized tools and expertise.
- Q: What are the common failure points of a 4x4 suspension system? A: The common failure points of a 4x4 suspension system include worn-out ball joints, loose control arm bolts, and damaged coil springs.
Reference: Technical analysis by Luca Romano (Restoration Specialist) based on reports from Jalopnik.