The Ultimate Guide to Anti-Seize Lubricant and Threadlocking Adhesives for Jeep Owners
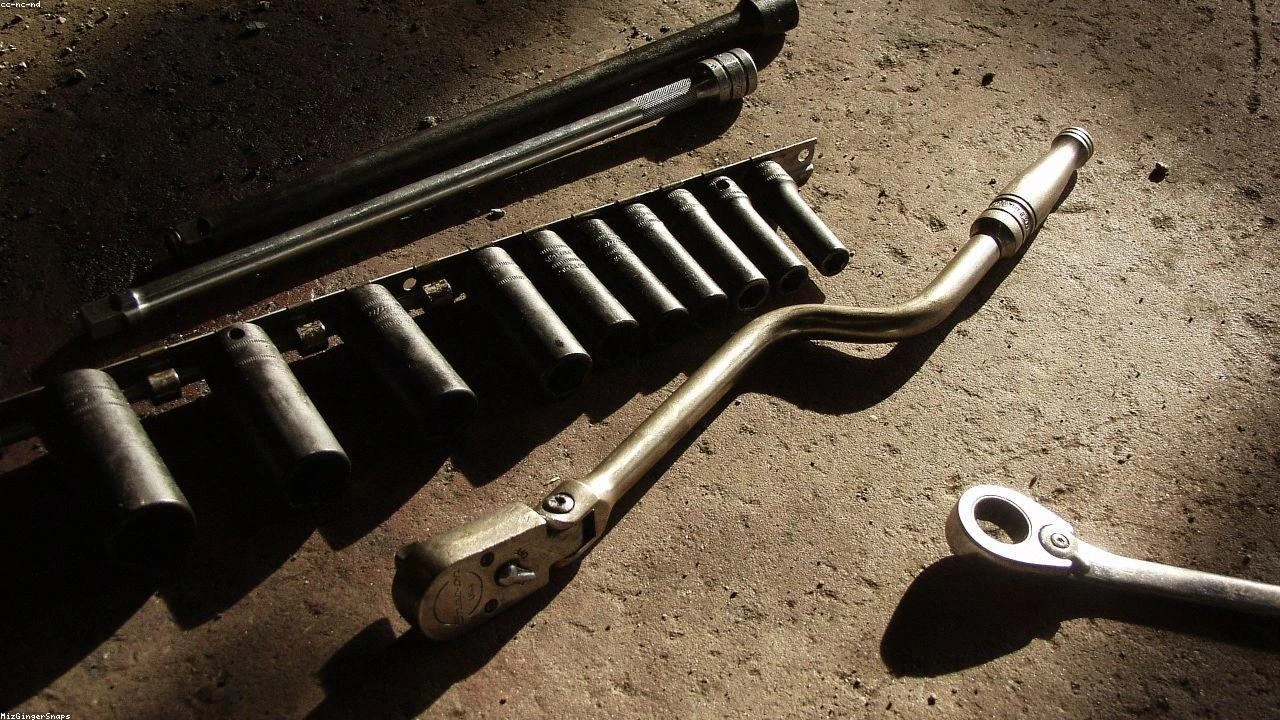
Table of Contents
- The Diagnostic / The Situation
- Technical Deep Dive
- Pre-Work Checklist
- Step-by-Step Guide
- Pro Tips & Common Mistakes
- Cost Analysis: DIY vs Mechanic
- Frequently Asked Questions
The Diagnostic / The Situation
As a seasoned Jeep mechanic, I’ve seen my fair share of bolt and thread-related issues. From loose bolts to stuck threads, these problems can be costly and time-consuming to fix. At the heart of these issues lies a fundamental misunderstanding: the difference between anti-seize lubricant and threadlocking adhesives. In this guide, we’ll delve into the technical background, symptoms, and signs to look out for, and provide a comprehensive overview of these two essential products.
Anti-seize lubricant and threadlocking adhesives are two distinct products with different purposes. Anti-seize lubricant, also known as thread lubricant, is designed to reduce friction between threads, preventing galling and seizing. Threadlocking adhesives, on the other hand, are designed to secure bolts and threads in place, preventing loosening due to vibration or other external forces.
🔧 Related Guides:
Symptoms of incorrect usage or mixing up these products include loose bolts, stuck threads, and even engine damage. For instance, using threadlocking adhesive on a bolt that requires anti-seize lubricant can lead to the bolt becoming stuck, making it difficult or impossible to remove.
Technical Deep Dive
To truly understand the difference between anti-seize lubricant and threadlocking adhesives, we need to dive into the technical aspects of each product.
Anti-seize lubricant works by creating a thin layer of lubrication between threads, reducing friction and preventing galling. This is especially important in high-temperature applications, such as engine bolts, where metal expansion and contraction can cause threads to seize.
Threadlocking adhesives, on the other hand, work by filling the microscopic gaps between threads, creating a strong bond that secures the bolt in place. This is especially important in applications where vibration or external forces can cause bolts to loosen over time.
Common failure points include using the wrong product for the job, inadequate application, or insufficient curing time. For example, using a low-strength threadlocking adhesive on a high-torque bolt can lead to the adhesive failing, causing the bolt to loosen.
Pre-Work Checklist
Before we dive into the step-by-step guide, let’s take a look at the pre-work checklist:
| Task | Difficulty | Time | Cost | DIY/Shop |
|---|---|---|---|---|
| Apply anti-seize lubricant | 2/5 | 10 minutes | $5 | DIY |
| Apply threadlocking adhesive | 3/5 | 15 minutes | $10 | DIY/Shop |
Tools Required
- 10mm socket
- Torque wrench
- Threadlocking adhesive applicator
- Anti-seize lubricant applicator
- Rag or cloth
Safety Warnings
- Always wear protective gloves and safety glasses when working with chemicals
- Ensure the work area is well-ventilated and free from ignition sources
- Follow the manufacturer’s instructions for application and curing times
Step-by-Step Guide
In this section, we’ll provide a comprehensive step-by-step guide on how to apply anti-seize lubricant and threadlocking adhesives correctly.
Applying Anti-Seize Lubricant
Step 1: Clean the Threads
Before applying anti-seize lubricant, ensure the threads are clean and free from debris. Use a rag or cloth to wipe down the threads, removing any dirt or grime.
Step 2: Apply Anti-Seize Lubricant
Using the anti-seize lubricant applicator, apply a thin, even layer of lubricant to the threads. Be careful not to over-apply, as this can attract dirt and debris.
Step 3: Assemble the Bolt
Once the lubricant is applied, assemble the bolt, ensuring it’s tightened to the recommended torque specification.
Applying Threadlocking Adhesive
Step 1: Clean the Threads
Before applying threadlocking adhesive, ensure the threads are clean and free from debris. Use a rag or cloth to wipe down the threads, removing any dirt or grime.
Step 2: Apply Threadlocking Adhesive
Using the threadlocking adhesive applicator, apply a small amount of adhesive to the threads. Be careful not to over-apply, as this can create a mess.
Step 3: Assemble the Bolt
Once the adhesive is applied, assemble the bolt, ensuring it’s tightened to the recommended torque specification.
Step 4: Allow Curing Time
Allow the adhesive to cure for the recommended time, usually several hours or overnight, before putting the bolt under load.
Pro Tips & Common Mistakes
In this section, we’ll provide some pro tips and common mistakes to avoid when working with anti-seize lubricant and threadlocking adhesives.
- Always follow the manufacturer’s instructions for application and curing times
- Use the correct product for the job – don’t mix up anti-seize lubricant and threadlocking adhesives
- Ensure the threads are clean and free from debris before applying either product
- Don’t over-apply either product, as this can create a mess or attract dirt and debris
Cost Analysis: DIY vs Mechanic
In this section, we’ll provide a cost analysis of DIY vs mechanic labor costs.
- DIY: $5-$10 (depending on the product and application)
- Mechanic: $50-$100 (depending on the labor rate and application)
As you can see, DIY is significantly cheaper than hiring a mechanic. However, if you’re not comfortable with the application process or don’t have the necessary tools, it’s always best to consult a professional mechanic.
Frequently Asked Questions
In this section, we’ll answer some frequently asked questions about anti-seize lubricant and threadlocking adhesives.
- Q: What’s the difference between anti-seize lubricant and threadlocking adhesive? A: Anti-seize lubricant is designed to reduce friction between threads, while threadlocking adhesive is designed to secure bolts and threads in place.
- Q: Can I use anti-seize lubricant on all bolts? A: No, anti-seize lubricant is not recommended for all bolts. Some bolts require threadlocking adhesive to secure them in place.
- Q: How long does threadlocking adhesive take to cure? A: Threadlocking adhesive usually takes several hours or overnight to cure, depending on the product and application.
- Q: Can I use threadlocking adhesive on loose bolts? A: No, threadlocking adhesive is not recommended for loose bolts. Instead, use anti-seize lubricant to reduce friction and secure the bolt.
- Q: What’s the best way to remove stuck threads? A: The best way to remove stuck threads is to use a thread lubricant and a breaker bar or impact wrench. Avoid using force or heat, as this can damage the threads or surrounding material.
Reference: Technical analysis by Marcus Reynolds (Suspension Engineer) based on reports from Jalopnik.