The Ultimate Guide to Building and Maintaining a Street-Legal Buggy
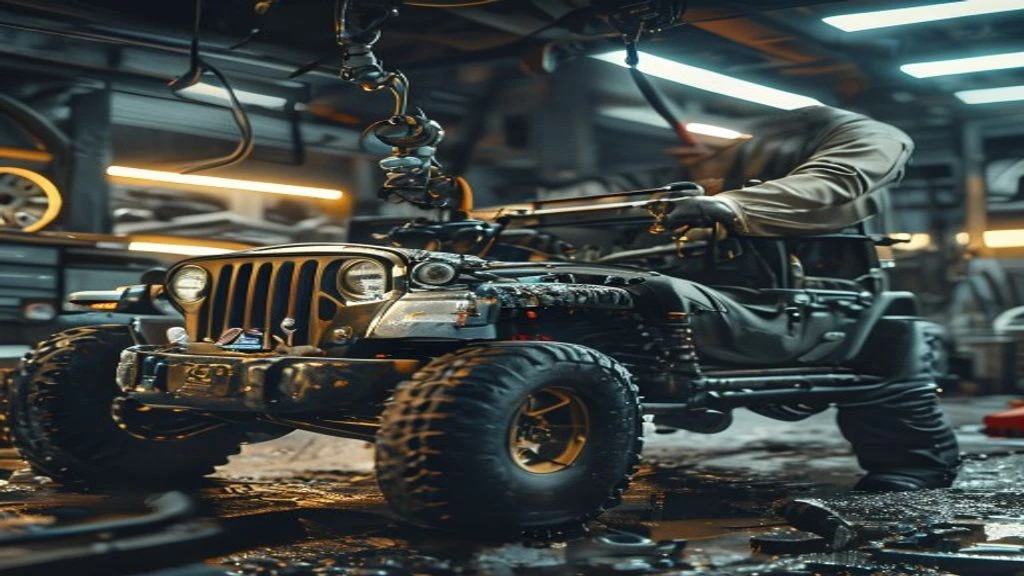
Table of Contents
- The Diagnostic / The Situation
- Technical Deep Dive
- Pre-Work Checklist
- Step-by-Step Guide
- Pro Tips & Common Mistakes
- Cost Analysis: DIY vs Mechanic
- Frequently Asked Questions
The Diagnostic / The Situation
When it comes to building or maintaining a street-legal buggy, there are several factors to consider. The buggy’s engine, suspension, and electrical systems must all be designed and built to withstand the rigors of on-road driving, while also providing the necessary power and control for off-road excursions. One of the most critical systems in a street-legal buggy is the braking system, which must be capable of safely slowing the vehicle down from high speeds. Symptoms of a faulty braking system can include spongy brake pedals, excessive brake noise, or a decrease in stopping power.
Technical Deep Dive
A street-legal buggy’s braking system typically consists of a combination of disc and drum brakes, with the disc brakes located on the front wheels and the drum brakes on the rear wheels. The disc brakes use a rotor and caliper to apply friction to the wheel, while the drum brakes use a drum and shoe to apply friction to the wheel. The braking system is controlled by a master cylinder, which converts non-hydraulic pressure from the brake pedal into hydraulic pressure to apply the brakes. Common failure points in a street-legal buggy’s braking system include the brake pads, rotors, and master cylinder.
🔧 Related Guides:
Pre-Work Checklist
At a Glance Table
| Difficulty | Time | Cost | DIY vs Shop |
|---|---|---|---|
| 4/5 | 10-20 hours | $1,000-$3,000 | DIY (with experience) |
Tools Required
- 10mm socket
- 12mm socket
- Torque wrench
- Brake bleeding kit
- Safety glasses
- Gloves
Safety Warnings
When working on a street-legal buggy’s braking system, it is essential to follow proper safety protocols to avoid injury. Always wear safety glasses and gloves when working with power tools or handling brake components. Make sure the vehicle is securely supported by jack stands and apply the parking brake before starting work.
Step-by-Step Guide
Step 1: Inspect the Braking System
Inspect the braking system for any signs of wear or damage, including worn brake pads, warped rotors, or leaks in the brake lines.
Step 1.1: Remove the Wheels
Remove the wheels to access the braking system. Use a 10mm socket to loosen the lug nuts, then raise the vehicle using a jack and remove the lug nuts.
Step 1.2: Inspect the Brake Pads
Inspect the brake pads for wear. If the brake pads are worn down to less than 1/8 inch, they must be replaced.
Step 2: Replace the Brake Pads
Replace the brake pads with new ones. Use a 12mm socket to loosen the caliper bolts, then slide the caliper off the rotor.
Step 2.1: Remove the Old Brake Pads
Remove the old brake pads from the caliper. Use a screwdriver to pry the pads out of the caliper.
Step 2.2: Install the New Brake Pads
Install the new brake pads into the caliper. Make sure the pads are properly seated and the caliper is securely bolted to the rotor.
Step 3: Bleed the Braking System
Bleed the braking system to remove any air that may have entered the system during the repair. Use a brake bleeding kit to pump brake fluid through the system and remove any air bubbles.
Step 3.1: Attach the Bleeding Kit
Attach the bleeding kit to the master cylinder. Use a 10mm socket to loosen the master cylinder reservoir cap.
Step 3.2: Pump the Brake Fluid
Pump the brake fluid through the system, starting with the wheel furthest from the master cylinder. Use a screwdriver to open the bleeder valve and allow the brake fluid to flow out.
Pro Tips & Common Mistakes
When working on a street-legal buggy’s braking system, it is essential to avoid common mistakes that can lead to decreased braking performance or even failure. One common mistake is not properly bleeding the braking system, which can lead to air bubbles in the system and decreased braking power. Another common mistake is not properly torquing the brake caliper bolts, which can lead to uneven brake wear and decreased braking performance.
Cost Analysis: DIY vs Mechanic
The cost of repairing a street-legal buggy’s braking system can vary depending on the extent of the repair and the labor costs involved. If the repair is done DIY, the cost can range from $500 to $1,500, depending on the cost of the brake pads, rotors, and other components. If the repair is done by a mechanic, the cost can range from $1,000 to $3,000, depending on the labor costs and the cost of the components.
Frequently Asked Questions
- Q: What is the most common cause of brake failure in a street-legal buggy? A: The most common cause of brake failure in a street-legal buggy is worn brake pads or warped rotors.
- Q: How often should I inspect my street-legal buggy’s braking system? A: You should inspect your street-legal buggy’s braking system every 10,000 to 15,000 miles, or as recommended by the manufacturer.
- Q: Can I use regular brake fluid in my street-legal buggy’s braking system? A: No, you should use a high-performance brake fluid that is specifically designed for off-road use.
- Q: How do I know if my street-legal buggy’s braking system is properly bled? A: You can check the braking system for proper bleeding by pumping the brake pedal several times and checking for any air bubbles in the system.
- Q: Can I repair my street-legal buggy’s braking system myself, or do I need to take it to a mechanic? A: If you have experience working on braking systems, you can repair your street-legal buggy’s braking system yourself. However, if you are not experienced, it is recommended that you take it to a mechanic to avoid any potential safety risks.
Reference: Technical analysis by Dave Harsya (Certified 4x4 Mechanic) based on reports from Motor1 News.