The Ultimate Guide to Control Arms: Maintenance Masterclass for Jeep Owners
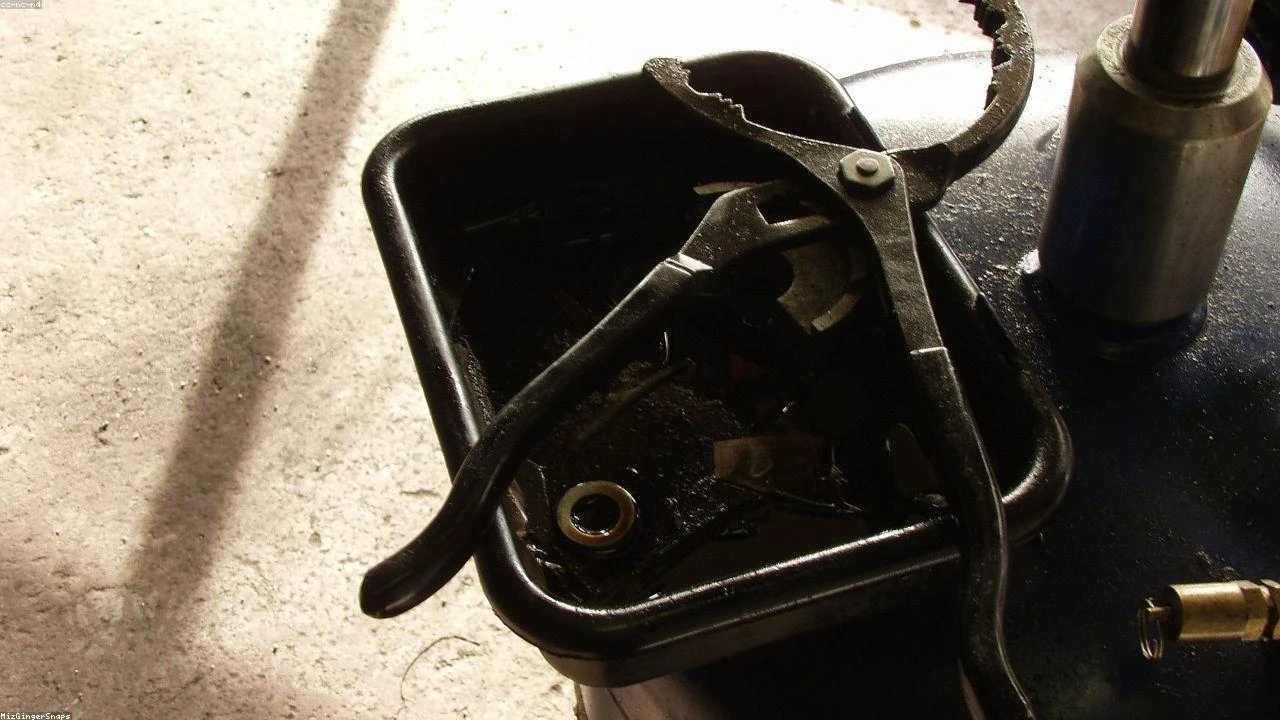
Table of Contents
- The Diagnostic / The Situation
- Technical Deep Dive
- Pre-Work Checklist
- Step-by-Step Guide
- Pro Tips & Common Mistakes
- Cost Analysis: DIY vs Mechanic
- Frequently Asked Questions
The Diagnostic / The Situation
Control arms are a crucial component of your Jeep’s suspension system, responsible for maintaining the stability and alignment of the wheels. Worn-out or damaged control arms can lead to a range of problems, from uneven tire wear to compromised handling and safety. As a Jeep owner, it’s essential to be aware of the warning signs that indicate your control arms need to be replaced.
Symptoms of failing control arms may include:
- Clunking or rattling noises from the suspension
- Vibrations or wobbling while driving
- Uneven tire wear or feathering
- Loose or sloppy steering
- Increased wear on other suspension components
🔧 Related Guides:
Technical Deep Dive
The control arms in your Jeep are designed to connect the suspension to the frame, allowing for smooth movement and articulation. The control arms are typically made up of a ball joint at one end and a bushing or pivot point at the other. Over time, these components can wear out, leading to play in the suspension and compromised stability.
Common failure points in control arms include:
- Worn-out ball joints: The plastic or rubber components in the ball joint can deteriorate, causing looseness and play in the suspension.
- Damaged or loose bushings: The bushings or pivot points can become worn or damaged, leading to increased movement and stress on other suspension components.
- Bent or damaged control arm shafts: The control arm shafts can become bent or damaged, compromising the stability and alignment of the suspension.
Pre-Work Checklist
At a Glance Table
| Task | Difficulty | Time | Cost | DIY vs Shop |
|---|---|---|---|---|
| Inspect control arms | 2 | 1 hour | $0 | DIY |
| Replace control arms | 4 | 4-6 hours | $500-$1000 | Shop |
| Align suspension | 3 | 2 hours | $100-$300 | Shop |
Tools Required
- 10mm socket
- 12mm socket
- 14mm socket
- Torque wrench
- Ball joint separator
- Bushing puller
- Control arm shaft remover
Safety Warnings
- Always raise the vehicle on a level surface and support it with jack stands before working underneath.
- Wear protective gloves and eyewear when working with power tools and suspension components.
- Never drive a vehicle with compromised suspension or control arms, as this can lead to loss of control and accidents.
Step-by-Step Guide
Inspecting the Control Arms
Step 1: Raise the Vehicle
Raise the vehicle on a level surface and support it with jack stands. Remove the wheels to access the control arms.
Step 2: Inspect the Ball Joints
Use a ball joint separator to inspect the ball joints for wear or damage. Check for any play or looseness in the joint.
Step 3: Inspect the Bushings
Use a bushing puller to inspect the bushings or pivot points for wear or damage. Check for any play or looseness in the bushing.
Replacing the Control Arms
Step 1: Remove the Old Control Arms
Use a control arm shaft remover to remove the old control arms from the suspension. Be careful not to damage the surrounding components.
Step 2: Install the New Control Arms
Install the new control arms, making sure to torque the bolts to the specified value (typically 40-50 Nm or 30-40 ft-lbs).
Step 3: Align the Suspension
Use a suspension alignment tool to align the suspension and ensure proper tracking and toe-in. This may require adjusting the control arms or other suspension components.
Pro Tips & Common Mistakes
- Don’t neglect to inspect the control arms regularly, as worn-out components can lead to more extensive and costly repairs down the line.
- Use the correct tools and techniques when working with suspension components, as improper installation or removal can damage surrounding parts.
- Consider upgrading to heavy-duty or aftermarket control arms for improved durability and performance.
Cost Analysis: DIY vs Mechanic
The cost of replacing control arms can vary depending on the type and quality of the components, as well as labor costs. On average, the cost of DIY replacement can range from $500 to $1000, while shop labor costs can add an additional $200 to $500.
Frequently Asked Questions
- Q: How often should I inspect my control arms? A: It’s recommended to inspect your control arms every 12,000 to 15,000 miles, or as part of your regular maintenance schedule.
- Q: Can I replace my control arms myself? A: Yes, but it’s recommended to have experience working with suspension components and to use the correct tools and techniques to avoid damaging surrounding parts.
- Q: What are the consequences of neglecting to replace worn-out control arms? A: Neglecting to replace worn-out control arms can lead to compromised stability and safety, uneven tire wear, and increased wear on other suspension components.
- Q: Can I upgrade my control arms to heavy-duty or aftermarket components? A: Yes, upgrading to heavy-duty or aftermarket control arms can improve durability and performance, but be sure to consult with a qualified mechanic or suspension specialist to ensure proper installation and alignment.
- Q: How do I know if my control arms are worn out or damaged? A: Look for symptoms such as clunking or rattling noises, vibrations or wobbling, uneven tire wear, or loose or sloppy steering. Inspect the control arms regularly to catch any potential issues before they become major problems.
Reference: Technical analysis by Marcus Reynolds (Suspension Engineer) based on reports from Jalopnik.