The Ultimate Guide to Customizing Your Jeep's Interior and Exterior: A Masterclass
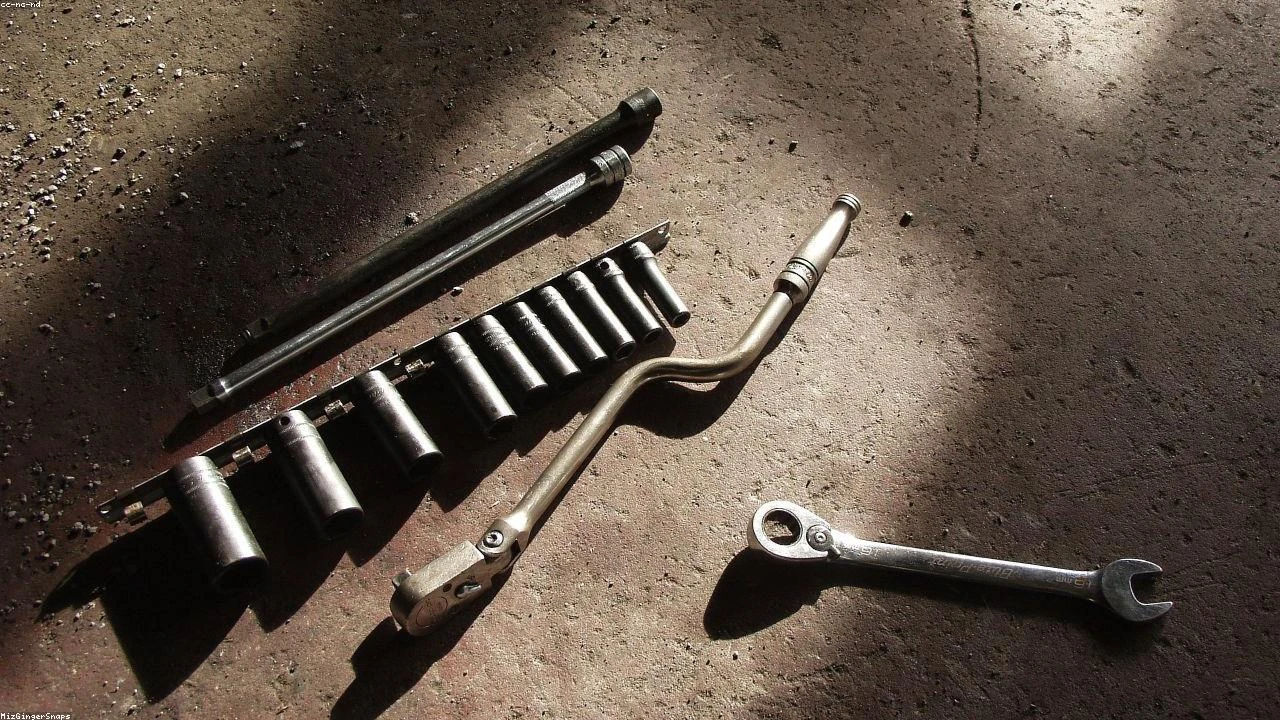
Table of Contents
- The Diagnostic / The Situation
- Technical Deep Dive
- Pre-Work Checklist
- Step-by-Step Guide
- Pro Tips & Common Mistakes
- Cost Analysis: DIY vs Mechanic
- Frequently Asked Questions
The Diagnostic / The Situation
When it comes to customizing a Jeep, the possibilities are endless. Whether you’re looking to upgrade the interior, exterior, or both, it’s essential to have a clear understanding of the technical aspects involved. In this guide, we’ll delve into the world of Jeep customization, focusing on the Capricorn 01 ‘Tutto Rosso’ as our inspiration. This one-of-a-kind manual supercar features a stunning red hue on 95 percent of its surfaces, making it a true monotone masterpiece.
🔧 Related Guides:
To achieve a similar look with your Jeep, you’ll need to consider the various components that make up the vehicle’s interior and exterior. From the dashboard and seats to the body panels and trim, every element plays a crucial role in creating a cohesive and visually appealing design. In this section, we’ll explore the technical background of Jeep customization, including the symptoms or signs to look for when determining which areas of your vehicle require attention.
Technical Deep Dive
The system of customizing a Jeep’s interior and exterior is complex, involving various mechanical, electrical, and aesthetic components. To start, let’s examine how the interior and exterior systems work. The interior consists of the dashboard, seats, trim, and other components, while the exterior comprises the body panels, bumpers, and other external features.
Common failure points in Jeep customization include:
- Inconsistent color matching between interior and exterior components
- Poorly fitted or installed trim and body panels
- Inadequate electrical wiring and connections for custom lighting and accessories
- Insufficient structural reinforcement for heavy-duty off-road use
In the case of the Capricorn 01 ‘Tutto Rosso’, the monotone red design is achieved through a combination of carefully selected materials and meticulous attention to detail. To replicate this look with your Jeep, you’ll need to consider the following technical aspects:
- Color matching and selection
- Material choice and quality
- Installation and fitting techniques
- Electrical and structural considerations
Pre-Work Checklist
Before embarking on your Jeep customization project, it’s essential to assess the task at hand and prepare accordingly. Here’s a summary of the key factors to consider:
| Difficulty | Time | Cost | DIY vs Shop |
|---|---|---|---|
| 4/5 | 40-60 hours | $5,000-$10,000 | DIY (with experience) |
Tools Required
To complete your Jeep customization project, you’ll need the following tools:
- 10mm socket
- Torque wrench
- Drill press
- Jigsaw or bandsaw
- Sandpaper and polishing compounds
- Paint and primer
- Electrical wiring and connectors
- Trim and body panel installation tools
Safety Warnings
When working on your Jeep’s interior and exterior, it’s crucial to prioritize safety. Be aware of the following hazards:
- Electrical shock from improperly installed wiring and connections
- Cuts and injuries from sharp edges and tools
- Chemical exposure from paint, primer, and other materials
- Structural damage from inadequate reinforcement or installation techniques
Step-by-Step Guide
This section will provide a detailed, step-by-step guide to customizing your Jeep’s interior and exterior. We’ll cover the following major steps:
Step 1: Planning and Design
Step 1.1: Determine Your Budget and Goals
Define your budget and the scope of your project. Consider the materials, tools, and labor required to achieve your desired outcome.
Step 1.2: Choose Your Color Scheme and Materials
Select a color scheme and materials that complement your Jeep’s style and your personal preferences. Consider factors like durability, maintenance, and aesthetics.
Step 1.3: Create a Detailed Design Plan
Develop a comprehensive design plan, including sketches, diagrams, and specifications for each component. This will help you visualize the final result and ensure a cohesive design.
Step 2: Disassembly and Preparation
Step 2.1: Remove Interior and Exterior Components
Carefully disassemble the interior and exterior components, taking note of the electrical, mechanical, and structural connections.
Step 2.2: Clean and Prepare Surfaces
Thoroughly clean and prepare the surfaces for painting, trimming, or installing new components. This includes sanding, polishing, and applying primer as needed.
Step 2.3: Install Electrical and Structural Components
Install any necessary electrical or structural components, such as wiring, connectors, or reinforcement brackets.
Step 3: Painting and Coating
Step 3.1: Apply Primer and Paint
Apply primer and paint to the designated surfaces, following the manufacturer’s instructions and recommended techniques.
Step 3.2: Allow Paint to Cure
Allow the paint to cure according to the manufacturer’s specifications, ensuring a durable and long-lasting finish.
Step 3.3: Apply Clear Coat or Protective Layer
Apply a clear coat or protective layer to seal and protect the paint, if desired.
Step 4: Reassembly and Installation
Step 4.1: Reinstall Interior and Exterior Components
Reinstall the interior and exterior components, ensuring proper fitment and alignment.
Step 4.2: Connect Electrical and Mechanical Systems
Connect the electrical and mechanical systems, verifying proper function and performance.
Step 4.3: Inspect and Test the Vehicle
Inspect the vehicle for any defects or issues, and test the systems to ensure proper operation.
Pro Tips & Common Mistakes
To achieve a professional-looking result, consider the following pro tips and common mistakes to avoid:
- Use high-quality materials and tools to ensure durability and precision.
- Plan and design carefully to avoid costly mistakes or rework.
- Follow proper installation and fitting techniques to prevent damage or poor fitment.
- Don’t neglect to consider electrical and structural aspects, as these can impact safety and performance.
Cost Analysis: DIY vs Mechanic
The cost of customizing your Jeep’s interior and exterior can vary widely, depending on the scope of the project and the materials used. Here’s a breakdown of the estimated costs:
- DIY (with experience): $5,000-$10,000
- Mechanic or shop: $10,000-$20,000 or more
Frequently Asked Questions
Here are five detailed FAQs relevant to Jeep customization:
Q: What’s the best way to match the color of my Jeep’s interior and exterior components? A: Use a color matching system or consult with a professional to ensure accurate color matching.
Q: Can I customize my Jeep’s electrical system myself, or should I hire a professional? A: While it’s possible to customize your Jeep’s electrical system yourself, it’s recommended to hire a professional if you’re not experienced with electrical work.
Q: How do I ensure proper fitment and alignment of my Jeep’s body panels and trim? A: Use proper installation and fitting techniques, and consider consulting with a professional if you’re unsure.
Q: What’s the best material to use for my Jeep’s interior and exterior components? A: The best material depends on your specific needs and preferences. Consider factors like durability, maintenance, and aesthetics when selecting materials.
Q: Can I customize my Jeep’s structural components, such as the frame or suspension? A: While it’s possible to customize your Jeep’s structural components, it’s essential to prioritize safety and consult with a professional to ensure proper design and installation.
Reference: Technical analysis by Ben Foster (Trail Recovery Instructor) based on reports from Motor1 News.