The Ultimate Guide to Customizing Your Mini Cooper: A Technical Prep Guide
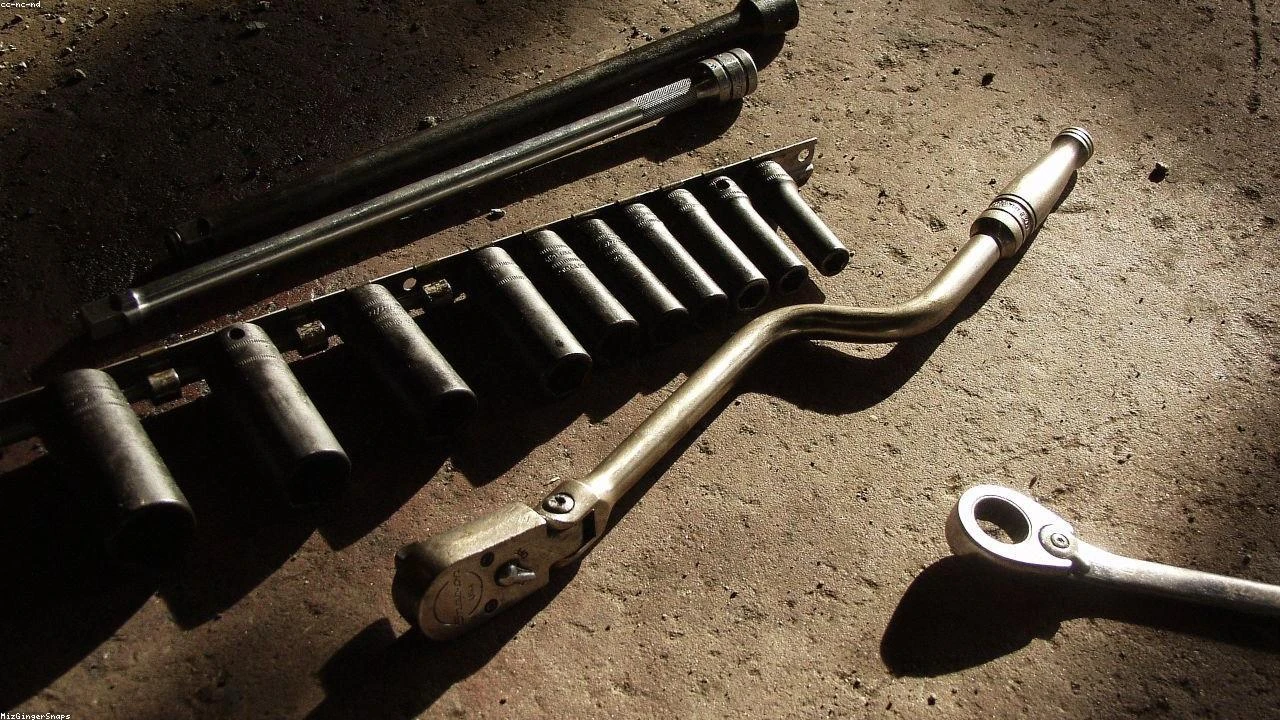
Table of Contents
- The Diagnostic / The Situation
- Technical Deep Dive
- Pre-Work Checklist
- Step-by-Step Guide
- Pro Tips & Common Mistakes
- Cost Analysis: DIY vs Mechanic
- Frequently Asked Questions
The Diagnostic / The Situation
The Mini Cooper is a vehicle known for its unique style and personality. However, some owners may want to add their own personal touch to the vehicle. The Paul Smith Edition is a great example of how a designer’s touch can elevate the Mini Cooper’s style. But what if you want to add your own custom touches? In this guide, we will explore the technical aspects of customizing your Mini Cooper.
Technical Deep Dive
The Mini Cooper’s design is centered around its sleek and compact body. The vehicle’s chassis and suspension are designed to provide a smooth and agile driving experience. When customizing your Mini Cooper, it’s essential to understand how the various components work together. The engine, transmission, and suspension are all interconnected, and making changes to one component can affect the others.
🔧 Related Guides:
Pre-Work Checklist
At a Glance Table
| Difficulty | Time | Cost | DIY vs Shop |
|---|---|---|---|
| 3/5 | 10-20 hours | $1,000-$3,000 | DIY (with experience) |
Tools Required
- 10mm Socket
- Torque Wrench
- Drill Press
- Sandpaper
- Paint and primer
Safety Warnings
- Always wear protective gear, including gloves and safety glasses, when working with power tools.
- Make sure the vehicle is on a level surface and apply the parking brake before starting work.
Step-by-Step Guide
Step 1: Planning and Design
Step 1.1: Determine the scope of the project
Decide what aspects of the vehicle you want to customize. This could include the interior, exterior, or performance.
Step 1.2: Research and gather inspiration
Look for inspiration online, in magazines, or at car shows. Take note of the designs and features that you like.
Step 1.3: Create a budget and timeline
Determine how much you are willing to spend and how long you have to complete the project.
Step 2: Exterior Customization
Step 2.1: Choose a color scheme
Select a color scheme that reflects your personality and style. Consider the vehicle’s original color and how it will look with the new design.
Step 2.2: Apply paint and primer
Use a high-quality paint and primer to ensure a smooth and durable finish. Apply multiple coats, allowing each coat to dry before applying the next.
Step 2.3: Install custom decals and stripes
Use a vinyl cutter or have a professional apply custom decals and stripes to the vehicle.
Step 3: Interior Customization
Step 3.1: Choose interior materials
Select materials that reflect your style and personality. Consider the vehicle’s original interior and how it will look with the new design.
Step 3.2: Install custom seats and upholstery
Use a high-quality upholstery kit or have a professional install custom seats and upholstery.
Step 3.3: Add custom trim and accents
Use a vinyl cutter or have a professional apply custom trim and accents to the vehicle’s interior.
Step 4: Performance Upgrades
Step 4.1: Choose performance upgrades
Select upgrades that reflect your driving style and needs. Consider the vehicle’s original performance and how it will be affected by the upgrades.
Step 4.2: Install a cold air intake
Use a high-quality cold air intake kit to improve the vehicle’s performance.
Step 4.3: Install a performance exhaust system
Use a high-quality performance exhaust system to improve the vehicle’s performance.
Pro Tips & Common Mistakes
- Don’t over-accessorize the vehicle. Too many custom features can make the vehicle look cluttered and overwhelming.
- Make sure to follow proper installation procedures to avoid damaging the vehicle’s components.
- Consider seeking professional help if you are unsure about any aspect of the customization process.
Cost Analysis: DIY vs Mechanic
The cost of customizing your Mini Cooper can vary widely, depending on the scope of the project. Here is a breakdown of the estimated costs:
- DIY: $1,000-$3,000
- Mechanic: $2,000-$5,000
Frequently Asked Questions
- Q: What is the best way to customize my Mini Cooper’s exterior? A: The best way to customize your Mini Cooper’s exterior is to choose a color scheme that reflects your personality and style. Consider the vehicle’s original color and how it will look with the new design.
- Q: How do I install custom decals and stripes on my Mini Cooper? A: Use a vinyl cutter or have a professional apply custom decals and stripes to the vehicle.
- Q: What are the benefits of customizing my Mini Cooper’s interior? A: Customizing your Mini Cooper’s interior can improve the vehicle’s comfort and style. It can also increase the vehicle’s resale value.
- Q: How do I choose the right performance upgrades for my Mini Cooper? A: Consider the vehicle’s original performance and how it will be affected by the upgrades. Select upgrades that reflect your driving style and needs.
- Q: Can I customize my Mini Cooper myself, or do I need to hire a professional? A: It depends on the scope of the project and your level of experience. If you are unsure about any aspect of the customization process, it’s best to seek professional help.
Reference: Technical analysis by Luca Romano (Restoration Specialist) based on reports from Jalopnik.