The Ultimate Guide to Debadging Your Jeep: A Masterclass
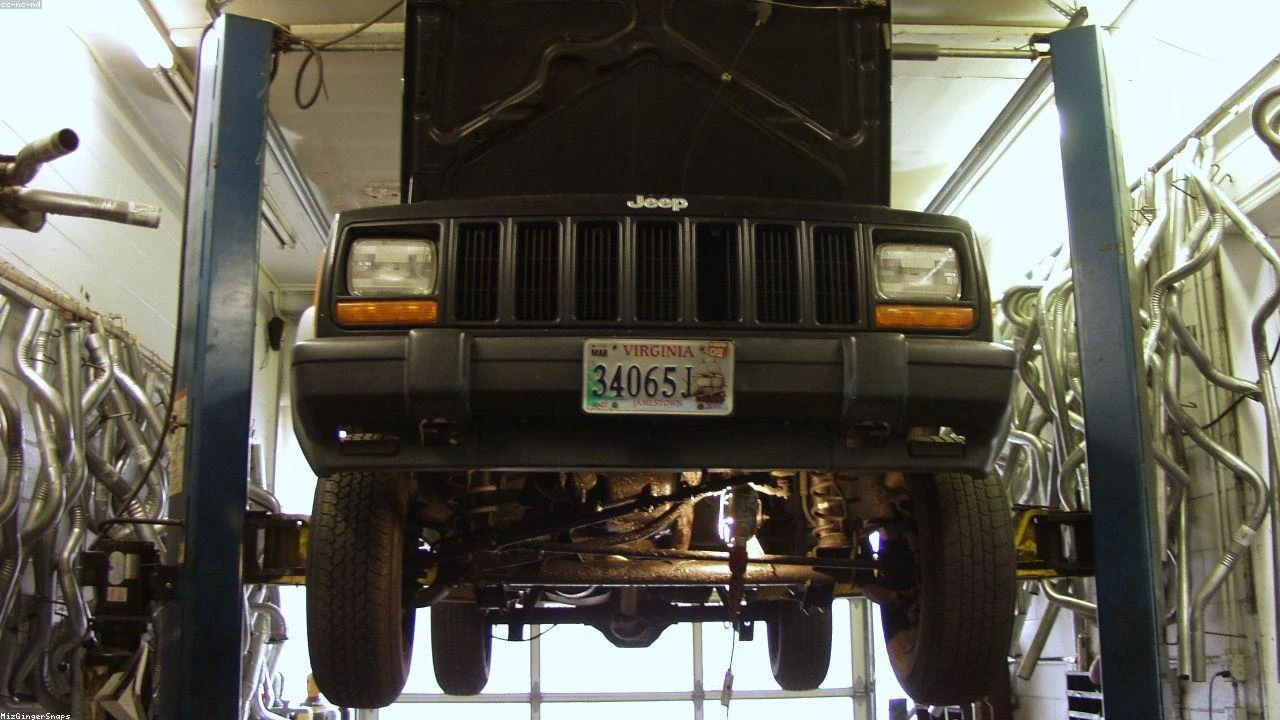
Table of Contents
- The Diagnostic / The Situation
- Technical Deep Dive
- Pre-Work Checklist
- Step-by-Step Guide
- Pro Tips & Common Mistakes
- Cost Analysis: DIY vs Mechanic
- Frequently Asked Questions
The Diagnostic / The Situation
Debadging a Jeep can be a great way to give it a sleek, stylish, and stealthy look. However, before removing the badges, it’s essential to understand the process and the potential risks involved. The badges on a Jeep are not just for aesthetics; they also serve as a way to identify the vehicle’s make, model, and trim level. Removing them can make it difficult to determine the vehicle’s specifications, which can be a problem if you need to order replacement parts or perform repairs.
Symptoms or signs to look for before debadging your Jeep include:
🔧 Related Guides:
- Faded or damaged badges that need to be replaced
- A desire to give your Jeep a unique, customized look
- The need to remove badges to access underlying components for repair or maintenance
Technical Deep Dive
The badges on a Jeep are typically held in place by adhesive or screws. The type of badge and its location on the vehicle will determine the best method for removal. For example, the Jeep logo on the grille is usually held in place by screws, while the trim level badges on the side panels are often adhesive.
Common failure points to watch out for when debadging your Jeep include:
- Damaged paint or clear coat from using the wrong removal techniques
- Broken or stripped screws from using excessive force
- Residual adhesive left behind after removing the badge
Pre-Work Checklist
At a Glance Table
| Difficulty | Time | Cost | DIY vs Shop |
|---|---|---|---|
| 2/5 | 1-2 hours | $20-$50 | DIY |
Tools Required
- Plastic trim removal tools
- Torx screwdriver (for some models)
- Adhesive remover (such as Goo Gone or 3M Adhesive Remover)
- Soft cloth or paper towels
- Masking tape (for protecting surrounding surfaces)
Safety Warnings
- Be careful not to scratch the paint or surrounding surfaces when removing the badges
- Use protective gloves and eyewear when working with adhesive removers
- Make sure the vehicle is in a well-ventilated area, away from open flames or sparks
Step-by-Step Guide
Step 1: Prepare the Area
Step 1.1: Clean the Badge and Surrounding Area
Use a soft cloth and mild soap to clean the badge and surrounding area. This will help remove any dirt or debris that may interfere with the removal process.
Step 1.2: Apply Masking Tape
Apply masking tape around the badge to protect the surrounding surfaces from damage.
Step 2: Remove the Badge
Step 2.1: Determine the Type of Badge
Determine the type of badge you are removing. If it’s a screw-type badge, proceed to Step 2.2. If it’s an adhesive-type badge, proceed to Step 2.3.
Step 2.2: Remove Screw-Type Badges
Use a Torx screwdriver to remove the screws holding the badge in place. Gently pull the badge away from the surface.
Step 2.3: Remove Adhesive-Type Badges
Use a plastic trim removal tool to gently pry the badge away from the surface. Start at one edge and work your way around the badge, taking care not to damage the surrounding surfaces.
Step 3: Remove Residual Adhesive
Step 3.1: Apply Adhesive Remover
Apply a small amount of adhesive remover to the area where the badge was removed. Use a soft cloth or paper towels to gently wipe away the residual adhesive.
Step 3.2: Repeat as Necessary
Repeat the process until all residual adhesive has been removed.
Pro Tips & Common Mistakes
- Don’t use excessive force when removing the badge, as this can damage the surrounding surfaces.
- Use the correct type of adhesive remover for the type of adhesive used on the badge.
- Don’t remove the badge in direct sunlight, as this can cause the adhesive to become more difficult to remove.
Cost Analysis: DIY vs Mechanic
The cost of debadging your Jeep can vary depending on the type of badges and the complexity of the removal process. On average, the cost of DIY debadging can range from $20 to $50, depending on the tools and materials needed. If you take your Jeep to a mechanic, the cost can range from $100 to $300, depending on the labor rate and the complexity of the job.
Frequently Asked Questions
- Q: Can I remove the badges on my Jeep myself? A: Yes, removing the badges on your Jeep can be a DIY project. However, it’s essential to follow the correct procedures and use the right tools to avoid damaging the surrounding surfaces.
- Q: What type of adhesive remover should I use? A: The type of adhesive remover you should use will depend on the type of adhesive used on the badge. For most Jeep badges, a gentle adhesive remover such as Goo Gone or 3M Adhesive Remover will work well.
- Q: Can I reuse the badges after removing them? A: It’s not recommended to reuse the badges after removing them, as the adhesive may not be as strong as it was originally. It’s best to replace the badges with new ones to ensure a secure fit.
- Q: Will removing the badges void my warranty? A: Removing the badges on your Jeep should not void your warranty, as it’s a cosmetic modification. However, it’s always best to check with your dealership or manufacturer to confirm.
- Q: Can I remove the badges on any Jeep model? A: The process for removing badges can vary depending on the Jeep model and year. It’s essential to consult your owner’s manual or a repair manual specific to your vehicle to determine the best method for removal.
Reference: Technical analysis by Luca Romano (Restoration Specialist) based on reports from Jalopnik.