The Ultimate Guide to Diagnosing and Eliminating Unpleasant Odors in Your Vehicle
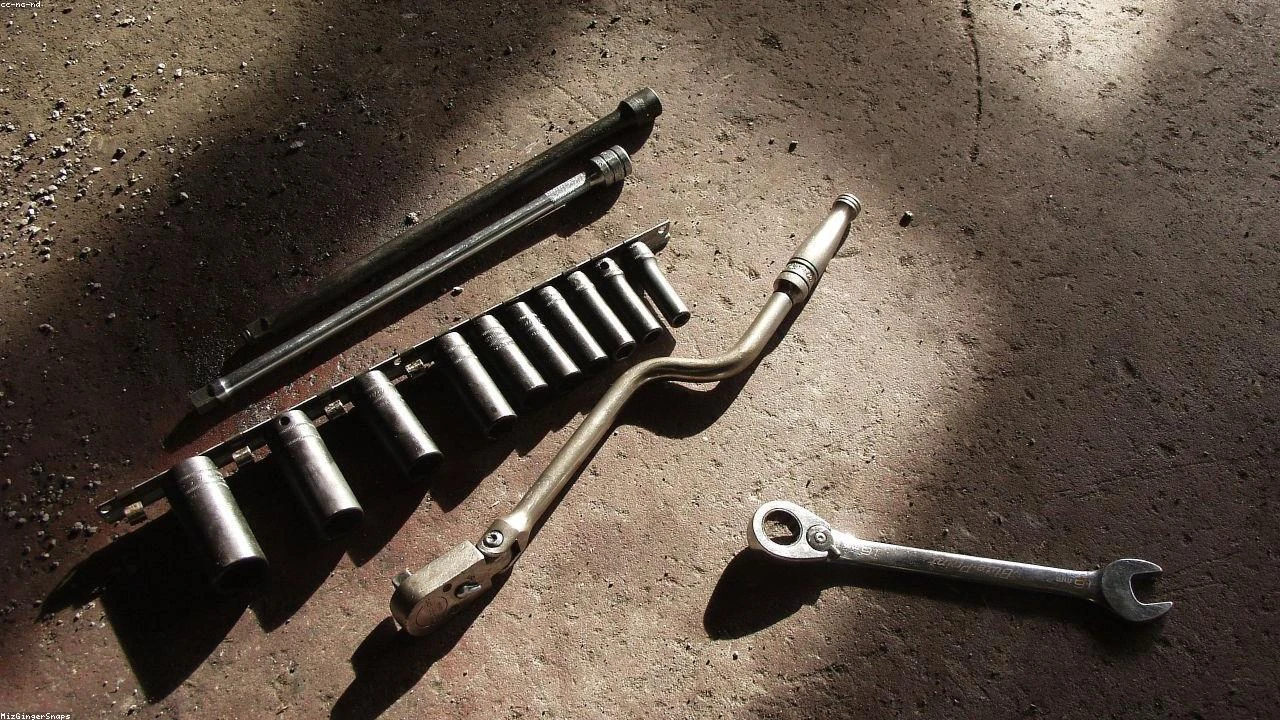
Table of Contents
- The Diagnostic / The Situation
- Technical Deep Dive
- Pre-Work Checklist
- Step-by-Step Guide
- Pro Tips & Common Mistakes
- Cost Analysis: DIY vs Mechanic
- Frequently Asked Questions
The Diagnostic / The Situation
Unpleasant odors in vehicles can be a frustrating and embarrassing issue for car owners. The Ford Taurus, as mentioned in the news headline, had a notorious problem with a horrible smell in its V6 models. However, this issue is not unique to the Ford Taurus or even Ford vehicles in general. Many car owners have experienced unpleasant odors in their vehicles, and it’s essential to address the problem promptly to prevent further damage and ensure a comfortable driving experience.
The symptoms of an unpleasant odor in your vehicle can vary, but common signs include:
- A strong, pungent smell that persists even after cleaning the interior
- A musty or mildewy smell, especially after rain or high humidity
- A sweet, chemical-like smell that may indicate a leak or spill
- A burning smell that could indicate an electrical or mechanical issue
🔧 Related Guides:
Technical Deep Dive
To understand how to diagnose and eliminate unpleasant odors in your vehicle, it’s essential to know how the various systems work together. The most common sources of unpleasant odors in vehicles include:
- The heating, ventilation, and air conditioning (HVAC) system
- The interior upholstery and carpets
- The engine and exhaust system
- The electrical system
Common failure points that can lead to unpleasant odors include:
- Clogged air filters or vents
- Leaks in the HVAC system
- Spills or stains on the interior upholstery and carpets
- Faulty or damaged electrical components
Pre-Work Checklist
At a Glance Table
| Task | Difficulty | Time | Cost | DIY vs Shop |
|---|---|---|---|---|
| Inspect and clean the interior | 2 | 1-2 hours | $0 - $50 | DIY |
| Check and replace the air filters | 1 | 30 minutes | $10 - $30 | DIY |
| Inspect the HVAC system | 3 | 1-2 hours | $50 - $100 | Shop |
| Check the electrical system | 4 | 2-3 hours | $100 - $200 | Shop |
Tools Required
- Vacuum cleaner
- Cleaning products (e.g., carpet shampoo, upholstery cleaner)
- Air filter replacement kit
- Multimeter
- Wiring diagram
Safety Warnings
- Always wear protective gloves and eyewear when working with electrical or chemical components
- Ensure the vehicle is parked on a level surface and apply the parking brake before starting work
- Avoid using harsh chemicals or abrasive materials that can damage the interior or harm your health
Step-by-Step Guide
Inspect and Clean the Interior
Remove loose debris and dust
Use a vacuum cleaner to remove any loose debris and dust from the interior, paying attention to areas around the vents, seats, and carpets.
Clean the upholstery and carpets
Use a cleaning product specifically designed for the type of material (e.g., carpet shampoo for carpets, upholstery cleaner for seats) and follow the manufacturer’s instructions.
Check for and remove any stubborn stains
Use a stain remover or a solution of equal parts water and white vinegar to remove any stubborn stains.
Check and Replace the Air Filters
Locate the air filters
Check your vehicle’s manual to find the location of the air filters.
Remove the old air filters
Take out the old air filters and inspect them for any blockages or damage.
Install the new air filters
Replace the old air filters with new ones, ensuring they are properly seated and secured.
Inspect the HVAC System
Check for leaks
Use a leak detection kit to check for any leaks in the HVAC system.
Inspect the vents and ducts
Use a flashlight and a mirror to inspect the vents and ducts for any blockages or damage.
Check the drain
Ensure the drain is clear and functioning properly to prevent water accumulation.
Check the Electrical System
Use a multimeter to check for any shorts or faults
Use a multimeter to check for any shorts or faults in the electrical system.
Inspect the wiring and connections
Use a wiring diagram to inspect the wiring and connections for any damage or corrosion.
Pro Tips & Common Mistakes
- Don’t use harsh chemicals or abrasive materials that can damage the interior or harm your health.
- Avoid using air fresheners or perfumes that can mask the odor but not address the root cause.
- Use a vacuum cleaner with a HEPA filter to remove allergens and bacteria that can contribute to unpleasant odors.
- Regularly inspect and maintain the HVAC system to prevent leaks and blockages.
Cost Analysis: DIY vs Mechanic
The cost of diagnosing and eliminating unpleasant odors in your vehicle can vary depending on the source of the problem and the complexity of the repair. However, here is a rough estimate of the costs:
- DIY: $0 - $100 (depending on the materials and tools needed)
- Mechanic: $100 - $500 (depending on the labor rate and the complexity of the repair)
Frequently Asked Questions
- What are the most common sources of unpleasant odors in vehicles? The most common sources of unpleasant odors in vehicles include the HVAC system, interior upholstery and carpets, engine and exhaust system, and electrical system.
- How can I prevent unpleasant odors in my vehicle? Regularly inspect and maintain the HVAC system, check and replace the air filters, and clean the interior upholstery and carpets to prevent unpleasant odors.
- Can I use air fresheners or perfumes to eliminate unpleasant odors? No, air fresheners or perfumes can mask the odor but not address the root cause. It’s essential to identify and fix the source of the problem to eliminate the odor.
- How often should I inspect and maintain the HVAC system? It’s recommended to inspect and maintain the HVAC system every 12,000 to 15,000 miles or as specified in your vehicle’s manual.
- Can I DIY the repair or do I need to take it to a mechanic? It depends on the complexity of the repair and your level of expertise. If you’re not comfortable with DIY repairs or if the problem is complex, it’s recommended to take it to a mechanic.
Reference: Technical analysis by Sarah Jenkins (Overland Build Expert) based on reports from Jalopnik.