The Ultimate Guide to Dual Fuel Tank Systems: Maintenance and Upgrade Masterclass
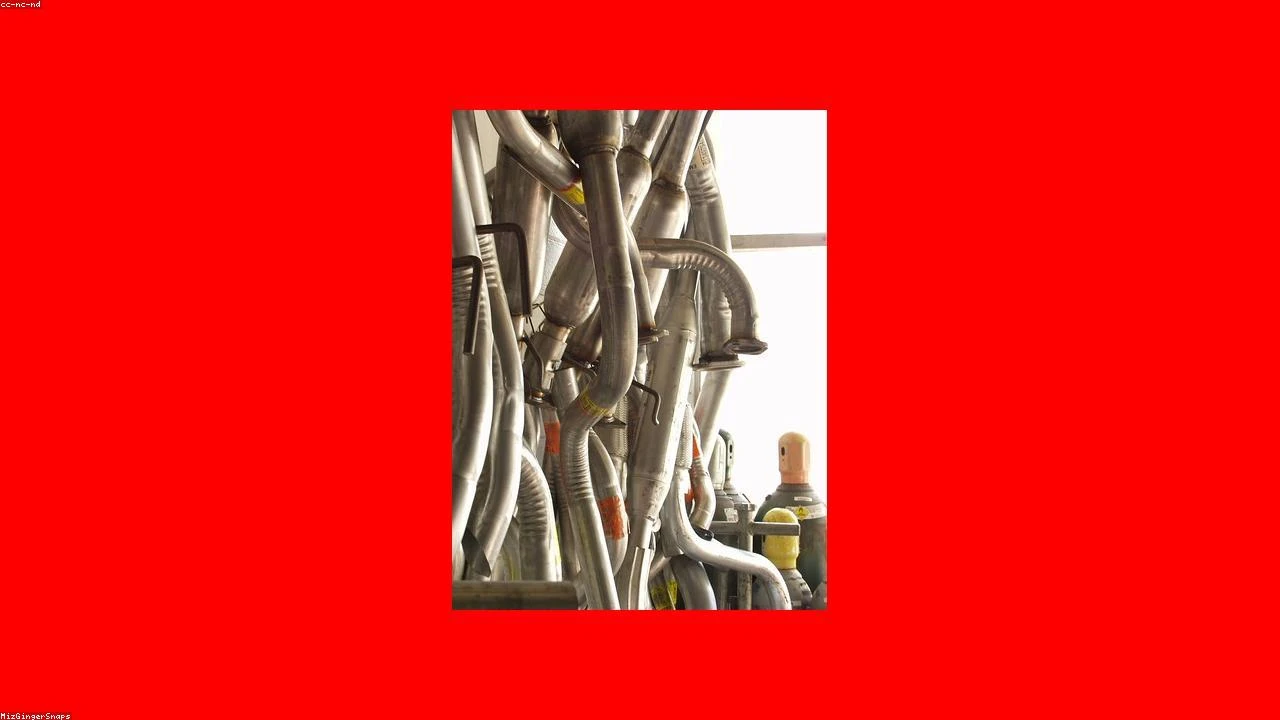
Table of Contents
- Technical Deep Dive
- Pre-Work Checklist
- Step-by-Step Guide
- Pro Tips & Common Mistakes
- Cost Analysis: DIY vs Mechanic
- Frequently Asked Questions
The Diagnostic / The Situation
Dual fuel tank systems are not a new concept, but they have been primarily associated with trucks and large vehicles. However, some classic sports cars have also featured dual fuel tanks, showcasing the versatility and potential benefits of such a system. For Jeep owners, especially those who enjoy off-roading or long road trips, a dual fuel tank system can be a game-changer. It provides extended range, reduced fuel stops, and enhanced overall driving experience. Yet, like any complex system, it requires proper maintenance and occasional upgrades to function optimally.
🔧 Related Guides:
Technical Deep Dive
A dual fuel tank system in a Jeep typically consists of two fuel tanks, a transfer pump, fuel lines, and a control module. The system is designed to automatically switch between the two tanks when one is empty, ensuring continuous fuel supply to the engine. The primary components include:
- Fuel Tanks: These are the storage containers for the fuel. In a dual tank setup, one tank is usually the primary tank, and the other is the auxiliary or secondary tank.
- Transfer Pump: This pump is responsible for transferring fuel from the auxiliary tank to the primary tank when the primary tank’s fuel level drops below a certain threshold.
- Fuel Lines: These are the pipes that connect the fuel tanks to the engine’s fuel system.
- Control Module: This is the brain of the system, controlling when the transfer pump activates and managing the fuel level monitoring.
Common failure points in a dual fuel tank system include the transfer pump, fuel line leaks, and faulty control modules. Regular inspection and maintenance are crucial to prevent these issues.
Pre-Work Checklist
At a Glance Table
| Task | Difficulty (1-5) | Time | Cost | DIY vs Shop |
|---|---|---|---|---|
| Inspect Fuel Lines | 2 | 1 hour | $0 | DIY |
| Replace Transfer Pump | 4 | 3 hours | $200-$500 | Shop |
| Upgrade Control Module | 5 | 5 hours | $500-$1000 | Shop |
Tools Required
- 10mm Socket
- Torque Wrench
- Fuel line repair kit
- Multimeter for electrical diagnostics
- Laptop with diagnostic software for control module programming
Safety Warnings
- Always work in a well-ventilated area, away from open flames or sparks.
- Ensure the vehicle is on level ground and apply the parking brake before starting any work.
- Disconnect the battery before working on the electrical system to prevent accidental starts or electrical shocks.
Step-by-Step Guide
Inspecting the Fuel Lines
Step 1: Locate the Fuel Lines
Start by locating the fuel lines that connect the dual fuel tanks to the engine. These lines are usually protected by a cover or shield to prevent damage.
Step 2: Remove Protective Covering
Carefully remove the protective covering to expose the fuel lines. Be cautious not to damage any surrounding components.
Step 3: Inspect for Leaks
Use a leak-down test kit or soapy water to inspect the fuel lines for any signs of leaks. Pay particular attention to connections and bends in the lines.
Replacing the Transfer Pump
Step 1: Disconnect the Battery
Before starting any electrical work, disconnect the battery to prevent accidental starts or electrical shocks.
Step 2: Locate the Transfer Pump
Find the transfer pump, usually located near the fuel tanks or in the engine compartment.
Step 3: Disconnect Electrical Connections
Use a wrench to loosen the bolt holding the electrical connector to the transfer pump. Then, pull the connector off the pump.
Step 4: Remove Mounting Bolts
Remove the bolts that mount the transfer pump to the vehicle. Be prepared for some fuel spillage.
Step 5: Install New Transfer Pump
Mount the new transfer pump, ensuring it is securely fastened with the mounting bolts. Reconnect the electrical connections, making sure they are tight and secure.
Upgrading the Control Module
Step 1: Purchase the Correct Upgrade
Ensure you have the correct upgrade kit for your vehicle’s control module. This kit should include detailed instructions.
Step 2: Disconnect the Battery
Again, disconnect the battery to prevent any electrical issues during the upgrade.
Step 3: Access the Control Module
Locate and access the control module, which is usually in the engine compartment or under the dashboard.
Step 4: Disconnect Electrical Connections
Carefully disconnect the electrical connections to the control module. This may require specialized tools.
Step 5: Remove the Old Module
Remove the old control module from its mounting bracket.
Step 6: Install the New Module
Install the new control module, ensuring all electrical connections are secure and not loose.
Pro Tips & Common Mistakes
- Always refer to the vehicle’s manual for specific instructions on maintenance and repair procedures.
- Use genuine or high-quality aftermarket parts to ensure compatibility and reliability.
- Don’t overlook the importance of proper grounding when working with electrical systems.
Cost Analysis: DIY vs Mechanic
The cost of maintaining or upgrading a dual fuel tank system can vary significantly depending on whether you choose to do it yourself (DIY) or hire a mechanic. For simple inspections and minor repairs, DIY can be cost-effective, with costs ranging from $0 to $100 for parts and tools. However, for more complex tasks like replacing the transfer pump or upgrading the control module, the cost can escalate to $200-$1000 or more for parts alone, not including labor costs if a mechanic is hired.
Frequently Asked Questions
Q: How often should I inspect my dual fuel tank system? A: It’s recommended to inspect your dual fuel tank system every 6 months or before long trips to ensure everything is in good working condition.
Q: Can I upgrade my single fuel tank system to a dual fuel tank system? A: Yes, but it requires significant modifications, including the installation of a second fuel tank, transfer pump, and possibly a new control module. It’s a complex and costly upgrade that may not be feasible for all vehicles.
Q: What are the benefits of a dual fuel tank system? A: The primary benefits include extended driving range, reduced need for fuel stops, and potentially improved fuel efficiency, especially on long trips or off-road adventures.
Q: How do I know if my transfer pump is failing? A: Signs of a failing transfer pump include decreased fuel pressure, engine stuttering or stalling, and the fuel gauge not reading correctly.
Q: Can I use any fuel tank as an auxiliary tank? A: No, the auxiliary tank must be compatible with your vehicle’s fuel system and specifications. Using an incompatible tank can lead to leaks, fires, or other safety hazards.
Reference: Technical analysis by Marcus Reynolds (Suspension Engineer) based on reports from Jalopnik.