The Ultimate Guide to Harley-Davidson's Knucklehead Engine: Maintenance Masterclass
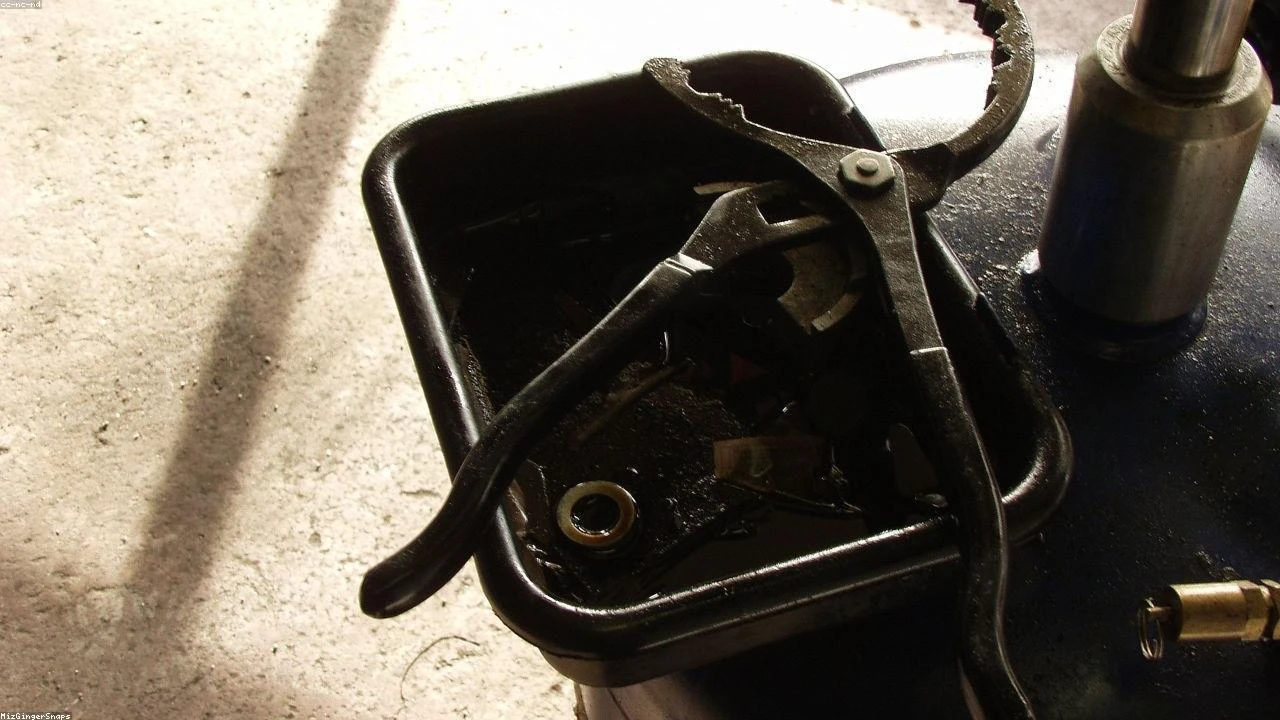
Table of Contents
- Technical Deep Dive
- Pre-Work Checklist
- Step-by-Step Guide
- Pro Tips & Common Mistakes
- Cost Analysis: DIY vs Mechanic
- Frequently Asked Questions
The Diagnostic / The Situation
The Harley-Davidson Knucklehead engine, introduced in 1936, is a highly sought-after collector’s item, with some models selling for over $200,000. The engine’s value lies in its historical significance, design, and the fact that it was the first overhead-valve V-twin engine produced by Harley-Davidson. As a masterpiece of engineering, the Knucklehead engine requires regular maintenance to ensure it continues to run smoothly and efficiently. In this guide, we will delve into the technical aspects of the Knucklehead engine and provide a comprehensive maintenance masterclass.
🔧 Related Guides:
Technical Deep Dive
The Knucklehead engine is a 61 cubic-inch (1000 cc) V-twin engine, featuring a single camshaft operating the valves via a complex system of rocker arms and pushrods. The engine has a 3.44-inch (87.3 mm) bore and a 3.5-inch (88.9 mm) stroke, with a compression ratio of 6.5:1. The engine’s unique design, with its articulated rocker arms and valve covers, gives it a distinctive appearance. Common failure points in the Knucklehead engine include the valve train, piston rings, and cylinder walls.
Pre-Work Checklist
At a Glance Table
| Task | Difficulty | Time | Cost | DIY vs Shop |
|---|---|---|---|---|
| Oil change | 2 | 1 hour | $50 | DIY |
| Valve adjustment | 4 | 2 hours | $100 | Shop |
| Piston ring replacement | 5 | 5 hours | $500 | Shop |
Tools Required
- Socket set
- Torque wrench
- Valve spring compressor
- Piston ring compressor
- Oil filter wrench
Safety Warnings
- Always wear protective gloves and safety glasses when working with power tools and machinery.
- Ensure the engine is cool before starting any maintenance work.
- Never smoke or have an open flame near the engine, as gasoline and oil can be highly flammable.
Step-by-Step Guide
Step 1: Oil Change
Step 1.1: Drain the oil
Locate the oil drain plug and remove it using a socket wrench. Allow the oil to drain completely before replacing the plug.
Step 1.2: Replace the oil filter
Use an oil filter wrench to remove the old oil filter. Dispose of the old filter responsibly and install a new one.
Step 1.3: Refill the oil
Use a high-quality motorcycle oil that meets the specifications of the Knucklehead engine. Fill the engine with the recommended amount of oil, usually around 2-3 quarts.
Step 2: Valve Adjustment
Step 2.1: Remove the valve covers
Use a socket wrench to remove the valve covers. Take note of the location of the spark plug wires and ignition coil.
Step 2.2: Adjust the valves
Use a valve adjustment tool to adjust the clearance between the valve stem and the rocker arm. The recommended clearance is 0.004-0.006 inches.
Step 2.3: Replace the valve covers
Once the valves are adjusted, replace the valve covers and ensure they are securely fastened.
Step 3: Piston Ring Replacement
Step 3.1: Remove the cylinder head
Use a socket wrench to remove the cylinder head. Take note of the location of the spark plug wires and ignition coil.
Step 3.2: Remove the piston
Use a piston ring compressor to remove the piston from the cylinder. Take care not to damage the cylinder walls.
Step 3.3: Replace the piston rings
Install new piston rings, ensuring they are properly seated and aligned.
Step 3.4: Replace the piston
Use a piston ring compressor to replace the piston, ensuring it is properly seated and aligned.
Pro Tips & Common Mistakes
- Always use high-quality replacement parts to ensure the longevity of the engine.
- Never over-tighten the valve covers, as this can damage the engine.
- Use a torque wrench to ensure the correct torque specs are applied to the engine components.
- Don’t neglect regular maintenance, as this can lead to costly repairs down the road.
Cost Analysis: DIY vs Mechanic
The cost of maintaining a Knucklehead engine can vary depending on the task and the individual’s level of expertise. On average, a DIY oil change can cost around $50, while a valve adjustment can cost around $100. Piston ring replacement can be a more costly and time-consuming task, with an average cost of $500. Hiring a professional mechanic can add an additional $200-$500 to the total cost, depending on the task and the mechanic’s labor rate.
Frequently Asked Questions
- Q: What is the recommended oil type for the Knucklehead engine? A: The recommended oil type for the Knucklehead engine is a high-quality motorcycle oil that meets the specifications of the engine.
- Q: How often should I change the oil in my Knucklehead engine? A: The oil should be changed every 2,500-5,000 miles, depending on the riding conditions and the age of the engine.
- Q: Can I adjust the valves myself, or do I need to hire a professional mechanic? A: Adjusting the valves can be a complex task, and it is recommended to hire a professional mechanic if you are not experienced with engine maintenance.
- Q: What are the common failure points in the Knucklehead engine? A: Common failure points in the Knucklehead engine include the valve train, piston rings, and cylinder walls.
- Q: How much does it cost to maintain a Knucklehead engine? A: The cost of maintaining a Knucklehead engine can vary depending on the task and the individual’s level of expertise, but on average, it can cost around $500-$1,000 per year.
Reference: Technical analysis by Marcus Reynolds (Suspension Engineer) based on reports from Jalopnik.