The Ultimate Guide to High-Performance 4x4 Suspension Systems: A Masterclass for Off-Road Enthusiasts
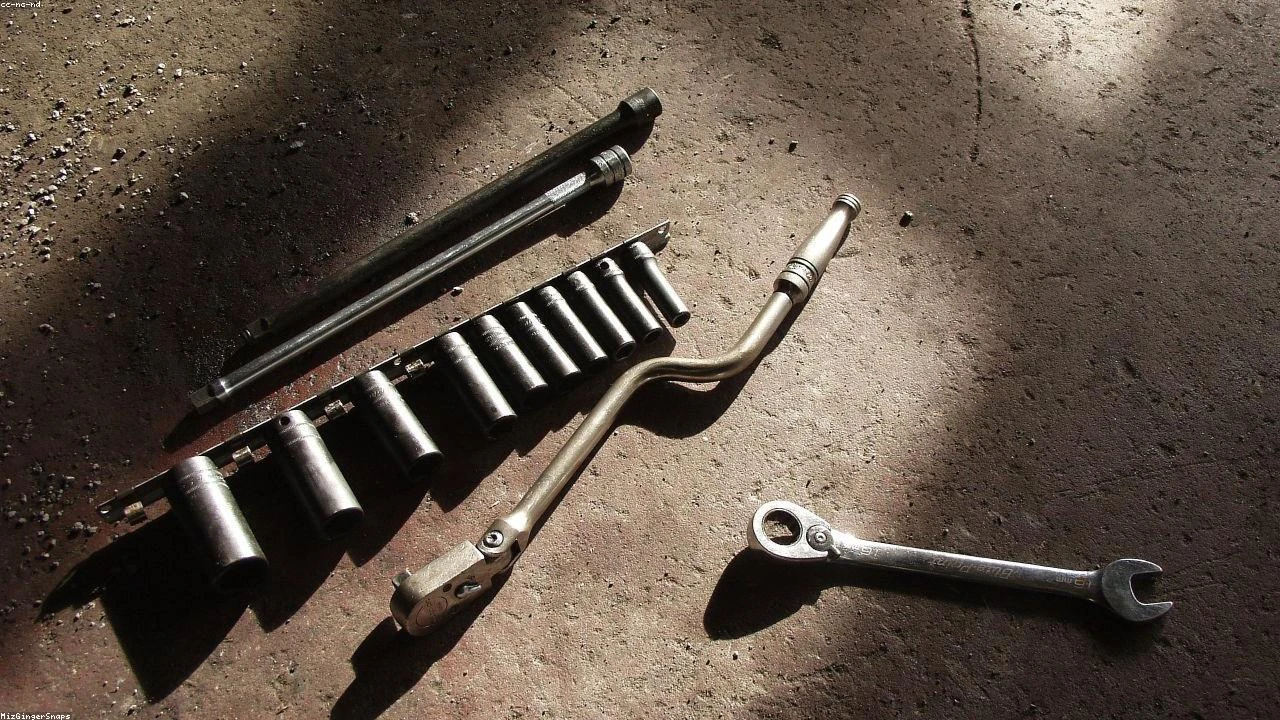
Table of Contents
- Technical Deep Dive
- Pre-Work Checklist
- Step-by-Step Guide
- Pro Tips & Common Mistakes
- Cost Analysis: DIY vs Mechanic
- Frequently Asked Questions
The Diagnostic / The Situation
As an off-road enthusiast, you’re likely no stranger to the importance of a well-designed suspension system. Whether you’re tackling rocky terrain or simply looking to improve your vehicle’s overall handling, a high-performance suspension system is essential. The recent unveiling of Toyota’s hybrid 300-Series Land Cruiser, boasting over 450 hp and 582 pound-feet of torque, has sparked a renewed interest in high-performance 4x4 suspension systems. In this guide, we’ll delve into the world of suspension systems, exploring the technical background, symptoms of a subpar system, and the benefits of upgrading to a high-performance setup.
Technical Deep Dive
A 4x4 suspension system is designed to absorb shock, maintain vehicle stability, and provide optimal tire contact with the road or terrain. The system consists of several key components, including the springs, shocks, control arms, and steering linkage. In a high-performance setup, these components work in harmony to provide unparalleled handling and control. Common failure points in a suspension system include worn-out bushings, loose or damaged control arms, and deteriorated shocks. Upgrading to a high-performance suspension system can significantly improve your vehicle’s overall performance, handling, and safety.
🔧 Related Guides:
Pre-Work Checklist
At a Glance Table
| Difficulty | Time | Cost | DIY vs Shop |
|---|---|---|---|
| 4/5 | 10-15 hours | $2,000-$5,000 | DIY (with experience) |
Tools Required
- 10mm Socket
- 12mm Socket
- 14mm Socket
- Torque Wrench
- Spring Compressor
- Shock Absorber Tool
Safety Warnings
When working with suspension systems, it’s essential to take necessary safety precautions to avoid injury or damage to your vehicle. Always wear protective gear, including gloves and safety glasses, and ensure the vehicle is securely lifted and supported.
Step-by-Step Guide
Step 1: Inspect and Prepare the Vehicle
Before beginning the upgrade process, inspect your vehicle’s suspension system to identify any worn-out or damaged components. Check the shocks, springs, control arms, and steering linkage for signs of wear or damage. Make a list of the components that need to be replaced or upgraded.
Step 1.1: Jack Up the Vehicle
Raise the vehicle using a hydraulic lift or jack stands, ensuring it’s securely supported and stable.
Step 1.2: Remove the Wheels
Remove the wheels to access the suspension components.
Step 1.3: Inspect the Suspension Components
Inspect the suspension components, including the shocks, springs, control arms, and steering linkage.
Step 2: Upgrade the Shocks
Upgrading to high-performance shocks can significantly improve your vehicle’s handling and control. Choose a reputable brand and model that’s designed for your vehicle’s make and model.
Step 2.1: Remove the Old Shocks
Remove the old shocks, taking note of the mounting points and any adjustments that need to be made.
Step 2.2: Install the New Shocks
Install the new shocks, ensuring they’re properly mounted and adjusted.
Step 3: Upgrade the Springs
Upgrading to high-performance springs can improve your vehicle’s stability and handling. Choose a reputable brand and model that’s designed for your vehicle’s make and model.
Step 3.1: Remove the Old Springs
Remove the old springs, taking note of the mounting points and any adjustments that need to be made.
Step 3.2: Install the New Springs
Install the new springs, ensuring they’re properly mounted and adjusted.
Step 4: Upgrade the Control Arms
Upgrading to high-performance control arms can improve your vehicle’s stability and handling. Choose a reputable brand and model that’s designed for your vehicle’s make and model.
Step 4.1: Remove the Old Control Arms
Remove the old control arms, taking note of the mounting points and any adjustments that need to be made.
Step 4.2: Install the New Control Arms
Install the new control arms, ensuring they’re properly mounted and adjusted.
Pro Tips & Common Mistakes
When upgrading your suspension system, it’s essential to avoid common mistakes that can compromise the system’s performance and safety. Some common mistakes include:
- Failing to properly torque the suspension components
- Using low-quality or incorrect components
- Not adjusting the suspension system properly Some pro tips to keep in mind include:
- Always follow the manufacturer’s instructions and recommendations
- Use high-quality components and tools
- Take your time and be patient when working with suspension systems
Cost Analysis: DIY vs Mechanic
Upgrading your suspension system can be a costly endeavor, with prices ranging from $2,000 to $5,000 or more, depending on the components and labor involved. If you’re experienced with DIY projects, you can save money by doing the work yourself. However, if you’re not comfortable with the process, it’s recommended to seek the help of a professional mechanic.
Frequently Asked Questions
- What are the benefits of upgrading to a high-performance suspension system? Upgrading to a high-performance suspension system can improve your vehicle’s handling, stability, and overall performance.
- What are the common failure points in a suspension system? Common failure points in a suspension system include worn-out bushings, loose or damaged control arms, and deteriorated shocks.
- How do I choose the right suspension components for my vehicle? Choose a reputable brand and model that’s designed for your vehicle’s make and model. Consider factors such as ride height, spring rate, and shock absorber type.
- Can I upgrade my suspension system myself, or do I need to hire a mechanic? If you’re experienced with DIY projects, you can upgrade your suspension system yourself. However, if you’re not comfortable with the process, it’s recommended to seek the help of a professional mechanic.
- How long does it take to upgrade a suspension system? The time it takes to upgrade a suspension system can vary, depending on the complexity of the job and the individual’s level of experience. On average, it can take around 10-15 hours to complete the upgrade process.
Reference: Technical analysis by Marcus Reynolds (Suspension Engineer) based on reports from Motor1 News.