The Ultimate Guide to High-Performance Brake Upgrades for Police Pursuit Vehicles
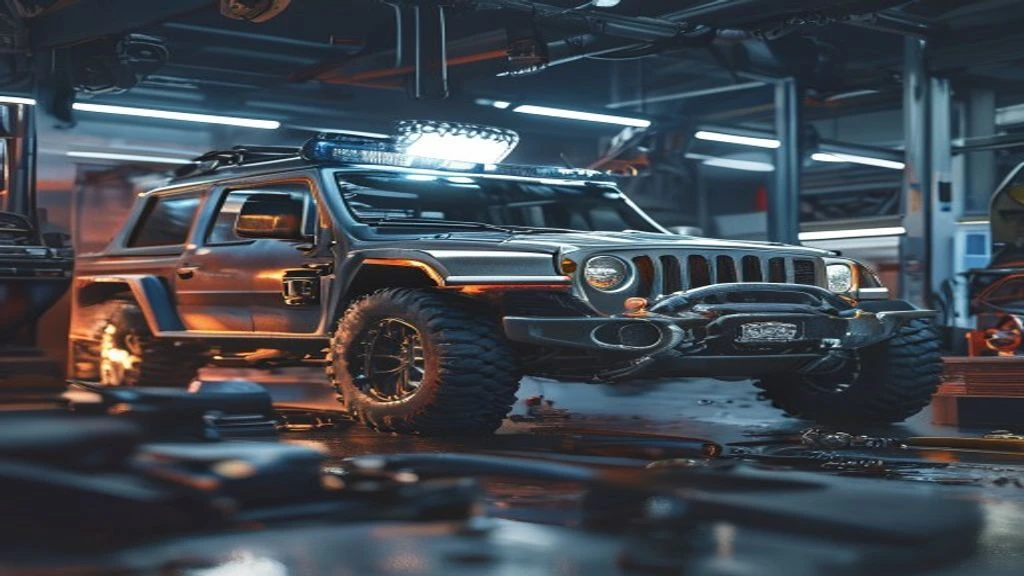
Table of Contents
- The Diagnostic / The Situation
- Technical Deep Dive
- Pre-Work Checklist
- Step-by-Step Guide
- Pro Tips & Common Mistakes
- Cost Analysis: DIY vs Mechanic
- Frequently Asked Questions
The Diagnostic / The Situation
High-speed pursuits can be a regular occurrence for police officers, and having a reliable braking system is crucial to ensure safety and effectiveness. The NYPD’s recent ban on a driver from operating squad cars due to reckless driving highlights the importance of proper vehicle maintenance, particularly when it comes to braking systems. In this guide, we’ll delve into the world of high-performance brake upgrades for police pursuit vehicles, exploring the technical background, symptoms of inadequate braking, and the benefits of upgrading your squad car’s brakes.
🔧 Related Guides:
Technical Deep Dive
The braking system in a police pursuit vehicle is a complex network of components working together to slow down or stop the vehicle. The system consists of the brake pedal, master cylinder, brake lines, calipers, rotors, and pads. In high-performance applications, the stock braking system may not be sufficient to handle the demands of high-speed pursuits. Common failure points in the braking system include warped rotors, worn-out brake pads, and overheated brake fluid. Upgrading to high-performance brake components can significantly improve the vehicle’s stopping power and reduce the risk of brake failure.
Pre-Work Checklist
At a Glance Table
| Difficulty | Time | Cost | DIY vs Shop |
|---|---|---|---|
| 4/5 | 8-10 hours | $2,000-$5,000 | DIY (with experience) |
Tools Required
- 10mm Socket
- 12mm Socket
- Torque Wrench
- Brake bleeding kit
- Caliper piston compressor
- Rotor resurfacing tool
Safety Warnings
When working with brake systems, it’s essential to take necessary safety precautions to avoid injury or damage to the vehicle. Always wear protective gloves and eyewear, and ensure the vehicle is securely supported by jack stands. Never work under a vehicle that’s only supported by a jack.
Step-by-Step Guide
Upgrading the Brake Rotors
The brake rotors are a critical component of the braking system, and upgrading to high-performance rotors can significantly improve stopping power. To upgrade the brake rotors:
Removing the Wheels and Calipers
Remove the wheels and calipers to access the rotors. Use a 10mm socket to loosen the caliper bolts, then use a caliper piston compressor to push the piston back into the caliper.
Removing the Rotor
Use a 12mm socket to loosen the rotor bolts, then remove the rotor from the hub.
Installing the New Rotor
Install the new high-performance rotor onto the hub, ensuring it’s properly seated and secured with the rotor bolts.
Reinstalling the Calipers and Wheels
Reinstall the calipers and wheels, ensuring the caliper bolts are tightened to the specified torque (30-40 ft-lbs).
Upgrading the Brake Pads
The brake pads are another critical component of the braking system, and upgrading to high-performance brake pads can improve stopping power and reduce brake wear.
Removing the Old Brake Pads
Remove the old brake pads from the calipers, taking note of the pad wear sensor wire.
Installing the New Brake Pads
Install the new high-performance brake pads into the calipers, ensuring the pad wear sensor wire is properly connected.
Bedding in the New Brake Pads
Bed in the new brake pads by driving the vehicle at moderate speeds and applying the brakes gently.
Upgrading the Brake Fluid
The brake fluid is a critical component of the braking system, and upgrading to high-performance brake fluid can improve braking performance and reduce the risk of brake failure.
Draining the Old Brake Fluid
Drain the old brake fluid from the master cylinder, taking care not to spill any fluid on the vehicle’s components.
Installing the New Brake Fluid
Install the new high-performance brake fluid into the master cylinder, ensuring the fluid level is at the recommended level.
Bleeding the Brake System
Bleed the brake system to remove any air bubbles and ensure proper brake function.
Pro Tips & Common Mistakes
When upgrading the braking system, it’s essential to avoid common mistakes that can compromise brake performance and safety. Some common mistakes include:
- Using low-quality brake components that may not meet the demands of high-performance applications.
- Failing to properly bed in the new brake pads, which can lead to reduced stopping power and increased brake wear.
- Not bleeding the brake system properly, which can lead to air bubbles in the brake lines and reduced brake performance.
Cost Analysis: DIY vs Mechanic
Upgrading the braking system can be a costly endeavor, but doing it yourself can save you a significant amount of money. The cost of high-performance brake components can range from $2,000 to $5,000, depending on the quality and brand. Labor costs can add an additional $1,000 to $2,000, depending on the mechanic’s rates. By doing the upgrade yourself, you can save up to $2,000 in labor costs.
Frequently Asked Questions
- What are the benefits of upgrading to high-performance brake components? Upgrading to high-performance brake components can improve stopping power, reduce brake wear, and improve overall brake safety.
- How often should I upgrade my brake pads? Brake pads should be upgraded every 30,000 to 50,000 miles, depending on driving conditions and brake usage.
- What is the difference between high-performance brake fluid and regular brake fluid? High-performance brake fluid has a higher boiling point and improved lubricity, making it ideal for high-performance applications.
- Can I upgrade my brake system myself, or do I need to take it to a mechanic? Upgrading the brake system can be done yourself with experience and the right tools, but it’s recommended to consult a professional mechanic if you’re unsure about any aspect of the process.
- What are the safety precautions I should take when working with brake systems? When working with brake systems, it’s essential to take necessary safety precautions, including wearing protective gloves and eyewear, and ensuring the vehicle is securely supported by jack stands.
Reference: Technical analysis by Sarah Jenkins (Overland Build Expert) based on reports from Jalopnik.