The Ultimate Guide to Hybrid Vehicle Badging and Emblems: A Technical Deep Dive
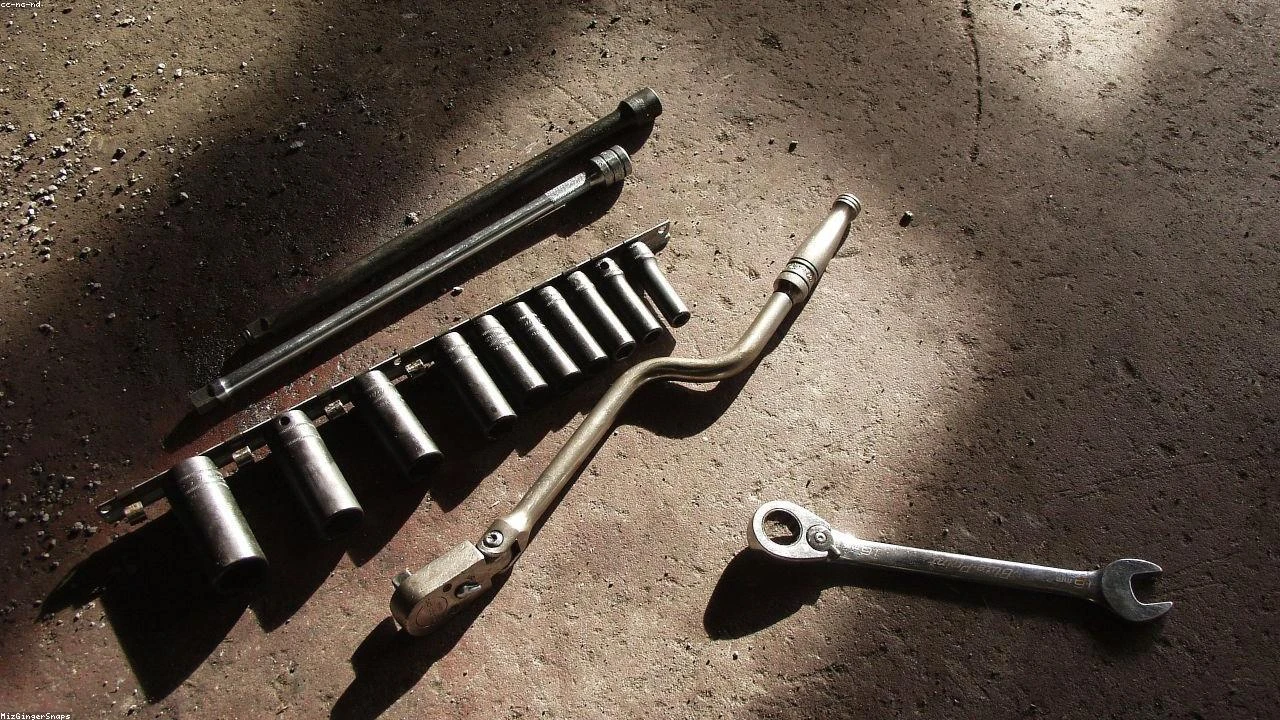
Table of Contents
- The Diagnostic / The Situation
- Technical Deep Dive
- Pre-Work Checklist
- Step-by-Step Guide
- Pro Tips & Common Mistakes
- Cost Analysis: DIY vs Mechanic
- Frequently Asked Questions
The Diagnostic / The Situation
Hybrid vehicles have become increasingly popular over the years, and one of the distinctive features of these vehicles is the blue badge or emblem that denotes their hybrid status. However, Toyota has recently dropped the blue badges from its hybrid vehicles, leaving many to wonder why. As a restoration specialist and master mechanic, I will delve into the technical background of hybrid badging, its significance, and the symptoms or signs to look for when it comes to hybrid vehicle maintenance.
The blue badge or emblem on hybrid vehicles serves as a visual indicator of the vehicle’s eco-friendly status. It is a symbol of the vehicle’s ability to reduce emissions and improve fuel efficiency. However, the blue badge is not just a marketing gimmick; it also serves as a technical indicator of the vehicle’s hybrid system. The badge is usually accompanied by a unique serial number or code that can be used to identify the vehicle’s hybrid system and its components.
🔧 Related Guides:
Technical Deep Dive
The hybrid system in vehicles is a complex network of components that work together to provide improved fuel efficiency and reduced emissions. The system consists of an internal combustion engine, an electric motor, and a battery pack. The electric motor is powered by the battery pack, which is charged by the internal combustion engine and through regenerative braking.
The blue badge or emblem on hybrid vehicles is usually located on the rear of the vehicle, and it is designed to be durable and long-lasting. However, over time, the badge can become worn or damaged, which can affect its appearance and functionality. Common failure points of the blue badge include fading, cracking, or peeling of the emblem.
Pre-Work Checklist
Before attempting to replace or repair the blue badge on a hybrid vehicle, it is essential to consult the following checklist:
| Task | Difficulty | Time | Cost | DIY vs Shop |
|---|---|---|---|---|
| Inspect the blue badge | 1 | 10 minutes | $0 | DIY |
| Clean the blue badge | 1 | 10 minutes | $0 | DIY |
| Replace the blue badge | 3 | 1 hour | $50-$100 | Shop |
| Repair the blue badge | 4 | 2 hours | $100-$200 | Shop |
Tools Required
- 10mm socket
- Torque wrench
- Pliers
- Screwdriver
- Cleaning solution
- Microfiber cloth
Safety Warnings
- Always wear protective gloves and eyewear when working with electrical components
- Ensure the vehicle is parked on a level surface and the parking brake is engaged
- Avoid touching any electrical components with bare hands
Step-by-Step Guide
Remove the Old Blue Badge
Step 1: Locate the Blue Badge
The blue badge is usually located on the rear of the vehicle, near the license plate. It is held in place by screws or adhesive.
Step 2: Remove the Screws or Adhesive
Use a 10mm socket to remove the screws that hold the blue badge in place. If the badge is held in place by adhesive, use a gentle cleaning solution and a microfiber cloth to remove the adhesive.
Step 3: Gently Pull the Blue Badge Away from the Vehicle
Once the screws or adhesive have been removed, gently pull the blue badge away from the vehicle. Be careful not to damage the surrounding paint or trim.
Clean and Prepare the Area
Step 1: Clean the Area
Use a gentle cleaning solution and a microfiber cloth to clean the area where the blue badge was located. Remove any dirt, grime, or adhesive residue.
Step 2: Dry the Area
Use a microfiber cloth to dry the area and remove any excess moisture.
Install the New Blue Badge
Step 1: Align the New Blue Badge
Align the new blue badge with the area where the old badge was located. Ensure it is centered and even.
Step 2: Apply Adhesive or Screws
Apply a small amount of adhesive to the back of the new blue badge, or use screws to secure it in place. Ensure the badge is securely fastened to the vehicle.
Step 3: Tighten the Screws
If using screws, tighten them in a star pattern to ensure the badge is securely fastened. Use a torque wrench to tighten the screws to the recommended torque specification (usually 10-15 Nm).
Pro Tips & Common Mistakes
- Use a gentle cleaning solution to avoid damaging the paint or trim
- Avoid touching any electrical components with bare hands
- Ensure the new blue badge is securely fastened to the vehicle to avoid it coming loose over time
- Do not overtighten the screws, as this can damage the surrounding paint or trim
Cost Analysis: DIY vs Mechanic
The cost of replacing or repairing the blue badge on a hybrid vehicle can vary depending on the complexity of the task and the labor costs of a mechanic. On average, the cost of replacing the blue badge can range from $50 to $200, depending on the type of badge and the labor costs. If done DIY, the cost can be significantly reduced to around $20-$50, depending on the cost of the replacement badge.
Frequently Asked Questions
- Q: What is the purpose of the blue badge on hybrid vehicles? A: The blue badge serves as a visual indicator of the vehicle’s eco-friendly status and is a symbol of the vehicle’s ability to reduce emissions and improve fuel efficiency.
- Q: Can I replace the blue badge myself? A: Yes, replacing the blue badge can be done DIY, but it is essential to consult the manufacturer’s instructions and take necessary safety precautions.
- Q: How much does it cost to replace the blue badge? A: The cost of replacing the blue badge can range from $50 to $200, depending on the type of badge and labor costs.
- Q: What are the common failure points of the blue badge? A: Common failure points of the blue badge include fading, cracking, or peeling of the emblem.
- Q: Can I repair the blue badge instead of replacing it? A: Yes, repairing the blue badge is possible, but it may require specialized tools and expertise. It is recommended to consult a professional mechanic if the damage is extensive.
Reference: Technical analysis by Luca Romano (Restoration Specialist) based on reports from Jalopnik.