The Ultimate Guide to Lowering Your Jeep: A Masterclass on Suspension Modifications
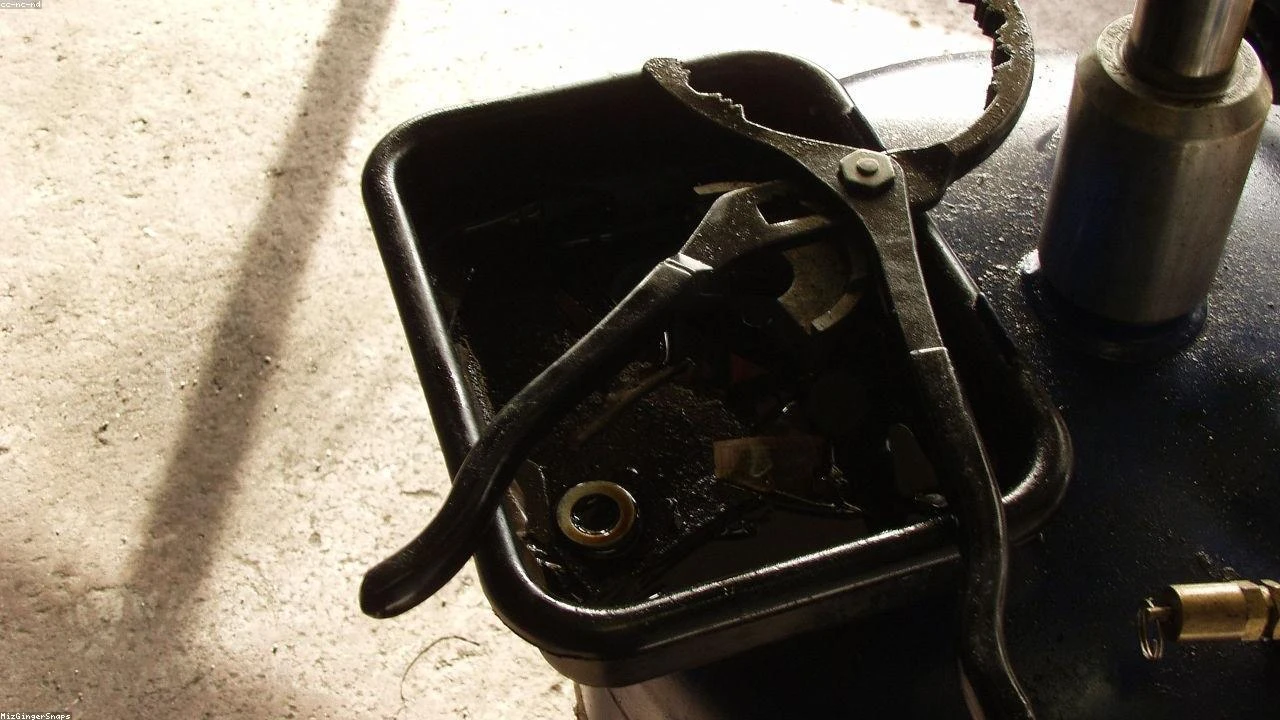
Table of Contents
- The Diagnostic / The Situation
- Technical Deep Dive
- Pre-Work Checklist
- Step-by-Step Guide
- Pro Tips & Common Mistakes
- Cost Analysis: DIY vs Mechanic
- Frequently Asked Questions
The Diagnostic / The Situation
Lowering a Jeep can be a great way to improve its stance and appearance, but it requires careful consideration of the technical implications. A lowered suspension can affect the vehicle’s stability, handling, and overall performance. In this guide, we will explore the technical background of lowering a Jeep and the symptoms or signs to look for when considering this modification.
Lowering a Jeep can be done for both aesthetic and performance reasons. However, it is essential to understand the potential risks and challenges involved. A poorly executed lowering job can lead to a range of problems, including reduced ground clearance, increased risk of damage to suspension components, and compromised stability.
🔧 Related Guides:
- The Ultimate Guide to Understanding Hybrid Technology: A Deep Dive into the Owen Magnetic and Its Impact on Modern Electric Vehicles
- The Ultimate Guide to Understanding and Navigating the Electric Vehicle Transition for Jeep Owners
- The Ultimate Guide to Manual Transmissions: Maintenance Masterclass for Jeep and Ford Enthusiasts
Technical Deep Dive
The suspension system of a Jeep is designed to provide a balance of comfort, stability, and articulation. The main components of the suspension system include the springs, shocks, control arms, and steering linkage. When lowering a Jeep, it is crucial to understand how these components interact and how they will be affected by the modification.
One of the most critical aspects of lowering a Jeep is the impact on the suspension’s travel and articulation. The suspension’s travel refers to the amount of movement allowed by the suspension components, while articulation refers to the ability of the suspension to flex and absorb bumps. When lowering a Jeep, the suspension’s travel and articulation can be compromised, leading to a range of problems, including reduced stability and increased risk of damage to suspension components.
Common failure points when lowering a Jeep include the coil springs, shocks, and control arms. The coil springs can become over-compressed, leading to reduced travel and articulation, while the shocks can become over-extended, leading to reduced damping and stability. The control arms can also become misaligned, leading to uneven tire wear and reduced stability.
Pre-Work Checklist
Before attempting to lower your Jeep, it is essential to consider the following factors:
| Difficulty | Time | Cost | DIY vs Shop |
|---|---|---|---|
| 4/5 | 10-20 hours | $1,000-$3,000 | DIY (experienced) |
Tools Required
- Coil spring compressor
- Shock absorber compressor
- Control arm bushing tool
- Ball joint separator
- Torque wrench
- Suspension lift kit (if applicable)
Safety Warnings
- Always wear protective gear, including gloves, safety glasses, and a face mask, when working with suspension components.
- Ensure the vehicle is securely supported on jack stands and the parking brake is engaged before starting work.
- Never attempt to lower a Jeep without proper training and experience.
Step-by-Step Guide
Step 1: Prepare the Vehicle
Step 1.1: Raise the Vehicle
Raise the vehicle on a lift or jack stands to access the suspension components. Ensure the vehicle is securely supported and the parking brake is engaged.
Step 1.2: Remove the Wheels
Remove the wheels to access the suspension components. This will also give you a clear view of the suspension’s travel and articulation.
Step 2: Remove the Coil Springs
Step 2.1: Compress the Coil Springs
Use a coil spring compressor to compress the coil springs. This will allow you to remove the coil springs from the vehicle.
Step 2.2: Remove the Coil Spring Mounts
Remove the coil spring mounts from the vehicle. This will give you access to the coil springs and allow you to remove them.
Step 3: Install the Lowering Kit
Step 3.1: Install the Lowering Springs
Install the lowering springs in place of the original coil springs. Ensure the springs are properly seated and aligned.
Step 3.2: Install the Lowering Shocks
Install the lowering shocks in place of the original shocks. Ensure the shocks are properly seated and aligned.
Step 4: Reassemble the Suspension
Step 4.1: Reinstall the Coil Spring Mounts
Reinstall the coil spring mounts and ensure they are properly secured.
Step 4.2: Reinstall the Wheels
Reinstall the wheels and ensure they are properly secured.
Pro Tips & Common Mistakes
- Always use a coil spring compressor when removing the coil springs to avoid injury or damage to the vehicle.
- Ensure the suspension’s travel and articulation are not compromised by the lowering kit.
- Avoid over-tightening the suspension components, as this can lead to reduced travel and articulation.
Cost Analysis: DIY vs Mechanic
The cost of lowering a Jeep can vary depending on the type of lowering kit used and the labor costs involved. On average, a DIY lowering kit can cost between $1,000-$3,000, while a professional mechanic can charge between $2,000-$5,000 for the same job.
Frequently Asked Questions
- Q: What is the recommended ride height for a lowered Jeep? A: The recommended ride height for a lowered Jeep will depend on the type of vehicle and the intended use. Generally, a ride height of 2-4 inches below the stock height is recommended.
- Q: Can I lower my Jeep without a lift kit? A: Yes, it is possible to lower a Jeep without a lift kit, but this is not recommended. A lift kit is designed to provide a safe and stable platform for the vehicle, and lowering the vehicle without one can lead to a range of problems.
- Q: How do I ensure the suspension’s travel and articulation are not compromised? A: To ensure the suspension’s travel and articulation are not compromised, it is essential to use a high-quality lowering kit and to follow the manufacturer’s instructions carefully.
- Q: Can I use a coil spring compressor to remove the coil springs? A: Yes, a coil spring compressor is the recommended tool for removing the coil springs. This tool is designed to safely compress the coil springs and allow for easy removal.
- Q: How do I avoid over-tightening the suspension components? A: To avoid over-tightening the suspension components, it is essential to follow the manufacturer’s instructions carefully and to use a torque wrench to ensure the components are properly secured.
Reference: Technical analysis by Luca Romano (Restoration Specialist) based on reports from Motor1 News.