The Ultimate Guide to Maintaining American Compact Performance Cars
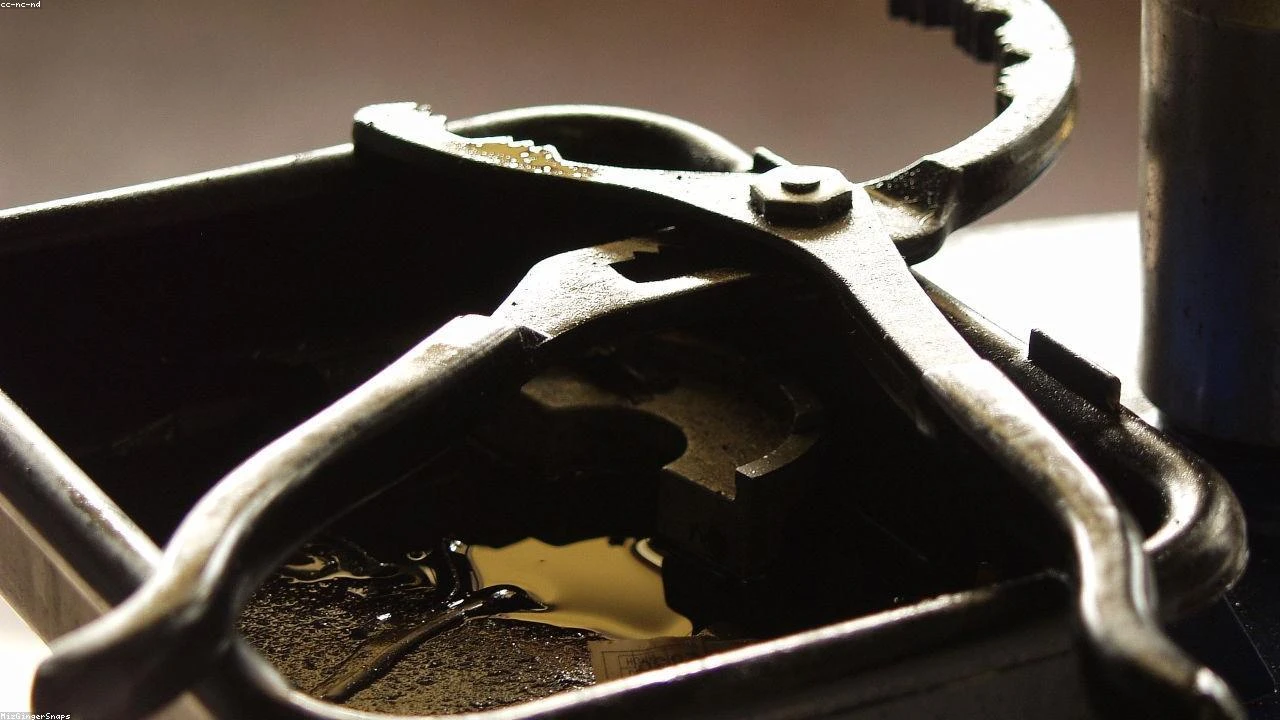
Table of Contents
- The Diagnostic / The Situation
- Technical Deep Dive
- Pre-Work Checklist
- Step-by-Step Guide
- Pro Tips & Common Mistakes
- Cost Analysis: DIY vs Mechanic
- Frequently Asked Questions
The Diagnostic / The Situation
American compact performance cars have gained popularity among Gen Z enthusiasts, offering a unique blend of power, style, and affordability. As a suspension engineer and master Jeep mechanic, I’ll focus on the technical aspects of maintaining these vehicles. Regular maintenance is crucial to ensure optimal performance, safety, and longevity. In this guide, we’ll explore common issues, technical deep dives, and step-by-step maintenance procedures for American compact performance cars.
Symptoms or signs to look for include decreased engine performance, unusual noises, vibrations, or leaks. These issues can be caused by worn-out components, improper tuning, or lack of regular maintenance. It’s essential to address these problems promptly to prevent further damage and costly repairs.
🔧 Related Guides:
Technical Deep Dive
American compact performance cars typically feature turbocharged or supercharged engines, paired with manual or automatic transmissions. The suspension system consists of MacPherson struts, coil springs, and stabilizer bars. The electrical system includes advanced features like infotainment systems, driver assistance technologies, and engine management systems.
Common failure points in these vehicles include:
- The turbocharger’s wastegate actuator, which can fail due to carbon buildup or excessive boost pressure.
- The engine’s PCV (positive crankcase ventilation) system, which can clog and cause oil leaks or engine damage.
- The suspension’s coil springs, which can weaken over time and affect handling and ride quality.
Pre-Work Checklist
At a Glance Table
| Task | Difficulty | Time | Cost | DIY vs Shop |
|---|---|---|---|---|
| Oil change | 2 | 1 hour | $50 | DIY |
| Brake pad replacement | 3 | 2 hours | $200 | Shop |
| Suspension inspection | 2 | 1 hour | $0 | DIY |
Tools Required
- Socket set
- Wrench set
- Pliers and punches
- Multimeter
- Air compressor (for suspension work)
Safety Warnings
- Always wear protective gear, including gloves, safety glasses, and a face mask.
- Ensure the vehicle is securely supported by jack stands and on a level surface.
- Never work under a vehicle that’s only supported by a jack.
Step-by-Step Guide
Step 1: Oil Change and Fluid Check
Step 1.1: Gather materials and warm up the engine
Collect the necessary tools, oil filter, and new oil. Drive the vehicle for a few minutes to warm up the engine.
Step 1.2: Drain the oil and replace the filter
Locate the oil drain plug and remove it using a socket wrench. Allow the oil to drain into a pan. Replace the oil filter with a new one, hand tightening it in a clockwise direction.
Step 1.3: Refill the oil and check other fluids
Refill the oil with the recommended type and amount. Check the coolant, brake, and transmission fluids for proper levels and condition.
Step 2: Brake Pad Replacement
Step 2.1: Remove the wheels and calipers
Raise the vehicle and remove the wheels using a lug wrench. Remove the calipers using a socket wrench, taking care not to damage the brake hoses.
Step 2.2: Remove the old brake pads and install new ones
Pull out the old brake pads and discard them. Install the new brake pads, ensuring proper alignment and securement.
Step 2.3: Reinstall the calipers and wheels
Reinstall the calipers, hand tightening the bolts in a star pattern. Reinstall the wheels, tightening the lug nuts in a star pattern to the recommended torque specification (typically 80-100 ft-lbs).
Step 3: Suspension Inspection and Maintenance
Step 3.1: Inspect the coil springs and shocks
Visually inspect the coil springs for signs of weakness or damage. Check the shocks for leaks or excessive wear.
Step 3.2: Check the stabilizer bars and links
Inspect the stabilizer bars for damage or excessive wear. Check the links for proper tightness and condition.
Step 3.3: Perform a bounce test
Perform a bounce test to check the suspension’s overall condition and damping.
Pro Tips & Common Mistakes
- Always refer to the vehicle’s repair manual for specific instructions and torque specifications.
- Use a torque wrench to avoid over-tightening or under-tightening bolts and fasteners.
- Never neglect regular maintenance, as it can lead to costly repairs and decreased performance.
Cost Analysis: DIY vs Mechanic
- Oil change: DIY ($50) vs Mechanic ($100-$150)
- Brake pad replacement: DIY ($200) vs Mechanic ($300-$500)
- Suspension inspection and maintenance: DIY ($0) vs Mechanic ($100-$200)
Frequently Asked Questions
- Q: What type of oil should I use in my American compact performance car? A: Refer to the vehicle’s owner’s manual for the recommended oil type and viscosity.
- Q: How often should I change my brake pads? A: Brake pads should be changed every 30,000 to 50,000 miles, depending on driving conditions and brake usage.
- Q: Can I upgrade my suspension with aftermarket components? A: Yes, but ensure that the aftermarket components are compatible with your vehicle’s make and model, and follow proper installation procedures.
- Q: How do I troubleshoot a faulty turbocharger? A: Check the turbocharger’s wastegate actuator, boost pressure sensor, and vacuum hoses for signs of damage or blockage.
- Q: What are the benefits of regular maintenance for my American compact performance car? A: Regular maintenance can improve fuel efficiency, increase performance, and extend the lifespan of your vehicle’s components.
Reference: Technical analysis by Marcus Reynolds (Suspension Engineer) based on reports from Jalopnik.