The Ultimate Guide to Maintaining American-Made Vehicles: A Masterclass
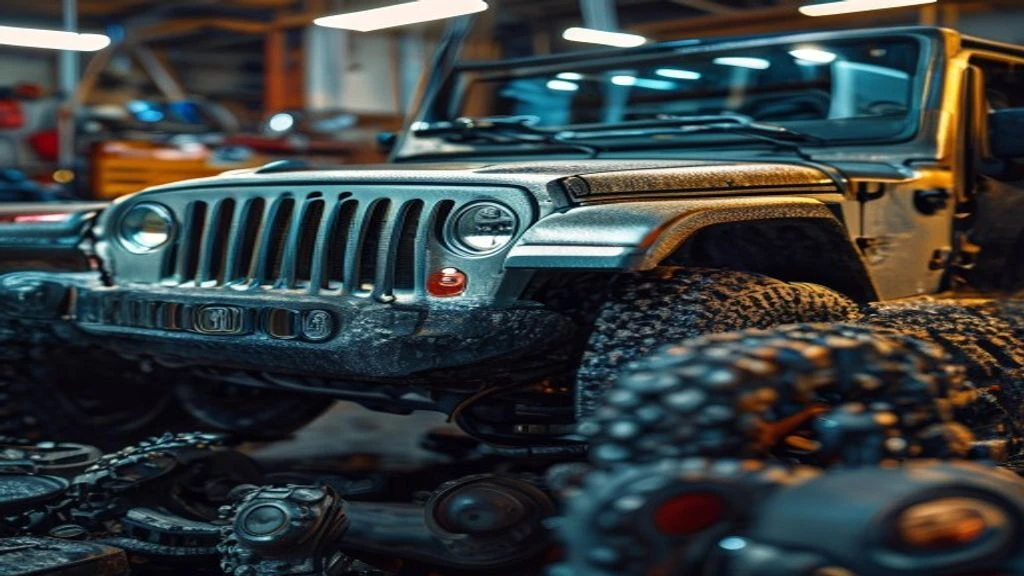
Table of Contents
- The Diagnostic / The Situation
- Technical Deep Dive
- Pre-Work Checklist
- Step-by-Step Guide
- Pro Tips & Common Mistakes
- Cost Analysis: DIY vs Mechanic
- Frequently Asked Questions
The Diagnostic / The Situation
As the automotive landscape continues to evolve, the concept of ‘American-made’ vehicles has become increasingly complex. With many foreign automakers establishing manufacturing plants in the United States, the lines between domestic and international brands have blurred. However, one thing remains constant: the need for regular maintenance to ensure the longevity and performance of your vehicle. In this guide, we will delve into the world of American-made vehicles, exploring the technical aspects of maintenance and providing a comprehensive roadmap for DIY enthusiasts and professional mechanics alike.
🔧 Related Guides:
Technical Deep Dive
American-made vehicles, such as the Jeep Wrangler and Gladiator, are known for their ruggedness and reliability. However, like any complex machine, they require regular maintenance to function optimally. The engine, suspension, and electrical systems are all critical components that demand attention. Common failure points include the water pump, alternator, and suspension bushings. Understanding how these systems work and identifying potential failure points are crucial for effective maintenance.
Pre-Work Checklist
At a Glance Table
| Task | Difficulty (1-5) | Time | Cost | DIY vs Shop |
|---|---|---|---|---|
| Oil Change | 2 | 1 hour | $50 | DIY |
| Brake Pad Replacement | 3 | 2 hours | $200 | Shop |
| Suspension Bushing Replacement | 4 | 3 hours | $300 | Shop |
Tools Required
- 10mm Socket
- Torque Wrench
- Pliers
- Screwdrivers
- Air Compressor (for suspension work)
Safety Warnings
- Always wear protective gear, including gloves and safety glasses, when working with power tools and electrical systems.
- Ensure the vehicle is securely supported by jack stands before performing any maintenance tasks.
- Never work under a vehicle that is only supported by a jack.
Step-by-Step Guide
Oil Change
Draining the Oil
- Locate the oil drain plug, usually found at the bottom of the engine.
- Use a 10mm socket to loosen the plug, then allow the oil to drain into a pan.
- Once the oil has stopped dripping, replace the plug and tighten to the specified torque (30 ft-lbs).
Replacing the Oil Filter
- Locate the oil filter, usually found on top of the engine.
- Use a filter wrench to loosen and remove the filter.
- Install a new oil filter, hand tightening to ensure a secure seal.
Refilling the Oil
- Use a funnel to pour in the new oil, taking care not to overfill.
- Replace the oil cap and start the engine, allowing it to run for a few minutes to circulate the new oil.
Brake Pad Replacement
Removing the Wheels
- Loosen the lug nuts using a torque wrench (100 ft-lbs).
- Raise the vehicle using a jack and support with jack stands.
- Remove the lug nuts and wheels, setting them aside.
Accessing the Brake Pads
- Remove the caliper bolts (30 ft-lbs) and slide the caliper off the rotor.
- Use a screwdriver to remove the old brake pads, taking care not to damage the brake hardware.
Installing the New Brake Pads
- Install the new brake pads, ensuring they are properly seated and aligned.
- Reinstall the caliper, tightening the bolts to the specified torque (30 ft-lbs).
Suspension Bushing Replacement
Removing the Suspension Components
- Raise the vehicle using a jack and support with jack stands.
- Remove the suspension components, including the control arms and sway bars.
- Use a press to remove the old bushings, taking care not to damage the surrounding metal.
Installing the New Bushings
- Install the new bushings, ensuring they are properly seated and aligned.
- Reinstall the suspension components, tightening the bolts to the specified torque (50 ft-lbs).
Pro Tips & Common Mistakes
- Always refer to the vehicle’s repair manual for specific instructions and torque specifications.
- Use a torque wrench to ensure accurate tightening of bolts and fasteners.
- Never reuse old brake pads or suspension bushings, as they can lead to premature wear and failure.
Cost Analysis: DIY vs Mechanic
The cost of maintenance can vary greatly depending on the task and the individual’s level of expertise. DIY enthusiasts can save money by performing routine maintenance tasks, such as oil changes and brake pad replacements. However, more complex tasks, such as suspension work, may require the expertise of a professional mechanic. The cost of parts and labor can range from $500 to $2,000, depending on the task and the mechanic’s rates.
Frequently Asked Questions
- What is the recommended maintenance schedule for my American-made vehicle? The recommended maintenance schedule can be found in the vehicle’s repair manual or by consulting with a professional mechanic.
- How often should I change my oil? The oil change interval depends on the vehicle’s make and model, as well as driving conditions. Typically, oil changes are recommended every 5,000 to 7,500 miles.
- What are the most common failure points in American-made vehicles? Common failure points include the water pump, alternator, and suspension bushings.
- Can I perform maintenance tasks myself, or should I take my vehicle to a mechanic? The decision to perform maintenance tasks yourself or take your vehicle to a mechanic depends on your level of expertise and comfort with complex repairs.
- What are the benefits of regular maintenance for my American-made vehicle? Regular maintenance can help extend the life of your vehicle, improve performance, and prevent costly repairs down the road.
Reference: Technical analysis by Luca Romano (Restoration Specialist) based on reports from Motor1 News.