The Ultimate Guide to Maintaining and Modifying Muscle Wagons
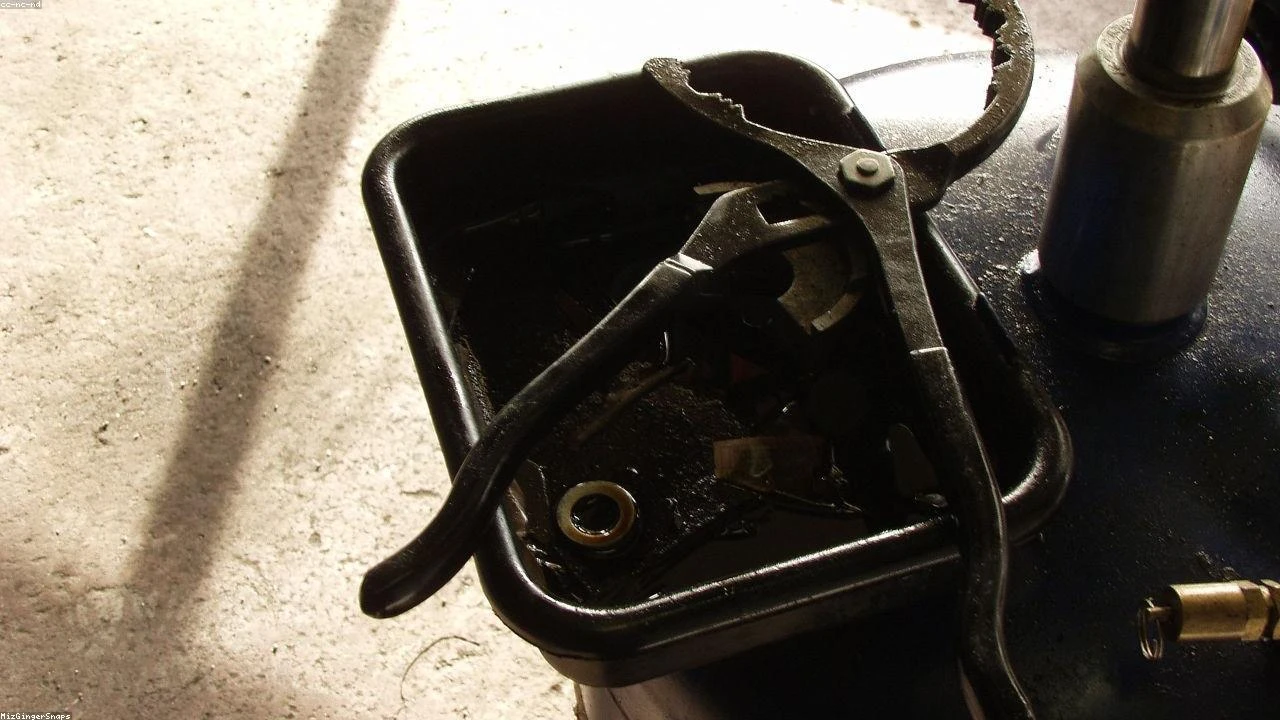
Table of Contents
- Technical Deep Dive
- Pre-Work Checklist
- Step-by-Step Guide
- Pro Tips & Common Mistakes
- Cost Analysis: DIY vs Mechanic
- Frequently Asked Questions
The Diagnostic / The Situation
Muscle wagons have long been a favorite among car enthusiasts, offering a unique blend of power, style, and practicality. However, with great power comes great responsibility, and maintaining these vehicles can be a challenge. In this guide, we’ll take a closer look at the technical background of muscle wagons, common symptoms to look out for, and provide a comprehensive maintenance and modification plan.
🔧 Related Guides:
Muscle wagons are typically equipped with high-performance engines, transmissions, and suspension systems, which can be prone to wear and tear. Common symptoms to look out for include decreased performance, unusual noises, and vibrations. Regular maintenance is crucial to prevent these issues and ensure your muscle wagon continues to run smoothly.
Technical Deep Dive
Muscle wagons typically feature a rear-wheel drive or all-wheel drive layout, with a high-performance engine and transmission. The engine is usually a V8, with a displacement ranging from 5.0 to 6.2 liters. The transmission is often a automatic or manual, with a range of gear ratios to suit different driving styles.
Common failure points in muscle wagons include the engine’s piston rings, cylinder head gaskets, and valve train components. The transmission can also be prone to issues, particularly the clutch pack and gear sets. The suspension system can also be susceptible to wear, particularly the shocks, struts, and control arms.
Pre-Work Checklist
At a Glance Table
| Task | Difficulty | Time | Cost | DIY vs Shop |
|---|---|---|---|---|
| Oil change | 2 | 1 hour | $50 | DIY |
| Brake pad replacement | 3 | 2 hours | $200 | DIY |
| Suspension overhaul | 5 | 10 hours | $1,000 | Shop |
Tools Required
- Socket set
- Wrench set
- Pliers and punches
- Air compressor and impact gun
- Brake bleeding kit
- Suspension compressor
Safety Warnings
- Always wear protective gear, including gloves, safety glasses, and a face mask
- Ensure the vehicle is securely supported on jack stands before starting work
- Never work under a vehicle that is only supported by a jack
Step-by-Step Guide
Step 1: Oil Change
Step 1.1: Gather materials
Gather the necessary materials, including oil filter wrench, new oil filter, and enough motor oil to fill the engine.
Step 1.2: Warm up the engine
Warm up the engine by driving the vehicle for a few minutes or letting it idle for 10-15 minutes.
Step 1.3: Drain the oil
Locate the oil drain plug and use a socket wrench to remove it. Allow the oil to drain into a pan.
Step 1.4: Replace the oil filter
Use an oil filter wrench to remove the old oil filter and install a new one.
Step 1.5: Refill the oil
Refill the engine with the recommended type and amount of motor oil.
Step 2: Brake Pad Replacement
Step 2.1: Remove the wheels
Remove the wheels to access the brake calipers.
Step 2.2: Remove the caliper
Use a wrench to loosen the caliper bolts and slide the caliper off the rotor.
Step 2.3: Remove the old brake pads
Use a screwdriver to remove the old brake pads from the caliper.
Step 2.4: Install the new brake pads
Install the new brake pads into the caliper, ensuring they are properly seated.
Step 2.5: Reinstall the caliper
Reinstall the caliper and tighten the caliper bolts.
Step 3: Suspension Overhaul
Step 3.1: Remove the wheels and suspension components
Remove the wheels, shocks, struts, and control arms to access the suspension system.
Step 3.2: Inspect the suspension components
Inspect the suspension components for wear and damage.
Step 3.3: Replace the worn components
Replace the worn components with new ones, ensuring they are properly installed and aligned.
Step 3.4: Reinstall the suspension components
Reinstall the suspension components, including the shocks, struts, and control arms.
Pro Tips & Common Mistakes
- Always use the recommended type and amount of motor oil to prevent engine damage.
- Never mix different types of brake pads, as this can cause uneven braking performance.
- Ensure the suspension system is properly aligned to prevent uneven tire wear and poor handling.
Cost Analysis: DIY vs Mechanic
The cost of maintaining and modifying a muscle wagon can vary widely, depending on the specific tasks and components involved. Here’s a breakdown of the estimated costs:
- Oil change: $50 (DIY), $100 (mechanic)
- Brake pad replacement: $200 (DIY), $500 (mechanic)
- Suspension overhaul: $1,000 (DIY), $2,500 (mechanic)
Frequently Asked Questions
- What type of oil should I use in my muscle wagon? The recommended type of oil will depend on the specific engine and climate. Consult the owner’s manual or speak with a mechanic for guidance.
- How often should I change my brake pads? Brake pads should be changed every 30,000 to 50,000 miles, depending on driving habits and conditions.
- Can I modify my muscle wagon’s suspension system myself? While it’s possible to modify the suspension system yourself, it’s recommended to seek the advice of a professional mechanic or suspension specialist to ensure the work is done correctly and safely.
- What are the benefits of upgrading my muscle wagon’s engine? Upgrading the engine can provide increased power and performance, but it can also increase the risk of engine damage and decreased fuel efficiency.
- How can I improve my muscle wagon’s handling and stability? Improving the handling and stability of a muscle wagon can be achieved through suspension modifications, such as upgrading the shocks, struts, and control arms, as well as aligning the suspension system properly.
Reference: Technical analysis by Ben Foster (Trail Recovery Instructor) based on reports from Jalopnik.