The Ultimate Guide to Maintaining Your Camper Van: A Masterclass for Off-Grid Adventures
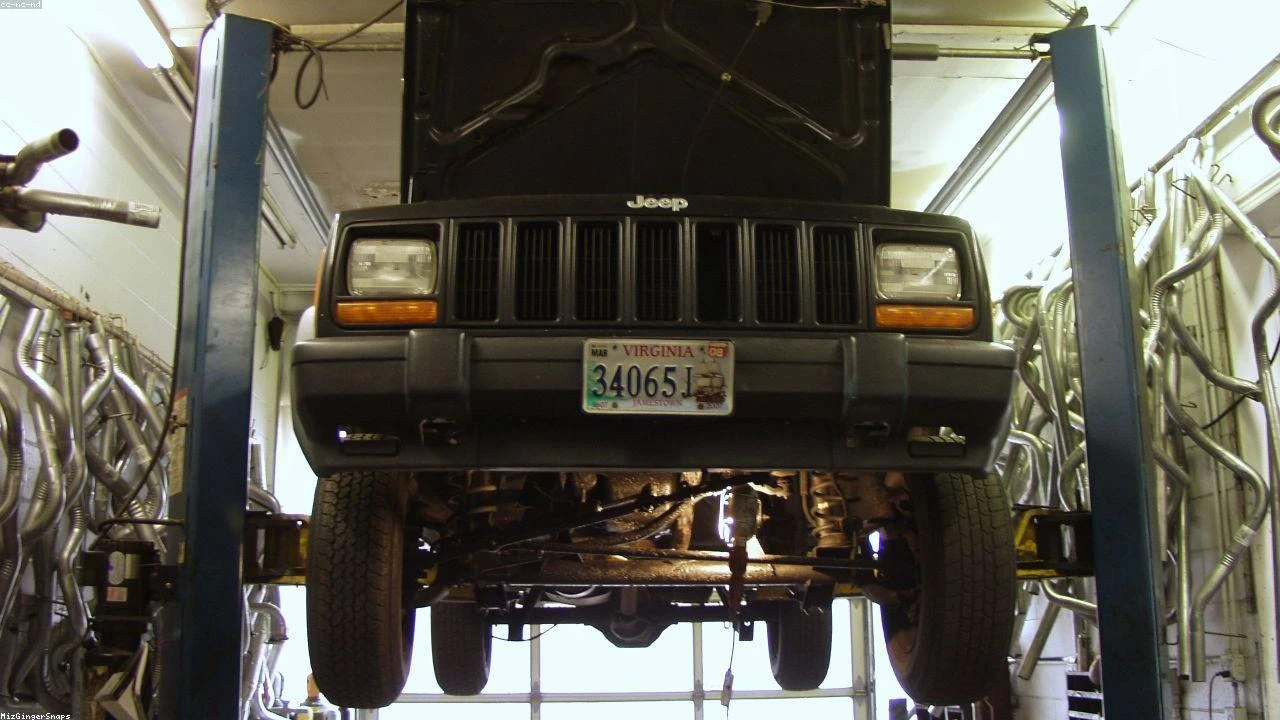
Table of Contents
- The Diagnostic / The Situation
- Technical Deep Dive
- Pre-Work Checklist
- Step-by-Step Guide
- Pro Tips & Common Mistakes
- Cost Analysis: DIY vs Mechanic
- Frequently Asked Questions
The Diagnostic / The Situation
As a seasoned off-road enthusiast and mechanic, I’ve seen my fair share of camper vans. The Ford Nugget, a collaboration between Ford and Westfalia, has been a popular choice among adventure-seekers since its introduction in 1986. However, like any vehicle, it requires regular maintenance to ensure a smooth and enjoyable off-grid experience. In this guide, we’ll delve into the technical aspects of camper van maintenance, focusing on common issues and preventative measures.
🔧 Related Guides:
Symptoms or signs to look for include unusual noises, leaks, or performance issues. Regular check-ups can help identify potential problems before they become major concerns. As a camper van owner, it’s essential to be proactive in maintaining your vehicle to avoid being stranded in the middle of nowhere.
Technical Deep Dive
The camper van’s system consists of various components, including the engine, transmission, suspension, and electrical systems. Understanding how these systems work is crucial for identifying potential failure points. The engine, for example, is the heart of the vehicle, and issues such as oil leaks or faulty spark plugs can cause significant problems.
Common failure points in camper vans include:
- The water pump, which can fail due to corrosion or worn-out seals
- The battery, which can drain quickly if not properly maintained
- The suspension, which can wear out over time, affecting the vehicle’s stability and handling
Pre-Work Checklist
At a Glance Table
| Task | Difficulty | Time | Cost | DIY vs Shop |
|---|---|---|---|---|
| Oil change | 2/5 | 1 hour | $50 | DIY |
| Brake pad replacement | 4/5 | 2 hours | $200 | Shop |
| Suspension check | 3/5 | 1 hour | $0 | DIY |
Tools Required
- Socket set
- Wrench set
- Multimeter
- Tire pressure gauge
- Oil filter wrench
Safety Warnings
- Always wear protective gear, including gloves and safety glasses, when working with power tools or under the vehicle
- Ensure the vehicle is on a level surface and apply the parking brake before starting any maintenance work
- Never work under a vehicle that is supported only by a jack
Step-by-Step Guide
Step 1: Oil Change
Step 1.1: Gather materials
Collect the necessary materials, including oil filters, oil drain pan, and new oil.
Step 1.2: Warm up the engine
Drive the vehicle for a few minutes to warm up the engine.
Step 1.3: Drain the oil
Locate the oil drain plug and use a socket wrench to remove it. Allow the oil to drain into the oil drain pan.
Step 1.4: Replace the oil filter
Use an oil filter wrench to remove the old oil filter and install a new one.
Step 2: Brake Pad Replacement
Step 2.1: Remove the wheel
Use a lug wrench to remove the wheel and expose the brake caliper.
Step 2.2: Remove the caliper
Use a socket wrench to remove the caliper bolts and slide the caliper off the rotor.
Step 2.3: Remove the old brake pads
Pull out the old brake pads and discard them.
Step 2.4: Install the new brake pads
Insert the new brake pads and reassemble the caliper.
Step 3: Suspension Check
Step 3.1: Inspect the shocks
Visually inspect the shocks for signs of wear or damage.
Step 3.2: Check the bushings
Inspect the bushings for signs of wear or damage.
Step 3.3: Check the springs
Inspect the springs for signs of wear or damage.
Pro Tips & Common Mistakes
- Don’t neglect regular maintenance, as it can lead to costly repairs down the road
- Use the correct type of oil for your vehicle, as specified in the owner’s manual
- Avoid over-tightening bolts, as it can damage the threads or strip the head
Cost Analysis: DIY vs Mechanic
The cost of maintaining a camper van can vary depending on the task and the individual’s level of expertise. DIY maintenance can save money, but it’s essential to consider the cost of tools and materials. A mechanic may charge labor costs, but they can also provide expert advice and ensure the job is done correctly.
Frequently Asked Questions
- Q: How often should I change my oil? A: The recommended oil change interval varies depending on the vehicle and driving conditions. Consult your owner’s manual for specific guidance.
- Q: What type of oil should I use in my camper van? A: Use the type of oil specified in the owner’s manual. Using the wrong type of oil can damage the engine.
- Q: How do I check my brake pads? A: Visually inspect the brake pads for signs of wear or damage. Consult a mechanic if you’re unsure.
- Q: Can I replace my suspension components myself? A: It’s possible to replace suspension components yourself, but it’s recommended to consult a mechanic if you’re unsure.
- Q: How often should I inspect my tires? A: Inspect your tires regularly, ideally before each trip, to ensure they’re properly inflated and show no signs of wear or damage.
Reference: Technical analysis by Dave Harsya (Certified 4x4 Mechanic) based on reports from Motor1 News.