The Ultimate Guide to Maintaining Your Jeep's Backup Camera System
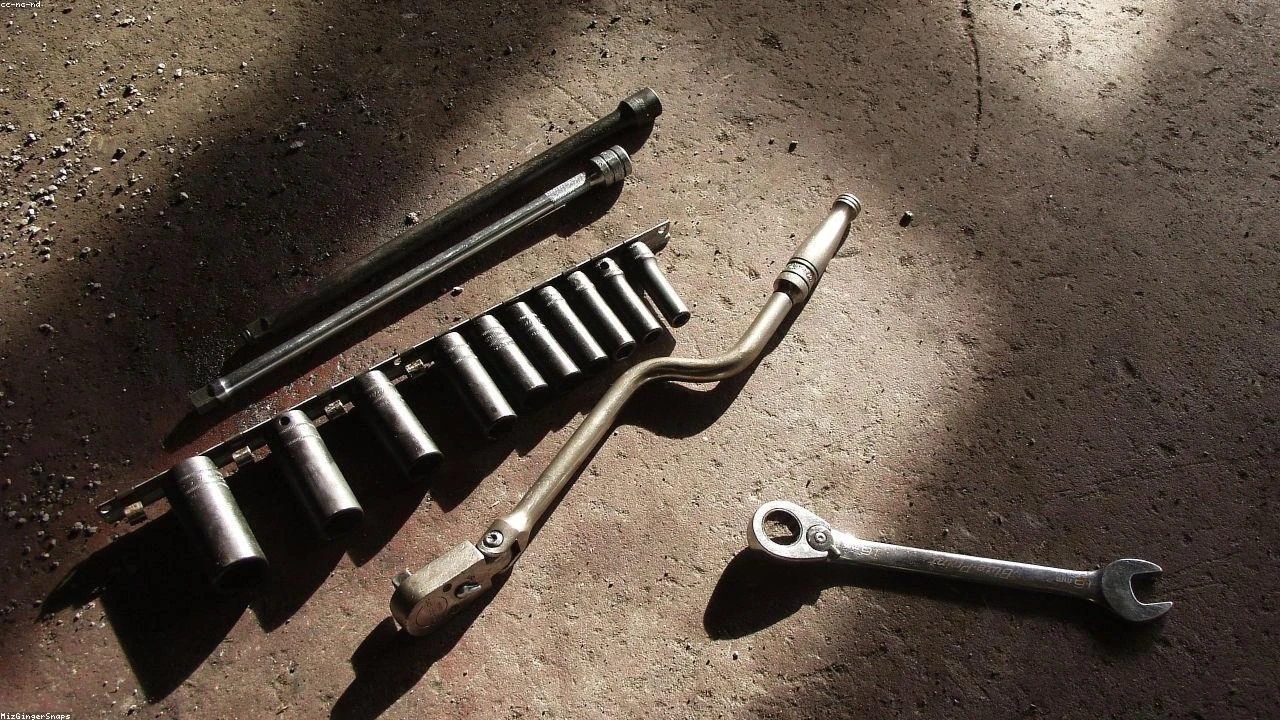
Table of Contents
- The Diagnostic / The Situation
- Technical Deep Dive
- Pre-Work Checklist
- Step-by-Step Guide
- Pro Tips & Common Mistakes
- Cost Analysis: DIY vs Mechanic
- Frequently Asked Questions
The Diagnostic / The Situation
The backup camera system in your Jeep is a critical safety feature that helps prevent accidents and injuries when reversing. However, like any other electronic system, it requires regular maintenance to function properly. Failure to maintain the backup camera system can lead to costly repairs, which can range from a few hundred to several thousand dollars, depending on the extent of the damage. In this guide, we will explore the technical background of the backup camera system, common symptoms of malfunction, and a step-by-step guide on how to maintain it.
🔧 Related Guides:
Symptoms of a malfunctioning backup camera system may include a blank or distorted screen, no image display, or a warning message on the infotainment screen. In some cases, the system may not turn on at all, or the camera lens may be dirty or damaged.
Technical Deep Dive
The backup camera system in your Jeep consists of a camera lens, a video processor, and a display screen. The camera lens is usually located near the rear license plate, and it captures a wide-angle view of the area behind the vehicle. The video processor is responsible for converting the camera’s analog signal into a digital signal that can be displayed on the screen. The display screen is usually integrated into the infotainment system, and it shows the live feed from the camera.
Common failure points in the backup camera system include a dirty or damaged camera lens, a faulty video processor, or a malfunctioning display screen. In some cases, the system may not function properly due to software issues or wiring problems.
Pre-Work Checklist
| Task | Difficulty | Time | Cost | DIY vs Shop |
|---|---|---|---|---|
| Cleaning the camera lens | 1 | 10 minutes | $0 | DIY |
| Replacing the camera lens | 3 | 1 hour | $50-$100 | DIY/Shop |
| Replacing the video processor | 4 | 2 hours | $200-$500 | Shop |
| Replacing the display screen | 5 | 3 hours | $500-$1000 | Shop |
Tools Required
- Soft cloth or brush for cleaning the camera lens
- Torx screwdriver for removing the camera lens
- Electrical connector for connecting the video processor
- Infotainment system software update tool (if necessary)
Safety Warnings
- Always turn off the engine and engage the parking brake before starting work on the backup camera system.
- Avoid touching the camera lens or other electrical components to prevent damage or injury.
- If you are not comfortable with DIY repairs, consult a professional mechanic or the dealership.
Step-by-Step Guide
Cleaning the Camera Lens
Step 1: Locate the Camera Lens
The camera lens is usually located near the rear license plate. You may need to remove the license plate or trim to access the lens.
Step 2: Remove Debris and Dirt
Use a soft cloth or brush to gently remove any debris or dirt from the camera lens. Avoid using harsh chemicals or abrasive materials that may damage the lens.
Step 3: Inspect the Lens
Inspect the lens for any signs of damage or scratches. If the lens is damaged, you may need to replace it.
Replacing the Camera Lens
Step 1: Remove the Trim or License Plate
Remove the trim or license plate to access the camera lens. You may need to use a Torx screwdriver to remove the screws.
Step 2: Disconnect the Electrical Connector
Disconnect the electrical connector from the camera lens. You may need to use a wrench or pliers to release the connector.
Step 3: Remove the Old Lens
Remove the old lens and discard it. Make sure to handle the new lens with care to avoid damaging it.
Step 4: Install the New Lens
Install the new lens and connect the electrical connector. Make sure the lens is securely fastened to the vehicle.
Replacing the Video Processor
Step 1: Locate the Video Processor
The video processor is usually located under the dashboard or in the trunk. You may need to remove trim or panels to access it.
Step 2: Disconnect the Electrical Connectors
Disconnect the electrical connectors from the video processor. You may need to use a wrench or pliers to release the connectors.
Step 3: Remove the Old Processor
Remove the old processor and discard it. Make sure to handle the new processor with care to avoid damaging it.
Step 4: Install the New Processor
Install the new processor and connect the electrical connectors. Make sure the processor is securely fastened to the vehicle.
Pro Tips & Common Mistakes
- Always handle the camera lens and other electrical components with care to avoid damaging them.
- Avoid using harsh chemicals or abrasive materials to clean the camera lens.
- If you are not comfortable with DIY repairs, consult a professional mechanic or the dealership.
- Make sure to test the backup camera system after completing any repairs to ensure it is functioning properly.
Cost Analysis: DIY vs Mechanic
The cost of maintaining the backup camera system can vary depending on the extent of the repairs. If you are comfortable with DIY repairs, you can save money by buying the replacement parts and doing the work yourself. However, if you are not comfortable with DIY repairs or if the repairs are complex, it may be more cost-effective to consult a professional mechanic or the dealership.
- DIY cost: $50-$100 (replacement parts)
- Mechanic cost: $200-$500 (labor and replacement parts)
- Dealership cost: $500-$1000 (labor and replacement parts)
Frequently Asked Questions
- Q: How often should I clean the camera lens? A: You should clean the camera lens every 1-2 months to ensure it is free from debris and dirt.
- Q: Can I replace the camera lens myself? A: Yes, you can replace the camera lens yourself if you are comfortable with DIY repairs. However, if you are not comfortable, consult a professional mechanic or the dealership.
- Q: What are the common symptoms of a malfunctioning backup camera system? A: Common symptoms of a malfunctioning backup camera system include a blank or distorted screen, no image display, or a warning message on the infotainment screen.
- Q: Can I update the software of the backup camera system myself? A: Yes, you can update the software of the backup camera system yourself if you have the necessary tools and expertise. However, if you are not comfortable, consult a professional mechanic or the dealership.
- Q: How much does it cost to replace the backup camera system? A: The cost of replacing the backup camera system can vary depending on the extent of the repairs. If you are comfortable with DIY repairs, you can save money by buying the replacement parts and doing the work yourself. However, if you are not comfortable with DIY repairs or if the repairs are complex, it may be more cost-effective to consult a professional mechanic or the dealership.
Reference: Technical analysis by Marcus Reynolds (Suspension Engineer) based on reports from Jalopnik.