The Ultimate Guide to Maintaining Your Luxury Vehicle's Electrical System: A Masterclass
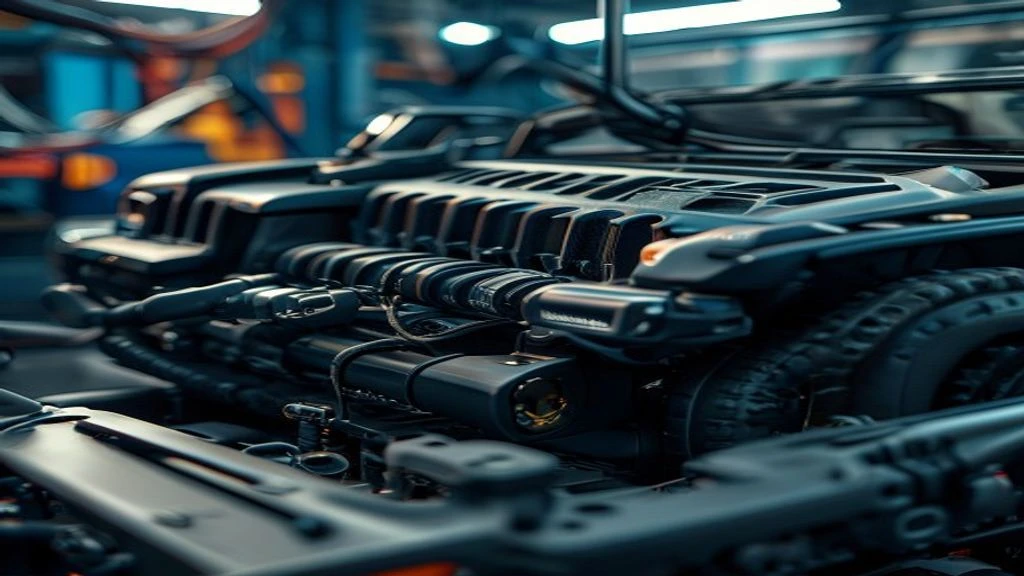
Table of Contents
- The Diagnostic / The Situation
- Technical Deep Dive
- Pre-Work Checklist
- Step-by-Step Guide
- Pro Tips & Common Mistakes
- Cost Analysis: DIY vs Mechanic
- Frequently Asked Questions
The Diagnostic / The Situation
As a luxury vehicle owner, it’s essential to stay on top of maintenance to prevent issues from arising. One critical system that’s often overlooked is the electrical system. A well-maintained electrical system is vital for the overall performance and safety of your vehicle. In this guide, we’ll dive into the importance of maintaining your luxury vehicle’s electrical system, common symptoms to look out for, and provide a comprehensive guide on how to keep it in top shape.
The electrical system is responsible for powering various components, including the engine, transmission, and accessories. A faulty electrical system can lead to a range of problems, from minor annoyances like faulty lighting to more severe issues like engine failure. Regular maintenance is crucial to prevent these problems from occurring.
🔧 Related Guides:
Technical Deep Dive
The electrical system in a luxury vehicle like the Maserati Grecale, GranTurismo, or GranCabrio is complex and consists of various components, including the battery, alternator, starter motor, and wiring harness. The system is designed to provide power to the vehicle’s accessories, including the engine, transmission, and infotainment system.
The battery is the heart of the electrical system, providing power to the starter motor and accessories when the engine is not running. The alternator charges the battery and provides power to the electrical system when the engine is running. The starter motor is responsible for turning the engine over when you start the vehicle.
Common failure points in the electrical system include the battery, alternator, and starter motor. The battery can fail due to age, deep discharging, or corrosion. The alternator can fail due to worn-out bearings, faulty voltage regulators, or overheating. The starter motor can fail due to worn-out brushes, faulty solenoids, or overheating.
Pre-Work Checklist
At a Glance Table
| Task | Difficulty | Time | Cost | DIY vs Shop |
|---|---|---|---|---|
| Battery maintenance | 2/5 | 30 minutes | $50 | DIY |
| Alternator replacement | 4/5 | 2 hours | $500 | Shop |
| Starter motor replacement | 4/5 | 2 hours | $300 | Shop |
Tools Required
- Multimeter
- Battery tester
- Alternator tester
- Starter motor tester
- Torque wrench
- Socket set
- Wrench set
Safety Warnings
- Always wear protective gear, including gloves and safety glasses, when working with electrical systems.
- Make sure the vehicle is in park and the engine is off before starting work.
- Never touch electrical components with your bare hands, as this can cause injury or damage to the system.
Step-by-Step Guide
Checking the Battery
Visual inspection
Inspect the battery for signs of wear, corrosion, or damage. Check the terminals for corrosion and clean them if necessary.
Battery testing
Use a battery tester to check the battery’s state of charge and condition. If the battery is old or weak, consider replacing it.
Replacing the Alternator
Locating the alternator
Locate the alternator in the engine compartment. It’s usually bolted to the engine block or transmission.
Removing the alternator belt
Remove the alternator belt by loosening the tensioner and sliding the belt off the pulley.
Removing the alternator
Remove the alternator by loosening the mounting bolts and pulling it out of the engine compartment.
Installing the new alternator
Install the new alternator by reversing the removal process. Make sure to tighten the mounting bolts and alternator belt to the specified torque.
Replacing the Starter Motor
Locating the starter motor
Locate the starter motor in the engine compartment. It’s usually bolted to the engine block or transmission.
Removing the starter motor
Remove the starter motor by loosening the mounting bolts and pulling it out of the engine compartment.
Installing the new starter motor
Install the new starter motor by reversing the removal process. Make sure to tighten the mounting bolts to the specified torque.
Pro Tips & Common Mistakes
- Always use a torque wrench when tightening bolts to avoid over-tightening or under-tightening.
- Never touch electrical components with your bare hands, as this can cause injury or damage to the system.
- Make sure to follow the manufacturer’s instructions when replacing electrical components.
- Don’t overlook the importance of regular maintenance, as this can help prevent problems from occurring.
Cost Analysis: DIY vs Mechanic
The cost of maintaining your luxury vehicle’s electrical system can vary depending on the task and whether you choose to DIY or hire a mechanic. Here’s a breakdown of the estimated costs:
- Battery maintenance: $50 (DIY) vs $100 (mechanic)
- Alternator replacement: $500 (DIY) vs $1,000 (mechanic)
- Starter motor replacement: $300 (DIY) vs $600 (mechanic)
Frequently Asked Questions
- What are the common symptoms of a faulty electrical system? The common symptoms of a faulty electrical system include dim or flickering headlights, slow engine crank, and faulty accessories.
- How often should I maintain my luxury vehicle’s electrical system? It’s recommended to maintain your luxury vehicle’s electrical system every 6 months or 5,000 miles, whichever comes first.
- Can I replace the alternator or starter motor myself? Yes, you can replace the alternator or starter motor yourself, but it’s recommended to hire a mechanic if you’re not experienced with electrical systems.
- What are the consequences of neglecting electrical system maintenance? Neglecting electrical system maintenance can lead to a range of problems, from minor annoyances to severe issues like engine failure.
- How can I extend the life of my luxury vehicle’s electrical system? You can extend the life of your luxury vehicle’s electrical system by following the manufacturer’s maintenance schedule, avoiding deep discharging, and keeping the system clean and dry.
Reference: Technical analysis by Luca Romano (Restoration Specialist) based on reports from Jalopnik.