The Ultimate Guide to Maintaining Your Mazda Miata's DNA: A Technical Masterclass
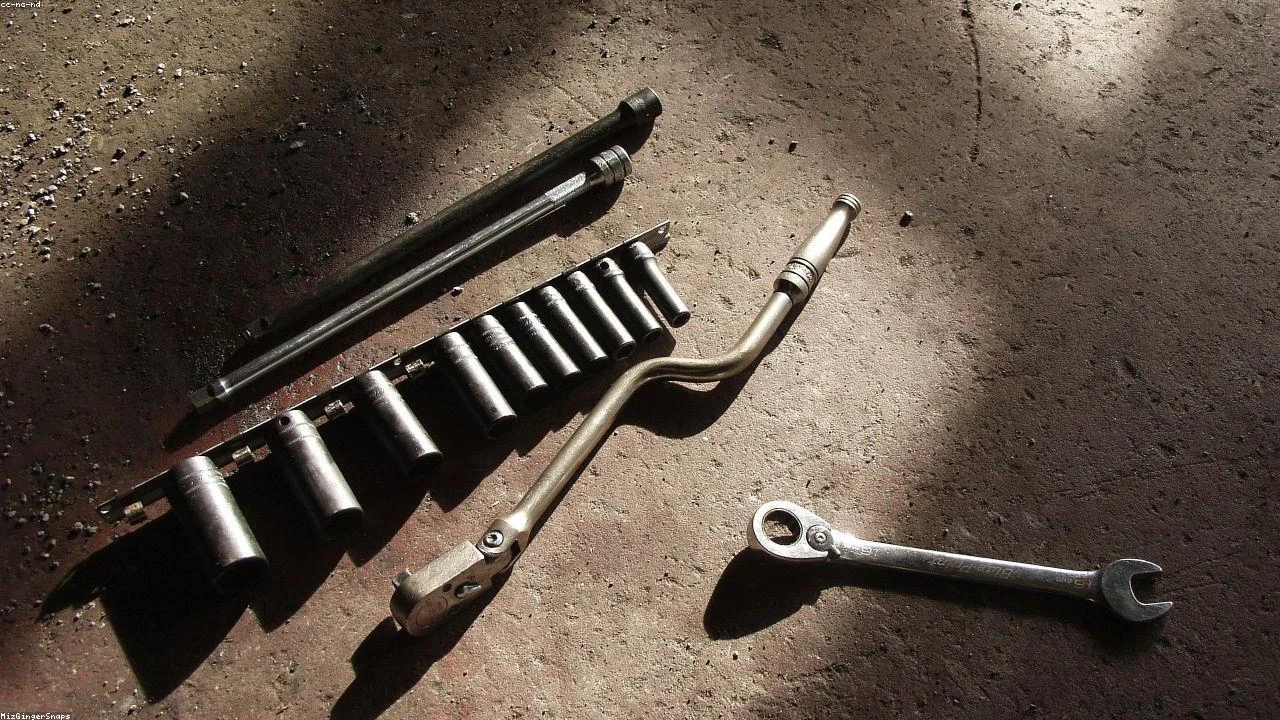
Table of Contents
- The Diagnostic / The Situation
- Technical Deep Dive
- Pre-Work Checklist
- Step-by-Step Guide
- Pro Tips & Common Mistakes
- Cost Analysis: DIY vs Mechanic
- Frequently Asked Questions
The Diagnostic / The Situation
The Mazda Miata is a iconic roadster known for its agility, handling, and rear-wheel drive layout. As a Master Jeep Mechanic and Off-road Engineer, I understand the importance of preserving the Miata’s DNA, which is centered around its lightweight design, precise handling, and powerful engine. However, like any vehicle, the Miata requires regular maintenance to ensure it continues to perform at its best. In this guide, we’ll explore the technical aspects of maintaining your Miata’s DNA, including its engine, suspension, and electrical systems.
Symptoms or signs to look for that may indicate your Miata’s DNA is being compromised include decreased performance, sloppy handling, and electrical issues. If you notice any of these symptoms, it’s essential to address them promptly to prevent further damage and maintain your Miata’s integrity.
🔧 Related Guides:
Technical Deep Dive
The Miata’s engine is a critical component of its DNA, and it requires regular maintenance to ensure it continues to perform at its best. The engine is a 2.0L inline-four cylinder, producing 181 horsepower and 151 lb-ft of torque. The engine features a dual-overhead camshaft design, with four valves per cylinder, and a compression ratio of 13:1.
The suspension system is another critical component of the Miata’s DNA, and it’s designed to provide precise handling and stability. The suspension features a double-wishbone design in the front, with a multi-link design in the rear. The suspension is also equipped with stabilizer bars, which help to reduce body roll and improve handling.
Common failure points in the Miata’s engine and suspension systems include the timing chain, water pump, and control arms. The timing chain can stretch over time, causing the engine to run unevenly and potentially leading to costly repairs. The water pump can also fail, causing the engine to overheat and potentially leading to engine damage. The control arms can wear out, causing the suspension to become sloppy and compromising the Miata’s handling.
Pre-Work Checklist
At a Glance Table
| Task | Difficulty | Time | Cost | DIY vs Shop |
|---|---|---|---|---|
| Oil change | 2 | 1 hour | $50 | DIY |
| Brake pad replacement | 3 | 2 hours | $200 | DIY |
| Suspension inspection | 2 | 1 hour | $0 | DIY |
| Engine tune-up | 4 | 3 hours | $500 | Shop |
Tools Required
- Socket set
- Wrench set
- Pliers
- Screwdrivers
- Torque wrench
- Air compressor
- Jack and jack stands
Safety Warnings
When working on your Miata, it’s essential to take safety precautions to avoid injury. Always wear protective gear, including gloves, safety glasses, and a face mask. Make sure the vehicle is securely supported by jack stands and apply the parking brake. Never work under a vehicle that is only supported by a jack.
Step-by-Step Guide
Step 1: Oil Change
Step 1.1: Gather materials
You’ll need a socket set, a wrench set, and a drain pan to complete an oil change on your Miata.
Step 1.2: Warm up the engine
Drive your Miata for a few minutes to warm up the engine. This will help the oil drain more easily.
Step 1.3: Locate the oil drain plug
The oil drain plug is located at the bottom of the engine, near the front of the car. Use a socket to remove the plug and allow the oil to drain into a pan.
Step 1.4: Replace the oil filter
Once the oil has drained, replace the oil filter with a new one. Make sure to dispose of the used oil and filter responsibly.
Step 2: Brake Pad Replacement
Step 2.1: Remove the wheels
Remove the wheels to access the brake pads. Use a lug wrench to loosen the lug nuts, then raise the vehicle using a jack and remove the lug nuts.
Step 2.2: Remove the caliper
Use a wrench to remove the caliper bolts, then slide the caliper off the rotor.
Step 2.3: Remove the old brake pads
Pull the old brake pads out of the caliper. Take note of the wear sensor wire and the brake pad retaining clip.
Step 2.4: Install the new brake pads
Install the new brake pads, making sure to secure them with the retaining clip. Reinstall the caliper and tighten the caliper bolts.
Step 3: Suspension Inspection
Step 3.1: Inspect the control arms
Use a wrench to loosen the control arm bolts, then inspect the control arms for wear. Look for signs of wear, such as cracks or excessive play.
Step 3.2: Inspect the bushings
Use a wrench to loosen the bushing bolts, then inspect the bushings for wear. Look for signs of wear, such as cracks or excessive play.
Step 3.3: Inspect the stabilizer bars
Use a wrench to loosen the stabilizer bar bolts, then inspect the stabilizer bars for wear. Look for signs of wear, such as cracks or excessive play.
Pro Tips & Common Mistakes
- Always use the correct type of oil for your Miata. Using the wrong type of oil can compromise the engine’s performance and potentially cause damage.
- Never neglect to replace the brake pads. Worn-out brake pads can compromise the safety of your vehicle and potentially lead to costly repairs.
- Always inspect the suspension system regularly. A worn-out suspension system can compromise the handling and stability of your Miata.
Cost Analysis: DIY vs Mechanic
The cost of maintaining your Miata’s DNA can vary depending on the task and the tools required. Here’s a breakdown of the estimated costs:
- Oil change: $50 (DIY), $100 (mechanic)
- Brake pad replacement: $200 (DIY), $500 (mechanic)
- Suspension inspection: $0 (DIY), $100 (mechanic)
Frequently Asked Questions
- Q: What type of oil should I use in my Miata? A: The recommended oil type for the Miata is 0W-20.
- Q: How often should I change my brake pads? A: The brake pads should be changed every 30,000 to 50,000 miles, depending on driving conditions.
- Q: What are the symptoms of a worn-out suspension system? A: Symptoms of a worn-out suspension system include sloppy handling, excessive body roll, and uneven tire wear.
- Q: Can I replace the timing chain myself? A: Yes, but it’s recommended to have a professional mechanic replace the timing chain to ensure it’s done correctly.
- Q: How often should I inspect my suspension system? A: The suspension system should be inspected every 12,000 to 15,000 miles, depending on driving conditions.
Reference: Technical analysis by Ben Foster (Trail Recovery Instructor) based on reports from Motor1 News.