The Ultimate Guide to Maintaining Your Porsche Macan's Engine Before it's Too Late
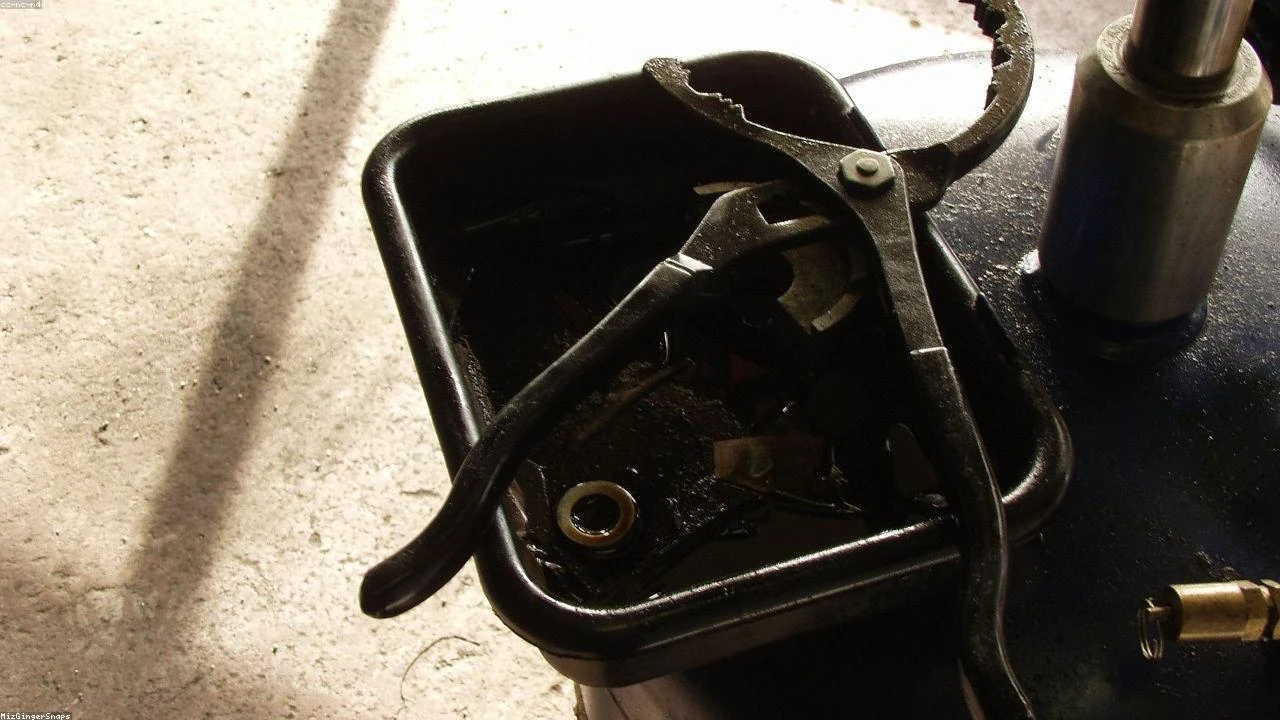
Table of Contents
- The Diagnostic / The Situation
- Technical Deep Dive
- Pre-Work Checklist
- Step-by-Step Guide
- Pro Tips & Common Mistakes
- Cost Analysis: DIY vs Mechanic
- Frequently Asked Questions
The Diagnostic / The Situation
The Porsche Macan is a high-performance SUV that requires regular maintenance to keep its engine running smoothly. With the announcement of the gas Macan’s production ending, it’s essential for owners to take proactive steps in maintaining their vehicle’s engine. Neglecting maintenance can lead to costly repairs, decreased performance, and reduced fuel efficiency. In this guide, we’ll cover the technical background, symptoms, and signs to look out for to ensure your Macan’s engine remains in top condition.
Technical Deep Dive
The Porsche Macan’s engine is a complex system that consists of various components, including the cylinder block, crankshaft, camshaft, and valves. The engine’s performance is heavily reliant on the proper functioning of these components. Common failure points in the Macan’s engine include the timing chain, water pump, and oil pump. The timing chain can stretch over time, causing the engine to misfire and reducing performance. The water pump can fail due to corrosion or wear, leading to overheating and engine damage. The oil pump can also fail, causing low oil pressure and engine damage.
🔧 Related Guides:
Pre-Work Checklist
At a Glance Table
| Difficulty | Time | Cost | DIY vs Shop |
|---|---|---|---|
| 3/5 | 2-3 hours | $500-$1000 | DIY (with experience) |
Tools Required
- 10mm Socket
- 12mm Socket
- Torque Wrench
- Oil filter wrench
- Funnel
- New oil filter
- New spark plugs (if replacing)
Safety Warnings
When working with the engine, it’s essential to take necessary safety precautions to avoid injury. Make sure to:
- Wear protective gloves and eyewear
- Ensure the vehicle is on a level surface and apply the parking brake
- Disconnect the battery before starting work
Step-by-Step Guide
Step 1: Check the Oil Level and Condition
The oil level and condition are crucial in maintaining the engine’s performance. Check the oil level by locating the oil dipstick under the hood. Pull out the dipstick and wipe it clean with a rag. Insert the dipstick back into the oil reservoir and pull it out again. The oil level should be between the minimum and maximum marks on the dipstick. Check the oil condition by looking at the color and consistency. If the oil is dark or dirty, it may be a sign that the oil is dirty and needs to be changed.
Step 1.1: Locate the Oil Drain Plug
The oil drain plug is located at the bottom of the engine, near the front of the car. You’ll need to locate the plug and position a drain pan underneath to catch the old oil.
Step 1.2: Remove the Oil Drain Plug
Use a 10mm socket to remove the oil drain plug. Be prepared for the oil to start draining out quickly.
Step 2: Replace the Oil Filter
The oil filter is responsible for filtering out impurities in the oil. Over time, the filter can become clogged, reducing the engine’s performance. To replace the oil filter, locate the filter on the top of the engine. Use an oil filter wrench to loosen and remove the filter. Dispose of the old filter responsibly.
Step 2.1: Install the New Oil Filter
Take the new oil filter and apply a thin layer of oil to the gasket. Install the new filter by hand tightening it in a clockwise direction.
Step 3: Check the Spark Plugs
The spark plugs are responsible for igniting the fuel in the engine. Over time, the spark plugs can become worn out, reducing the engine’s performance. To check the spark plugs, locate the spark plug wires on the side of the engine. Use a spark plug socket to remove the spark plug. Inspect the spark plug for signs of wear or damage.
Step 3.1: Replace the Spark Plugs (if necessary)
If the spark plugs are worn out or damaged, replace them with new ones. Make sure to gap the new spark plugs according to the manufacturer’s specifications.
Step 4: Check the Timing Chain
The timing chain is responsible for synchronizing the engine’s valves and pistons. Over time, the timing chain can stretch, causing the engine to misfire. To check the timing chain, locate the timing chain cover on the side of the engine. Use a 12mm socket to remove the cover. Inspect the timing chain for signs of wear or damage.
Step 4.1: Replace the Timing Chain (if necessary)
If the timing chain is worn out or damaged, replace it with a new one. Make sure to follow the manufacturer’s instructions for replacing the timing chain.
Pro Tips & Common Mistakes
- Always use the correct type of oil for your Macan’s engine.
- Never over-tighten the oil drain plug or oil filter.
- Make sure to dispose of the old oil and filter responsibly.
- Don’t ignore the warning signs of engine trouble, such as unusual noises or decreased performance.
Cost Analysis: DIY vs Mechanic
The cost of maintaining your Macan’s engine can vary depending on the complexity of the job and the cost of parts. On average, a DIY oil change can cost between $50-$100, while a mechanic can charge between $200-$500. Replacing the spark plugs can cost between $100-$300, while a mechanic can charge between $300-$600. Replacing the timing chain can cost between $500-$1000, while a mechanic can charge between $1000-$2000.
Frequently Asked Questions
- What type of oil should I use in my Macan’s engine? The recommended oil type for the Macan’s engine is 0W-40 synthetic oil.
- How often should I change the oil in my Macan? The recommended oil change interval for the Macan is every 5,000 to 7,500 miles.
- What are the symptoms of a faulty timing chain? The symptoms of a faulty timing chain include engine misfires, reduced performance, and unusual noises.
- Can I replace the spark plugs myself? Yes, replacing the spark plugs is a relatively simple job that can be done at home with the right tools and knowledge.
- How much does it cost to replace the timing chain in a Macan? The cost of replacing the timing chain in a Macan can vary depending on the complexity of the job and the cost of parts. On average, it can cost between $500-$1000 for a DIY replacement, while a mechanic can charge between $1000-$2000.
Reference: Technical analysis by Dave Harsya (Certified 4x4 Mechanic) based on reports from Jalopnik.