The Ultimate Guide to Preparing Your Garage for the New Chrysler Pacifica LX
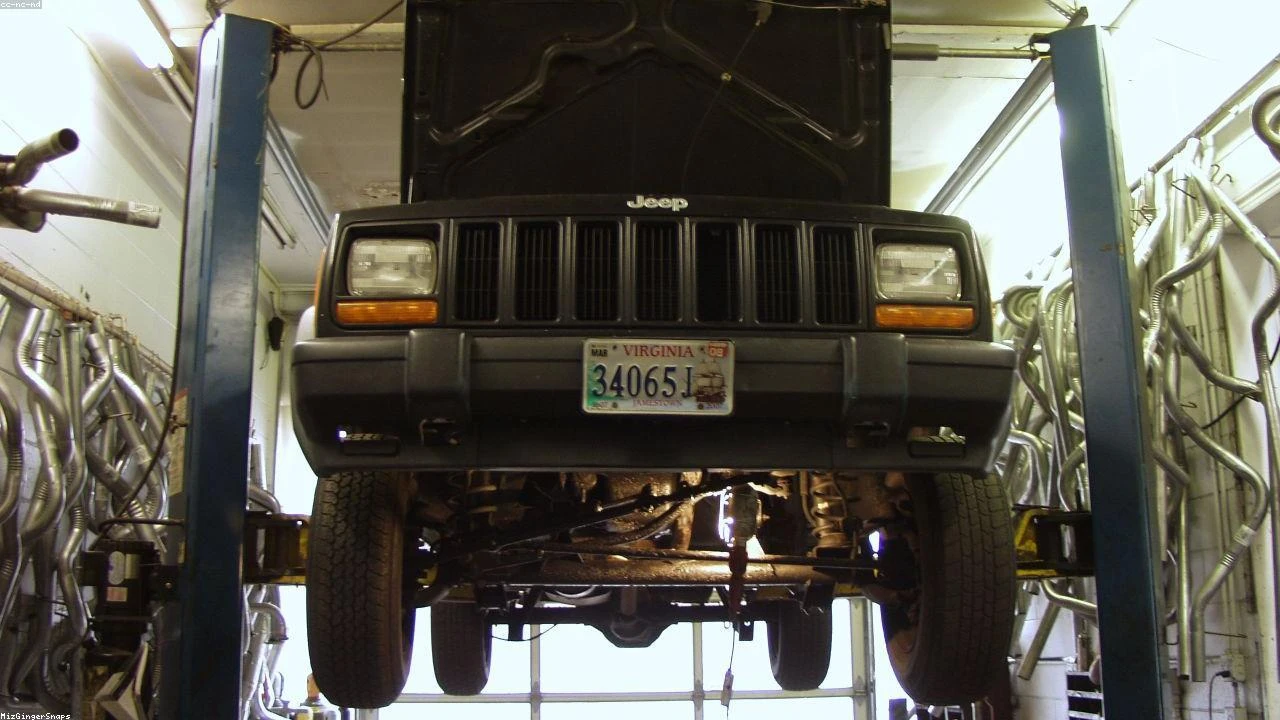
Table of Contents
- The Diagnostic / The Situation
- Technical Deep Dive
- Pre-Work Checklist
- Step-by-Step Guide
- Pro Tips & Common Mistakes
- Cost Analysis: DIY vs Mechanic
- Frequently Asked Questions
The Diagnostic / The Situation
The Chrysler Pacifica LX is the newest addition to the minivan market, replacing the budget-friendly Voyager. As a 4x4 mechanic, I’ll provide a technical prep guide to help you prepare your garage for this new model. The Pacifica LX boasts a range of innovative features, including a sleek design, advanced safety features, and a powerful engine. However, before you bring your new Pacifica LX home, it’s essential to ensure your garage is equipped to handle its maintenance and repair needs.
Symptoms or signs to look for in your garage include inadequate lighting, insufficient storage, and lack of necessary tools. A well-prepared garage will not only make maintenance easier but also help prevent accidents and injuries.
🔧 Related Guides:
Technical Deep Dive
The Chrysler Pacifica LX features a 3.6L V6 engine, paired with an eFlite electrically variable transmission. The minivan also boasts a range of advanced safety features, including forward collision warning, adaptive cruise control, and lane departure warning. To maintain and repair your Pacifica LX, it’s crucial to understand how these systems work and their common failure points.
Common failure points in the Pacifica LX include the engine’s timing chain, the transmission’s solenoid pack, and the electrical system’s wiring harness. Regular maintenance, such as oil changes and tire rotations, will help prevent these issues and ensure your Pacifica LX runs smoothly.
Pre-Work Checklist
At a Glance Table
| Task | Difficulty | Time | Cost | DIY vs Shop |
|---|---|---|---|---|
| Oil change | 2/5 | 1 hour | $50 | DIY |
| Tire rotation | 1/5 | 30 minutes | $20 | DIY |
| Brake pad replacement | 4/5 | 2 hours | $200 | Shop |
Tools Required
- 10mm socket
- Torque wrench
- Oil filter wrench
- Tire pressure gauge
- Brake pad spreader
Safety Warnings
- Always wear protective gloves and safety glasses when working with power tools.
- Ensure the vehicle is on a level surface and apply the parking brake before starting any maintenance or repair work.
- Never work under a lifted vehicle without proper support.
Step-by-Step Guide
Prepare Your Garage
Clear the floor
Clear the floor of any clutter or obstacles to ensure a safe working area.
Install adequate lighting
Install LED lighting to provide sufficient illumination for maintenance and repair work.
Organize your tools
Organize your tools and equipment in a designated area, such as a toolbox or workbench.
Perform Routine Maintenance
Oil change
- Locate the oil drain plug and position a drip pan underneath.
- Remove the oil drain plug and allow the oil to drain completely.
- Replace the oil drain plug and tighten to 30 ft-lbs.
- Fill the engine with the recommended oil type and amount.
- Replace the oil filter and tighten to 10 ft-lbs.
Tire rotation
- Loosen the lug nuts on the first wheel using a lug wrench.
- Raise the vehicle using a hydraulic lift or jack stands.
- Remove the lug nuts and flat washers.
- Rotate the tire to the next position and hand tighten the lug nuts.
- Lower the vehicle and tighten the lug nuts to 100 ft-lbs.
Brake pad replacement
- Raise the vehicle using a hydraulic lift or jack stands.
- Remove the wheel and caliper.
- Remove the old brake pad and inspect the rotor for wear.
- Install the new brake pad and apply a thin layer of brake lubricant.
- Reinstall the caliper and wheel.
Pro Tips & Common Mistakes
- Always refer to the owner’s manual for specific maintenance and repair instructions.
- Use the correct type and amount of oil to prevent engine damage.
- Never mix different types of brake pads, as this can cause uneven braking performance.
- Always tighten lug nuts in a star pattern to ensure even tightening.
Cost Analysis: DIY vs Mechanic
The cost of maintaining and repairing your Chrysler Pacifica LX will depend on the type of work and the frequency of maintenance. DIY maintenance, such as oil changes and tire rotations, can save you money in the long run. However, more complex repairs, such as brake pad replacement, may require the expertise of a professional mechanic.
- Oil change: $50 (DIY) vs $100 (mechanic)
- Tire rotation: $20 (DIY) vs $50 (mechanic)
- Brake pad replacement: $200 (DIY) vs $500 (mechanic)
Frequently Asked Questions
- What type of oil should I use in my Chrysler Pacifica LX? The recommended oil type for the Chrysler Pacifica LX is 0W-20 synthetic oil.
- How often should I rotate my tires? Tire rotation should be performed every 5,000 to 8,000 miles, depending on the driving conditions.
- What are the symptoms of a faulty timing chain? Symptoms of a faulty timing chain include engine misfires, rough idling, and decreased fuel efficiency.
- Can I replace my brake pads myself? Yes, brake pad replacement is a relatively simple process that can be done at home with the right tools and expertise.
- How often should I check my vehicle’s battery? The vehicle’s battery should be checked every 6 months, or as recommended by the manufacturer.
Reference: Technical analysis by Dave Harsya (Certified 4x4 Mechanic) based on reports from Motor1 News.