The Ultimate Guide to Preparing Your Garage for the New Wave of Affordable Jeep Models
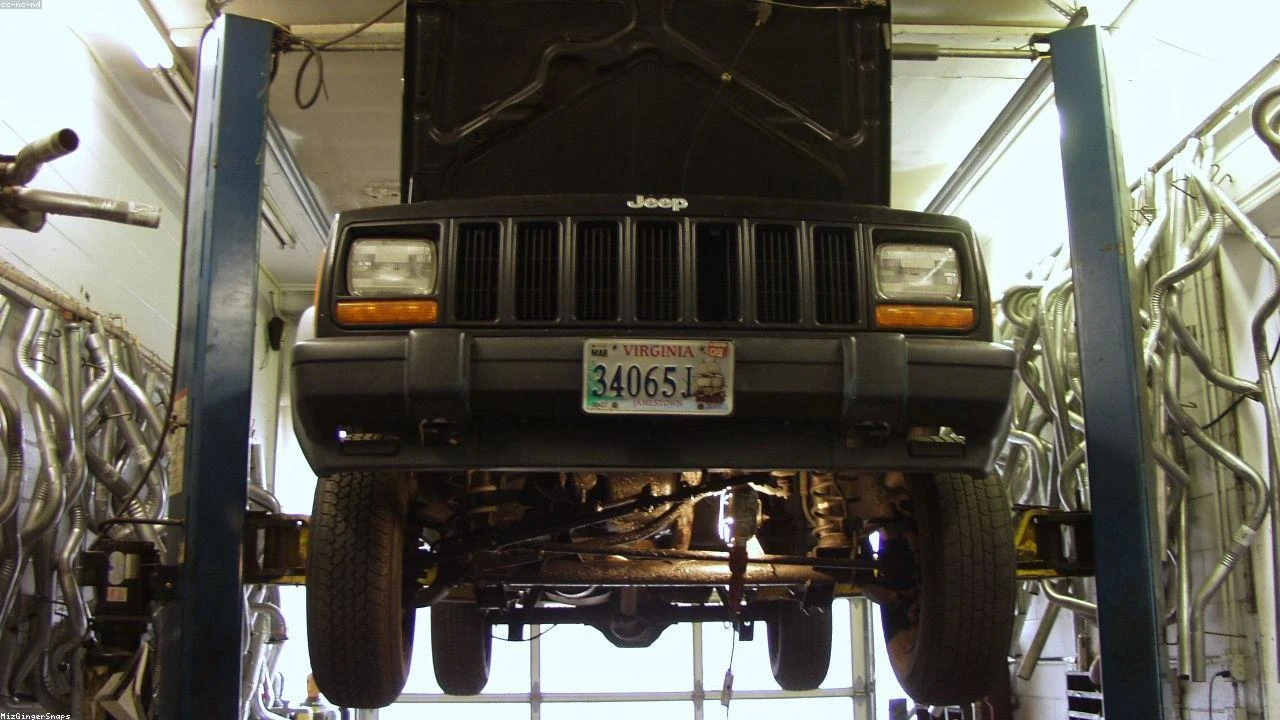
Table of Contents
- The Diagnostic / The Situation
- Technical Deep Dive
- Pre-Work Checklist
- Step-by-Step Guide
- Pro Tips & Common Mistakes
- Cost Analysis: DIY vs Mechanic
- Frequently Asked Questions
The Diagnostic / The Situation
As Stellantis announces its plan to launch new vehicles, including seven cars under $40,000, it’s essential for Jeep enthusiasts to prepare their garages for the upcoming models. With a focus on Chrysler and potentially new Jeep models, owners should ensure their current vehicles are in top condition. Regular maintenance is crucial to extend the lifespan of your Jeep and prevent costly repairs. In this guide, we’ll cover the essential steps to prepare your garage and your vehicle for the new wave of affordable Jeep models.
Technical Deep Dive
The new Jeep models will likely feature advanced technology, including improved engine management systems, enhanced suspension, and advanced electrical systems. Understanding how these systems work is vital for maintenance and repair. The engine management system, for example, relies on a complex network of sensors and actuators to optimize performance and efficiency. Common failure points include the oxygen sensor, fuel injectors, and spark plugs. The suspension system, on the other hand, is designed to absorb shocks and maintain stability. However, worn-out bushings, ball joints, and control arms can compromise the system’s performance.
🔧 Related Guides:
Pre-Work Checklist
At a Glance Table
| Task | Difficulty | Time | Cost | DIY vs Shop |
|---|---|---|---|---|
| Oil change | 2 | 1 hour | $50 | DIY |
| Brake pad replacement | 3 | 2 hours | $200 | Shop |
| Suspension inspection | 2 | 1 hour | $0 | DIY |
Tools Required
- 10mm Socket
- Torque Wrench
- Pliers
- Screwdrivers
- Multimeter
Safety Warnings
- Always wear protective gear, including gloves and safety glasses, when working with power tools.
- Ensure the vehicle is securely supported by jack stands before starting any work.
Step-by-Step Guide
Step 1: Oil Change
The oil change is a straightforward process that can be done at home with the right tools. Start by gathering the necessary materials, including oil filters, oil drain pans, and new oil.
Step 1.1: Warm up the engine
Drive the vehicle for a few minutes to warm up the engine. This will help the oil drain more easily.
Step 1.2: Locate the oil drain plug
Find the oil drain plug, usually located at the bottom of the engine. Use a socket wrench to remove the plug.
Step 1.3: Drain the oil
Allow the oil to drain into a pan. Be careful not to spill any oil on the ground or your skin.
Step 1.4: Replace the oil filter
Remove the old oil filter and replace it with a new one. Hand tighten the filter to ensure it’s secure.
Step 1.5: Refill the oil
Pour in the new oil, making sure to use the recommended type and amount for your vehicle.
Step 2: Brake Pad Replacement
Brake pad replacement is a more complex process that requires specialized tools and expertise. If you’re not comfortable with this task, it’s recommended to seek the help of a professional mechanic.
Step 2.1: Remove the wheels
Take off the wheels to access the brake pads. Use a lug wrench to loosen the lug nuts.
Step 2.2: Remove the caliper
Use a socket wrench to remove the caliper bolts. Be careful not to damage the brake hose.
Step 2.3: Remove the old brake pads
Pull out the old brake pads and discard them.
Step 2.4: Install the new brake pads
Insert the new brake pads, making sure they’re properly seated.
Step 2.5: Reassemble the caliper
Put the caliper back in place and tighten the bolts.
Step 3: Suspension Inspection
A suspension inspection is a critical task that can help identify potential issues before they become major problems.
Step 3.1: Check the bushings
Inspect the bushings for signs of wear or damage. Replace them if necessary.
Step 3.2: Check the ball joints
Inspect the ball joints for signs of wear or damage. Replace them if necessary.
Step 3.3: Check the control arms
Inspect the control arms for signs of wear or damage. Replace them if necessary.
Pro Tips & Common Mistakes
- Always refer to the owner’s manual for specific instructions and recommendations for your vehicle.
- Use the correct type and amount of oil for your vehicle to prevent engine damage.
- Don’t overtighten the oil drain plug, as this can damage the threads.
- Don’t neglect to replace the oil filter, as this can lead to premature engine wear.
Cost Analysis: DIY vs Mechanic
The cost of maintenance and repair can vary greatly depending on whether you choose to do it yourself or seek the help of a professional mechanic. Here’s a breakdown of the estimated costs:
- Oil change: $50 (DIY) vs $100 (mechanic)
- Brake pad replacement: $200 (DIY) vs $500 (mechanic)
- Suspension inspection: $0 (DIY) vs $100 (mechanic)
Frequently Asked Questions
- What type of oil should I use for my Jeep? The recommended oil type for your Jeep depends on the model and year. Refer to the owner’s manual for specific instructions.
- How often should I change my oil? The recommended oil change interval for your Jeep depends on the model and year. Typically, it’s every 5,000 to 7,500 miles.
- What are the symptoms of worn-out brake pads? Symptoms of worn-out brake pads include squealing or grinding noises, vibration, and reduced braking performance.
- How do I know if my suspension needs to be inspected? If you notice any signs of wear or damage, such as uneven tire wear, vibrations, or clunking noises, it’s recommended to inspect your suspension.
- Can I replace my brake pads myself? While it’s possible to replace your brake pads yourself, it’s recommended to seek the help of a professional mechanic if you’re not comfortable with the task.
Reference: Technical analysis by Ben Foster (Trail Recovery Instructor) based on reports from Motor1 News.