The Ultimate Guide to Preparing Your Jeep for a Crazy Off-Road Adventure
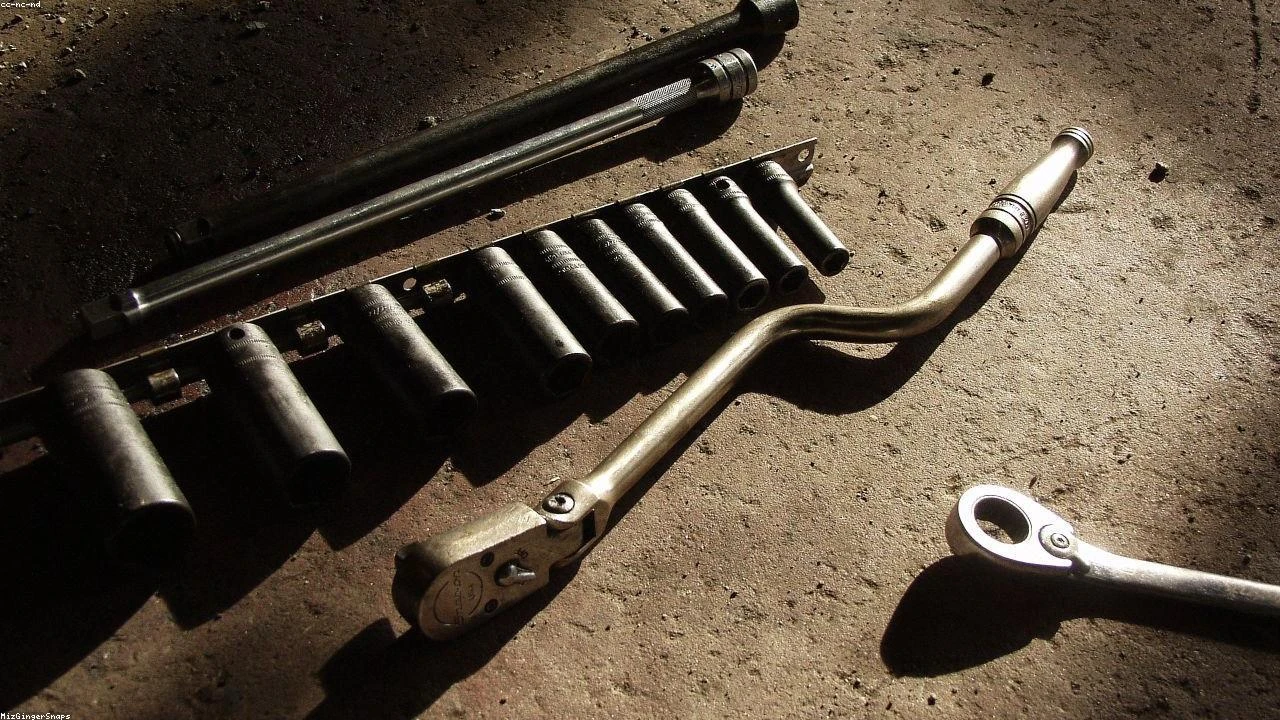
Table of Contents
- Technical Deep Dive
- Pre-Work Checklist
- Step-by-Step Guide
- Pro Tips & Common Mistakes
- Cost Analysis: DIY vs Mechanic
- Frequently Asked Questions
The Diagnostic / The Situation
When it comes to taking your Jeep on a crazy off-road adventure, preparation is key. You’ll want to make sure your vehicle is in top condition to handle the toughest terrain. In this guide, we’ll cover the essential steps to prepare your Jeep for a wild off-road ride. From suspension upgrades to engine modifications, we’ll dive deep into the technical aspects of getting your Jeep adventure-ready.
Technical Deep Dive
The Jeep’s suspension system is one of the most critical components when it comes to off-road performance. The suspension system consists of coil springs, shock absorbers, and control arms, which work together to absorb bumps and maintain stability. However, the stock suspension may not be sufficient for extreme off-road adventures. Upgrading to a high-performance suspension system, such as a coil-over setup, can significantly improve your Jeep’s capabilities.
🔧 Related Guides:
Common failure points in the suspension system include the coil springs, which can break or sag over time, and the shock absorbers, which can leak or lose their damping ability. The control arms can also become loose or damaged, affecting the overall stability of the vehicle.
Pre-Work Checklist
At a Glance Table
| Task | Difficulty | Time | Cost | DIY vs Shop |
|---|---|---|---|---|
| Suspension Upgrade | 4/5 | 10 hours | $2,000 | DIY (with experience) |
| Engine Modification | 5/5 | 20 hours | $5,000 | Shop recommended |
| Electrical System Check | 2/5 | 2 hours | $100 | DIY |
Tools Required
- 10mm Socket
- 12mm Socket
- Torque Wrench
- Coil spring compressor
- Shock absorber spanner
Safety Warnings
- Always wear protective gear, including gloves and safety glasses, when working with power tools.
- Make sure the vehicle is securely lifted and supported before starting work.
- Never attempt to modify the suspension or engine without proper training and experience.
Step-by-Step Guide
Step 1: Inspect the Suspension System
Check the Coil Springs
Inspect the coil springs for any signs of damage or wear. Look for cracks, rust, or corrosion, and check the spring rate to ensure it’s within the recommended specifications.
Check the Shock Absorbers
Inspect the shock absorbers for any signs of leakage or damage. Check the damping ability and ensure it’s within the recommended specifications.
Check the Control Arms
Inspect the control arms for any signs of damage or wear. Check the bushings and ball joints for any signs of play or looseness.
Step 2: Upgrade the Suspension System
Install the Coil-Over Setup
Install the coil-over setup, making sure to follow the manufacturer’s instructions. Use a coil spring compressor to compress the springs and ensure proper installation.
Install the High-Performance Shock Absorbers
Install the high-performance shock absorbers, making sure to follow the manufacturer’s instructions. Use a shock absorber spanner to secure the shocks in place.
Install the Control Arms
Install the new control arms, making sure to follow the manufacturer’s instructions. Use a torque wrench to secure the control arms in place, tightening to the recommended torque spec (e.g., 50 Nm).
Step 3: Modify the Engine
Install the Performance Air Intake
Install the performance air intake, making sure to follow the manufacturer’s instructions. Use a 10mm socket to secure the intake in place.
Install the Performance Exhaust System
Install the performance exhaust system, making sure to follow the manufacturer’s instructions. Use a 12mm socket to secure the exhaust system in place.
Install the Engine Tuner
Install the engine tuner, making sure to follow the manufacturer’s instructions. Use a laptop to connect to the tuner and adjust the engine settings.
Pro Tips & Common Mistakes
- Don’t over-tighten the control arms, as this can cause damage to the suspension system.
- Make sure to properly align the wheels after installing the new suspension system.
- Don’t attempt to modify the engine without proper training and experience.
Cost Analysis: DIY vs Mechanic
The cost of modifying your Jeep’s suspension and engine can vary depending on the specific components and labor costs. However, here’s a breakdown of the estimated costs:
- Suspension upgrade: $2,000 (DIY) vs $3,500 (mechanic)
- Engine modification: $5,000 (DIY) vs $8,000 (mechanic)
Frequently Asked Questions
- Q: What’s the best suspension upgrade for my Jeep? A: The best suspension upgrade for your Jeep depends on your specific needs and preferences. Consider factors such as budget, driving style, and terrain.
- Q: Can I modify my engine without proper training and experience? A: No, it’s not recommended to modify your engine without proper training and experience. Engine modifications can be complex and require specialized knowledge.
- Q: How often should I inspect my suspension system? A: You should inspect your suspension system regularly, ideally every 10,000 miles or after extreme off-road use.
- Q: Can I install a coil-over setup myself? A: Yes, you can install a coil-over setup yourself, but it’s recommended to have experience with suspension upgrades and follow the manufacturer’s instructions.
- Q: What’s the best way to prepare my Jeep for a crazy off-road adventure? A: The best way to prepare your Jeep for a crazy off-road adventure is to follow this comprehensive guide, which covers suspension upgrades, engine modifications, and essential safety checks.
Reference: Technical analysis by Luca Romano (Restoration Specialist) based on reports from Motor1 News.