The Ultimate Guide to Preparing Your Jeep for a Long Road Trip
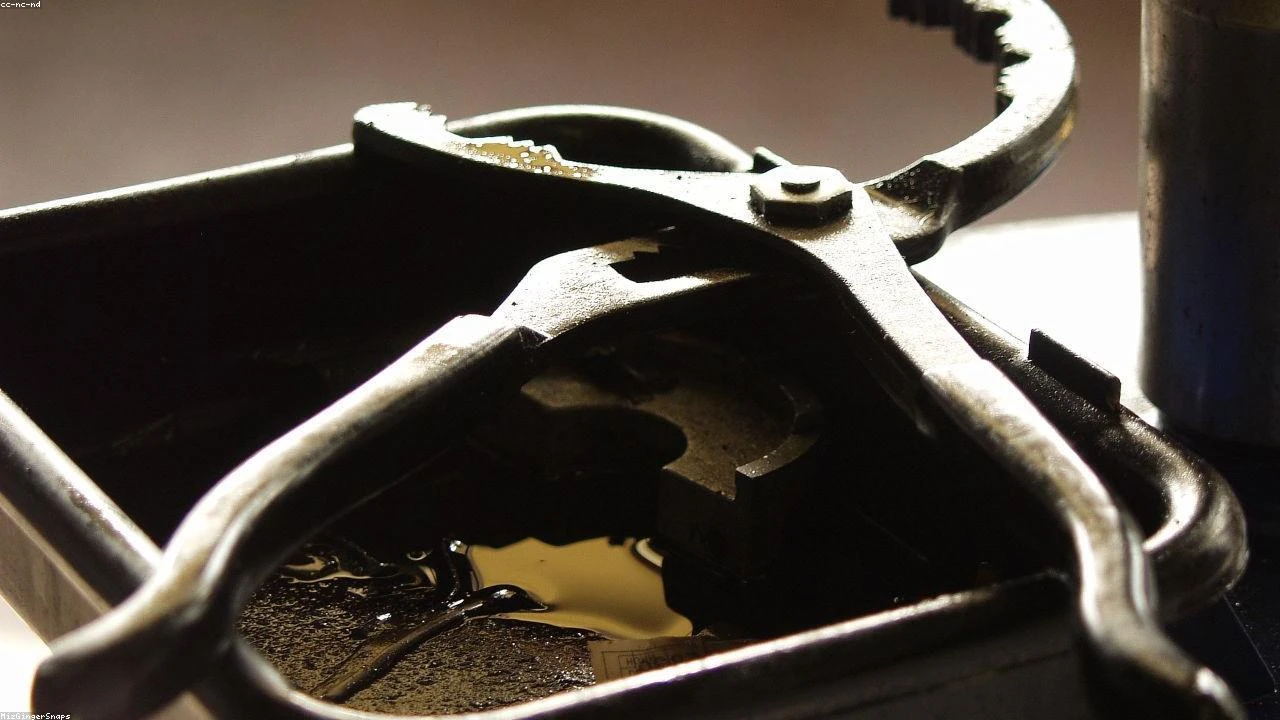
Table of Contents
- The Diagnostic / The Situation
- Technical Deep Dive
- Pre-Work Checklist
- Step-by-Step Guide
- Pro Tips & Common Mistakes
- Cost Analysis: DIY vs Mechanic
- Frequently Asked Questions
The Diagnostic / The Situation
When embarking on a long road trip, it’s essential to ensure your Jeep is in top condition to avoid any unexpected breakdowns or issues. A well-maintained vehicle can make all the difference in your journey, providing a safe and enjoyable experience. In this guide, we’ll focus on the key areas to check and prepare your Jeep for a long road trip.
🔧 Related Guides:
Symptoms or signs to look for include unusual noises, vibrations, or performance issues. If you notice any of these, it’s crucial to address them before hitting the road.
Technical Deep Dive
The engine, suspension, and electrical systems are critical components to inspect before a long road trip. The engine’s performance and efficiency can be affected by factors such as oil quality, filter condition, and spark plug wear. The suspension system, including shocks, struts, and springs, plays a vital role in maintaining stability and comfort. The electrical system, comprising the battery, alternator, and wiring, powers essential components like lights, wipers, and the radio.
Common failure points include the serpentine belt, water pump, and brake pads. The serpentine belt powers various engine accessories, and its failure can cause significant damage. The water pump is responsible for cooling the engine, and its malfunction can lead to overheating. Brake pads are essential for safe stopping, and worn-out pads can compromise braking performance.
Pre-Work Checklist
At a Glance Table
| Task | Difficulty | Time | Cost | DIY vs Shop |
|---|---|---|---|---|
| Oil change | 2 | 1 hour | $50 | DIY |
| Tire rotation | 2 | 1 hour | $20 | DIY |
| Brake pad inspection | 3 | 2 hours | $50 | Shop |
| Suspension check | 3 | 2 hours | $100 | Shop |
Tools Required
- 10mm Socket
- Torque Wrench
- Oil filter wrench
- Tire pressure gauge
- Multimeter
Safety Warnings
- Always wear protective gloves and safety glasses when working with tools and electrical systems.
- Ensure the vehicle is on a level surface and apply the parking brake before starting any work.
- Never work under a lifted vehicle without proper support.
Step-by-Step Guide
Step 1: Oil Change and Filter Replacement
Step 1.1: Gather materials and tools
Collect the necessary oil, filter, and tools.
Step 1.2: Warm up the engine and locate the oil drain plug
Drive the vehicle for a few minutes to warm up the engine, then find the oil drain plug.
Step 1.3: Drain the oil and replace the filter
Use a socket to remove the plug and drain the oil into a pan. Replace the oil filter with a new one.
Step 1.4: Refill the oil and check for leaks
Refill the oil with the recommended type and amount, then check for any leaks around the oil drain plug.
Step 2: Tire Rotation and Pressure Check
Step 2.1: Gather materials and tools
Collect the tire pressure gauge and lug wrench.
Step 2.2: Loosen the lug nuts and raise the vehicle
Loosen the lug nuts with the lug wrench, then raise the vehicle using a jack.
Step 2.3: Remove the wheels and rotate the tires
Remove the wheels and rotate the tires according to the recommended pattern.
Step 2.4: Tighten the lug nuts and lower the vehicle
Tighten the lug nuts in a star pattern, then lower the vehicle to the ground.
Step 3: Brake Pad Inspection and Replacement
Step 3.1: Gather materials and tools
Collect the brake pad wear gauge and C-clamps.
Step 3.2: Raise the vehicle and remove the wheels
Raise the vehicle and remove the wheels to access the brake pads.
Step 3.3: Inspect the brake pads and replace if necessary
Use the brake pad wear gauge to check the pad thickness, and replace them if they’re worn out.
Step 3.4: Bleed the brake system and test the brakes
Bleed the brake system to remove any air, then test the brakes to ensure proper function.
Pro Tips & Common Mistakes
- Don’t neglect to check the vehicle’s owner’s manual for specific maintenance recommendations.
- Avoid over-tightening the lug nuts, as this can damage the wheel studs.
- Don’t forget to test the brakes after replacing the brake pads.
Cost Analysis: DIY vs Mechanic
The cost of DIY maintenance can vary depending on the tasks and materials required. On average, a DIY oil change can cost around $50, while a mechanic may charge $100-$150. A DIY tire rotation can cost $20, while a mechanic may charge $50-$70. However, for more complex tasks like brake pad replacement, it’s often recommended to seek the help of a professional mechanic, which can cost $200-$500.
Frequently Asked Questions
- Q: What is the recommended oil type for my Jeep? A: The recommended oil type can be found in the vehicle’s owner’s manual or on the oil filler cap.
- Q: How often should I rotate my tires? A: Tire rotation should be done every 5,000 to 8,000 miles, depending on the vehicle’s manufacturer recommendations.
- Q: What are the symptoms of worn-out brake pads? A: Symptoms of worn-out brake pads include squealing or grinding noises, vibrations, and reduced braking performance.
- Q: Can I use any type of tire pressure gauge? A: It’s recommended to use a high-quality, accurate tire pressure gauge to ensure proper tire inflation.
- Q: How often should I check my vehicle’s suspension system? A: The suspension system should be checked every 12,000 to 15,000 miles, or as recommended by the vehicle’s manufacturer.
Reference: Technical analysis by Dave Harsya (Certified 4x4 Mechanic) based on reports from Jalopnik.