The Ultimate Guide to Preparing Your Jeep Grand Cherokee Overland for Off-Road Adventures
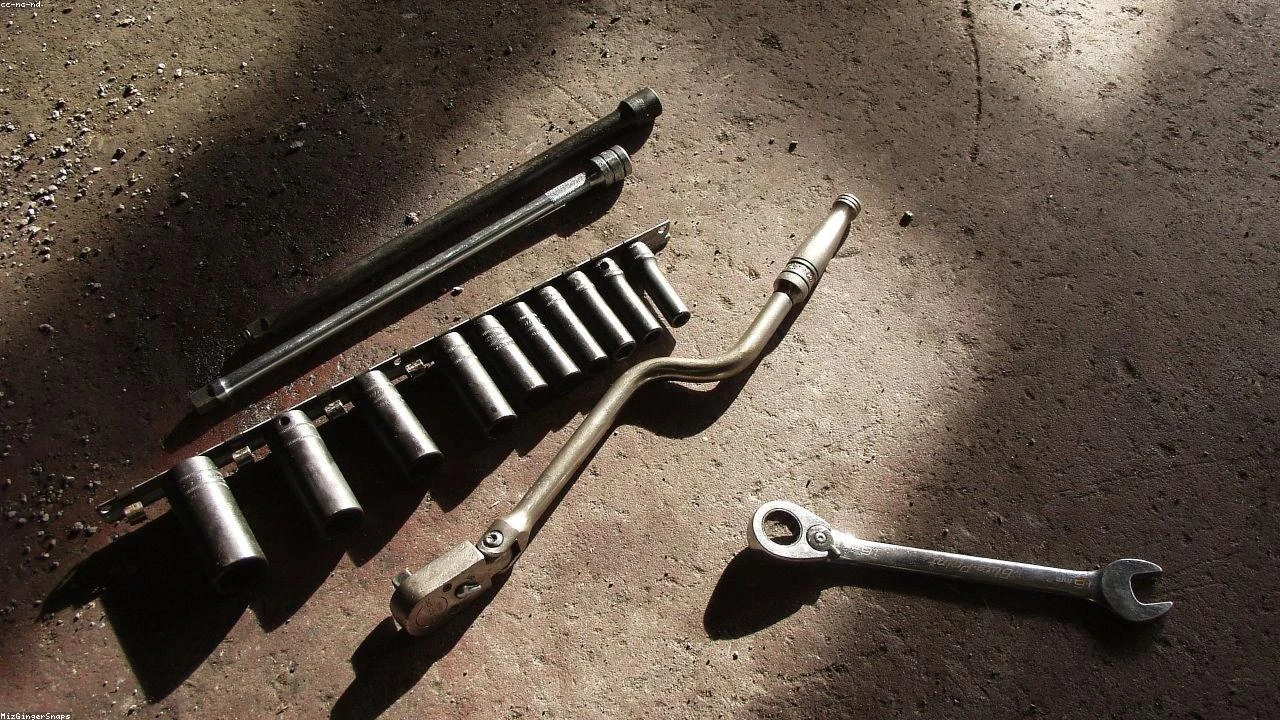
Table of Contents
- The Diagnostic / The Situation
- Technical Deep Dive
- Pre-Work Checklist
- Step-by-Step Guide
- Pro Tips & Common Mistakes
- Cost Analysis: DIY vs Mechanic
- Frequently Asked Questions
The Diagnostic / The Situation
The Jeep Grand Cherokee Overland is a rugged and capable off-road vehicle, but to get the most out of it, you need to prepare it for the challenges of the trail. This guide will walk you through the technical background of the Grand Cherokee Overland, common issues to look out for, and how to prepare it for off-road adventures.
The Grand Cherokee Overland is equipped with a range of features that make it well-suited for off-road driving, including four-wheel drive, a two-speed transfer case, and a range of suspension and axle upgrades. However, to get the most out of these features, you need to understand how they work and how to maintain them.
🔧 Related Guides:
Symptoms or signs to look for when preparing your Grand Cherokee Overland for off-road adventures include:
- Uneven tire wear, which can indicate issues with the suspension or alignment
- Vibrations or noises when driving, which can indicate issues with the drivetrain or suspension
- Leaks or damage to the fuel system, which can indicate issues with the fuel tank or lines
Technical Deep Dive
The Grand Cherokee Overland’s off-road capability is based on a range of systems, including the engine, transmission, transfer case, suspension, and axles.
- The engine is a 5.7L V8, which produces 357 horsepower and 390 lb-ft of torque. This engine is paired with an eight-speed automatic transmission, which provides smooth and responsive shifting.
- The transfer case is a two-speed unit, which provides a range of gearing options for different driving conditions. The transfer case is also equipped with a range of modes, including 2WD, 4WD, and 4WD Low.
- The suspension is a coil-spring design, which provides a range of travel and articulation for off-road driving. The suspension is also equipped with a range of upgrades, including Bilstein shocks and a rear sway bar.
- The axles are a Dana 30 front axle and a Dana 35 rear axle, which provide a range of strength and durability for off-road driving.
Common failure points on the Grand Cherokee Overland include:
- The plastic impeller in the water pump, which can fail due to overheating or debris
- The seals in the transfer case, which can leak due to wear or damage
- The bushings in the suspension, which can wear out due to use or neglect
Pre-Work Checklist
Before you start preparing your Grand Cherokee Overland for off-road adventures, make sure you have the following information and tools:
| Task | Difficulty | Time | Cost | DIY vs Shop |
|---|---|---|---|---|
| Oil change | 2 | 1 hour | $50 | DIY |
| Tire rotation | 2 | 1 hour | $20 | DIY |
| Suspension inspection | 3 | 2 hours | $100 | DIY |
| Transfer case inspection | 4 | 3 hours | $200 | Shop |
Tools Required
- 10mm socket
- 12mm socket
- 14mm socket
- Torque wrench
- Air compressor
- Tire pressure gauge
Safety Warnings
- Always wear protective gear, including gloves and safety glasses, when working on your vehicle
- Make sure the vehicle is on a level surface and apply the parking brake before starting work
- Never get under the vehicle without proper support and protection
Step-by-Step Guide
Step 1: Inspect the Suspension
The suspension is a critical component of the Grand Cherokee Overland’s off-road capability. To inspect the suspension, follow these steps:
Step 1.1: Jack up the vehicle
Use a hydraulic jack to lift the vehicle, making sure to support it with jack stands.
Step 1.2: Remove the wheels
Remove the wheels to access the suspension components.
Step 1.3: Inspect the shocks
Inspect the shocks for signs of wear or damage, including leaks or rust.
Step 1.4: Inspect the springs
Inspect the springs for signs of wear or damage, including cracks or corrosion.
Step 2: Inspect the Transfer Case
The transfer case is a critical component of the Grand Cherokee Overland’s four-wheel drive system. To inspect the transfer case, follow these steps:
Step 2.1: Locate the transfer case
Locate the transfer case, which is usually located near the transmission.
Step 2.2: Remove the skid plate
Remove the skid plate to access the transfer case.
Step 2.3: Inspect the seals
Inspect the seals for signs of wear or damage, including leaks or corrosion.
Step 2.4: Inspect the gears
Inspect the gears for signs of wear or damage, including chips or corrosion.
Step 3: Inspect the Axles
The axles are a critical component of the Grand Cherokee Overland’s off-road capability. To inspect the axles, follow these steps:
Step 3.1: Jack up the vehicle
Use a hydraulic jack to lift the vehicle, making sure to support it with jack stands.
Step 3.2: Remove the wheels
Remove the wheels to access the axles.
Step 3.3: Inspect the axle shafts
Inspect the axle shafts for signs of wear or damage, including cracks or corrosion.
Step 3.4: Inspect the bearings
Inspect the bearings for signs of wear or damage, including noise or vibration.
Pro Tips & Common Mistakes
- Always use the correct torque specs when working on your vehicle
- Never over-tighten or under-tighten bolts or fasteners
- Always use protective gear, including gloves and safety glasses, when working on your vehicle
- Don’t neglect to inspect and maintain the suspension, transfer case, and axles, as these components are critical to the vehicle’s off-road capability
Cost Analysis: DIY vs Mechanic
The cost of preparing your Grand Cherokee Overland for off-road adventures will depend on the specific tasks and components involved. Here is a breakdown of the estimated costs:
- Oil change: $50 (DIY), $100 (mechanic)
- Tire rotation: $20 (DIY), $50 (mechanic)
- Suspension inspection: $100 (DIY), $200 (mechanic)
- Transfer case inspection: $200 (DIY), $400 (mechanic)
Frequently Asked Questions
- What is the best way to prepare my Grand Cherokee Overland for off-road adventures? The best way to prepare your Grand Cherokee Overland for off-road adventures is to inspect and maintain the suspension, transfer case, and axles, and to use the correct torque specs when working on your vehicle.
- What are the most common failure points on the Grand Cherokee Overland? The most common failure points on the Grand Cherokee Overland include the plastic impeller in the water pump, the seals in the transfer case, and the bushings in the suspension.
- How often should I inspect and maintain my Grand Cherokee Overland’s suspension? You should inspect and maintain your Grand Cherokee Overland’s suspension every 10,000 to 15,000 miles, or as recommended by the manufacturer.
- What are the benefits of using a hydraulic jack when working on my Grand Cherokee Overland? The benefits of using a hydraulic jack when working on your Grand Cherokee Overland include increased safety and stability, and the ability to lift the vehicle to a comfortable working height.
- What are the consequences of neglecting to inspect and maintain my Grand Cherokee Overland’s transfer case? The consequences of neglecting to inspect and maintain your Grand Cherokee Overland’s transfer case include reduced off-road capability, increased wear and tear on the vehicle, and potentially costly repairs.
Reference: Technical analysis by Sarah Jenkins (Overland Build Expert) based on reports from Motor1 News.