The Ultimate Guide to Preventing Engine Block Hot Spots in Your Jeep
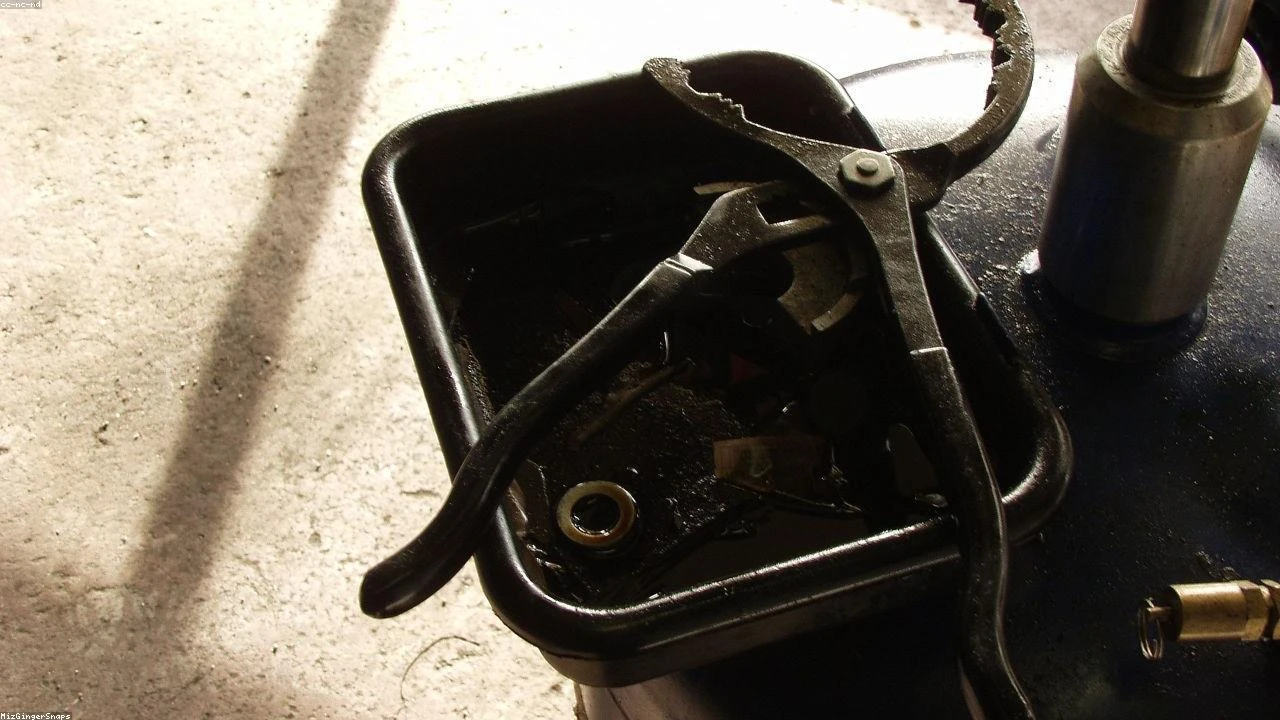
Table of Contents
- The Diagnostic / The Situation
- Technical Deep Dive
- Pre-Work Checklist
- Step-by-Step Guide
- Pro Tips & Common Mistakes
- Cost Analysis: DIY vs Mechanic
- Frequently Asked Questions
The Diagnostic / The Situation
Engine block hot spots are a common issue in many vehicles, including Jeeps. They occur when a specific area of the engine block becomes excessively hot, causing damage to the engine and potentially leading to costly repairs. Hot spots can be caused by a variety of factors, including poor engine design, inadequate cooling systems, and improper maintenance. If left unchecked, hot spots can lead to engine failure, which can be catastrophic and expensive to repair.
🔧 Related Guides:
Symptoms of engine block hot spots include overheating, decreased engine performance, and unusual engine noises. If you notice any of these symptoms, it’s essential to address the issue promptly to prevent further damage.
Technical Deep Dive
The engine block is the main structure of the engine, and it’s responsible for housing the cylinders, pistons, and crankshaft. The engine block is typically made of cast iron or aluminum and is designed to withstand the high temperatures and pressures generated by the engine. However, if the engine block becomes too hot, it can cause the metal to warp or crack, leading to engine failure.
The cooling system plays a critical role in preventing engine block hot spots. The cooling system is designed to circulate coolant through the engine block, absorbing heat and transferring it to the radiator, where it’s dissipated. However, if the cooling system is not functioning properly, the engine block can become overheated, leading to hot spots.
Common failure points that can lead to engine block hot spots include the water pump, thermostat, and radiator. The water pump is responsible for circulating coolant through the engine block, and if it fails, the engine can overheat. The thermostat regulates the temperature of the coolant, and if it becomes stuck, it can cause the engine to overheat. The radiator is responsible for dissipating heat from the coolant, and if it becomes clogged or damaged, it can cause the engine to overheat.
Pre-Work Checklist
At a Glance Table
| Difficulty | Time | Cost | DIY vs Shop |
|---|---|---|---|
| 3/5 | 2-3 hours | $500-$1000 | DIY (with experience) |
Tools Required
- 10mm Socket
- Torque Wrench
- Pliers
- Wrench set
- Funnel
- New water pump
- New thermostat
- New radiator
Safety Warnings
When working with the cooling system, it’s essential to take precautions to avoid injury. The coolant can be hot and caustic, so it’s essential to wear protective gloves and eyewear. Additionally, the engine can be hot, so it’s essential to avoid touching any hot surfaces.
Step-by-Step Guide
Step 1: Locate the Cooling System Components
The first step is to locate the cooling system components, including the water pump, thermostat, and radiator. These components are usually located at the front of the engine, and they’re easily accessible.
Step 1.1: Disconnect the Battery
Before starting work, it’s essential to disconnect the battery to prevent any accidental starts. Locate the battery and disconnect the negative cable.
Step 1.2: Drain the Coolant
Next, drain the coolant from the system. Locate the drain valve and turn it counterclockwise to drain the coolant. Be careful, as the coolant can be hot and caustic.
Step 2: Remove the Old Water Pump
The next step is to remove the old water pump. Use a 10mm socket to remove the bolts that hold the water pump in place. Be careful, as the water pump can be heavy and may fall when the bolts are removed.
Step 2.1: Disconnect the Water Pump Electrical Connector
Disconnect the electrical connector from the water pump. Use a wrench to loosen the connector and pull it off.
Step 2.2: Remove the Water Pump
Use a wrench to loosen the water pump and pull it off. Be careful, as the water pump can be heavy and may fall.
Step 3: Install the New Water Pump
The next step is to install the new water pump. Use a wrench to tighten the water pump in place. Make sure it’s securely fastened to prevent leaks.
Step 3.1: Connect the Water Pump Electrical Connector
Connect the electrical connector to the new water pump. Use a wrench to tighten the connector and make sure it’s secure.
Step 3.2: Tighten the Water Pump Bolts
Tighten the water pump bolts in a star pattern to ensure even tightening. Use a torque wrench to tighten the bolts to the specified torque (30 ft-lbs).
Step 4: Replace the Thermostat
The next step is to replace the thermostat. Use a wrench to loosen the thermostat housing and pull it off. Be careful, as the thermostat can be hot and may fall when the housing is removed.
Step 4.1: Remove the Old Thermostat
Remove the old thermostat and discard it. Use a wrench to loosen the thermostat and pull it off.
Step 4.2: Install the New Thermostat
Install the new thermostat and make sure it’s securely fastened. Use a wrench to tighten the thermostat housing and make sure it’s secure.
Step 5: Replace the Radiator
The final step is to replace the radiator. Use a wrench to loosen the radiator hoses and pull them off. Be careful, as the radiator can be heavy and may fall when the hoses are removed.
Step 5.1: Remove the Old Radiator
Remove the old radiator and discard it. Use a wrench to loosen the radiator and pull it off.
Step 5.2: Install the New Radiator
Install the new radiator and make sure it’s securely fastened. Use a wrench to tighten the radiator hoses and make sure they’re secure.
Pro Tips & Common Mistakes
When working with the cooling system, it’s essential to take precautions to avoid injury. The coolant can be hot and caustic, so it’s essential to wear protective gloves and eyewear. Additionally, the engine can be hot, so it’s essential to avoid touching any hot surfaces.
Common mistakes to avoid include:
- Not disconnecting the battery before starting work
- Not draining the coolant before removing the water pump
- Not tightening the water pump bolts in a star pattern
- Not replacing the thermostat and radiator
Cost Analysis: DIY vs Mechanic
The cost of replacing the water pump, thermostat, and radiator can vary depending on the shop and the location. However, on average, the cost of replacement can range from $500 to $1000. If you choose to do the work yourself, you can save money on labor costs, but you’ll still need to purchase the replacement parts.
Frequently Asked Questions
- What are the symptoms of engine block hot spots? The symptoms of engine block hot spots include overheating, decreased engine performance, and unusual engine noises.
- How can I prevent engine block hot spots? To prevent engine block hot spots, it’s essential to maintain the cooling system and ensure it’s functioning properly. This includes replacing the water pump, thermostat, and radiator as needed.
- What are the common failure points that can lead to engine block hot spots? The common failure points that can lead to engine block hot spots include the water pump, thermostat, and radiator.
- Can I replace the water pump, thermostat, and radiator myself? Yes, you can replace the water pump, thermostat, and radiator yourself, but it’s essential to have experience working with the cooling system and to take precautions to avoid injury.
- How much does it cost to replace the water pump, thermostat, and radiator? The cost of replacing the water pump, thermostat, and radiator can vary depending on the shop and the location, but on average, it can range from $500 to $1000.
Reference: Technical analysis by Dave Harsya (Certified 4x4 Mechanic) based on reports from Jalopnik.