The Ultimate Guide to Reflector and Projector Headlights: A Masterclass for Jeep Owners
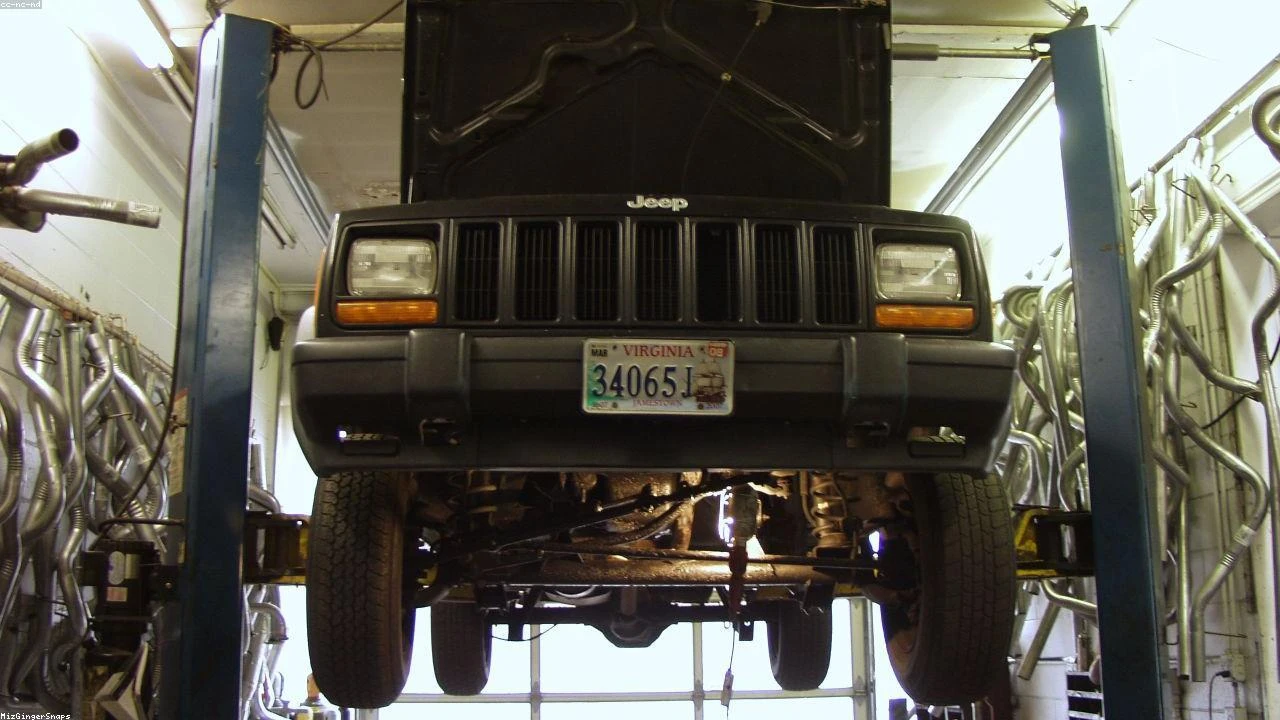
Table of Contents
- The Diagnostic / The Situation
- Technical Deep Dive
- Pre-Work Checklist
- Step-by-Step Guide
- Pro Tips & Common Mistakes
- Cost Analysis: DIY vs Mechanic
- Frequently Asked Questions
The Diagnostic / The Situation
When it comes to upgrading your Jeep’s lighting system, one of the most important decisions you’ll make is choosing between reflector and projector headlights. Both types of headlights have their own strengths and weaknesses, and understanding the difference between them is crucial for making an informed decision. In this guide, we’ll delve into the technical background of reflector and projector headlights, and explore the symptoms and signs to look out for when deciding which type is best for your Jeep.
🔧 Related Guides:
Reflector headlights use a reflective surface to direct light from the bulb onto the road, while projector headlights use a lens to focus the light from the bulb onto the road. Reflector headlights are often less expensive and easier to install, but they can produce a more scattered and uneven light pattern. Projector headlights, on the other hand, produce a more focused and intense light beam, but they can be more expensive and require more complex installation.
Technical Deep Dive
To understand the difference between reflector and projector headlights, it’s essential to dive deeper into the technical aspects of each system. Reflector headlights use a parabolic reflector to direct light from the bulb onto the road. The reflector is typically made of a shiny metal surface, and its shape is designed to focus the light from the bulb onto a specific area. However, the reflector can be prone to imperfections and irregularities, which can affect the quality of the light beam.
Projector headlights, on the other hand, use a lens to focus the light from the bulb onto the road. The lens is typically made of glass or plastic, and its shape is designed to produce a precise and focused light beam. Projector headlights also often include a cutoff shield, which helps to prevent glare and improve visibility.
Common failure points in reflector headlights include the bulb, the reflector, and the wiring. In projector headlights, common failure points include the bulb, the lens, and the projector unit itself.
Pre-Work Checklist
Before upgrading your Jeep’s lighting system, it’s essential to consider the following factors:
| Factor | Reflector Headlights | Projector Headlights |
|---|---|---|
| Difficulty | 2/5 | 4/5 |
| Time | 2 hours | 4 hours |
| Cost | $200-$500 | $500-$1000 |
| DIY vs Shop | DIY-friendly | Shop-recommended |
Tools Required
- 10mm socket
- Torque wrench
- Wire strippers
- Electrical tape
- Lens cleaning solution
Safety Warnings
- Always disconnect the battery before starting work on the electrical system.
- Wear protective gloves and eyewear when handling electrical components.
- Avoid touching the bulb or lens with your bare hands, as the oils from your skin can damage the surface.
Step-by-Step Guide
Step 1: Remove the Old Headlights
Step 1.1: Disconnect the Battery
Disconnect the negative terminal of the battery to prevent any accidental starts or electrical shocks.
Step 1.2: Remove the Trim and Screws
Remove the trim and screws that hold the headlights in place. This will give you access to the electrical connector and the mounting bracket.
Step 1.3: Disconnect the Electrical Connector
Disconnect the electrical connector from the old headlights. This will prevent any power from flowing to the headlights during the upgrade process.
Step 2: Install the New Headlights
Step 2.1: Mount the New Headlights
Mount the new headlights in place, making sure they are securely fastened with the screws and trim.
Step 2.2: Connect the Electrical Connector
Connect the electrical connector to the new headlights, making sure it is securely fastened and not loose.
Step 2.3: Adjust the Headlights
Adjust the headlights to the correct position, making sure they are level and aimed correctly.
Step 3: Test the Headlights
Step 3.1: Turn On the Headlights
Turn on the headlights and check that they are working correctly.
Step 3.2: Check the Light Pattern
Check the light pattern to make sure it is even and focused.
Step 3.3: Adjust the Headlights as Needed
Adjust the headlights as needed to achieve the correct light pattern and aim.
Pro Tips & Common Mistakes
- Use a torque wrench to ensure the screws are tightened to the correct specification.
- Avoid touching the bulb or lens with your bare hands, as the oils from your skin can damage the surface.
- Make sure the electrical connector is securely fastened and not loose.
- Don’t overtighten the screws, as this can damage the mounting bracket or the headlights.
Cost Analysis: DIY vs Mechanic
The cost of upgrading your Jeep’s lighting system can vary depending on the type of headlights you choose and whether you do it yourself or hire a mechanic. Here is a breakdown of the estimated costs:
- Reflector headlights: $200-$500 (DIY), $500-$1000 (mechanic)
- Projector headlights: $500-$1000 (DIY), $1000-$2000 (mechanic)
Frequently Asked Questions
- Q: What is the difference between reflector and projector headlights? A: Reflector headlights use a reflective surface to direct light from the bulb onto the road, while projector headlights use a lens to focus the light from the bulb onto the road.
- Q: Which type of headlight is better? A: Projector headlights produce a more focused and intense light beam, but they can be more expensive and require more complex installation. Reflector headlights are often less expensive and easier to install, but they can produce a more scattered and uneven light pattern.
- Q: Can I upgrade my Jeep’s lighting system myself? A: Yes, you can upgrade your Jeep’s lighting system yourself, but it’s recommended to have some experience with electrical systems and DIY projects.
- Q: How long does it take to upgrade the lighting system? A: The time it takes to upgrade the lighting system can vary depending on the type of headlights you choose and your level of experience. On average, it can take 2-4 hours to complete the upgrade.
- Q: What are the safety considerations when upgrading the lighting system? A: Always disconnect the battery before starting work on the electrical system, and wear protective gloves and eyewear when handling electrical components. Avoid touching the bulb or lens with your bare hands, as the oils from your skin can damage the surface.
Reference: Technical analysis by Sarah Jenkins (Overland Build Expert) based on reports from Jalopnik.