The Ultimate Guide to Restoring Your High School Dream Jeep for the 20th Reunion
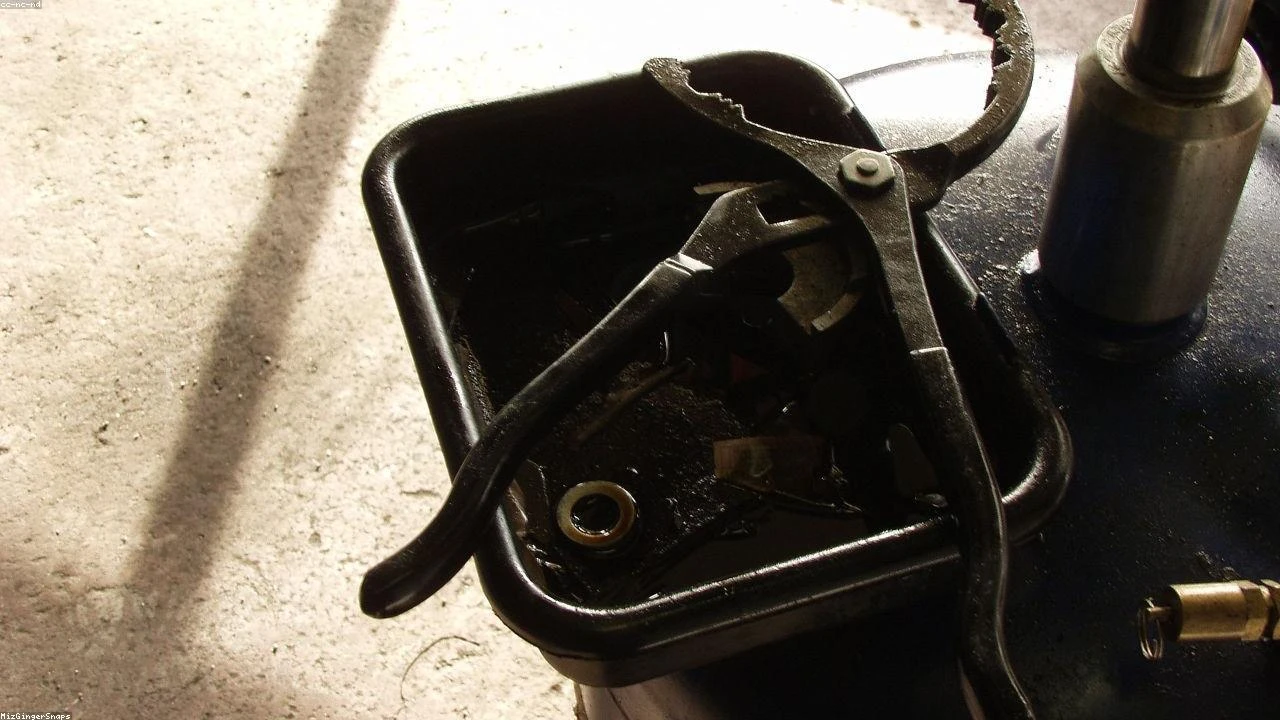
Table of Contents
- The Diagnostic / The Situation
- Technical Deep Dive
- Pre-Work Checklist
- Step-by-Step Guide
- Pro Tips & Common Mistakes
- Cost Analysis: DIY vs Mechanic
- Frequently Asked Questions
The Diagnostic / The Situation
Restoring a Jeep to its former glory for a high school reunion is a great way to impress old friends and classmates. However, it requires careful planning and execution. The first step is to assess the current condition of the vehicle and identify areas that need improvement. This includes checking the engine, suspension, brakes, and electrical systems. Common symptoms of a neglected Jeep include decreased performance, rough idling, and faulty electrical systems.
🔧 Related Guides:
Technical Deep Dive
The Jeep Wrangler and Gladiator are popular models for restoration due to their rugged design and versatility. The 3.6L V6 engine is a common powerplant found in these models, and it requires regular maintenance to run smoothly. The suspension system consists of coil springs, shock absorbers, and control arms, which need to be inspected and replaced if necessary. The electrical system includes the battery, starter motor, and alternator, which should be checked for any signs of wear or damage.
Pre-Work Checklist
At a Glance Table
| Task | Difficulty | Time | Cost | DIY vs Shop |
|---|---|---|---|---|
| Oil change | 2 | 1 hour | $50 | DIY |
| Brake pad replacement | 3 | 2 hours | $200 | Shop |
| Suspension overhaul | 4 | 4 hours | $1,000 | Shop |
| Electrical system check | 2 | 1 hour | $100 | DIY |
Tools Required
- 10mm socket
- Torque wrench
- Pliers
- Screwdrivers
- Multimeter
Safety Warnings
- Always wear protective gear when working with power tools
- Make sure the vehicle is on a level surface and apply the parking brake
- Never work under a lifted vehicle without proper support
Step-by-Step Guide
Step 1: Inspect the Vehicle
The first step in restoring a Jeep is to inspect the vehicle thoroughly. This includes checking the engine, suspension, brakes, and electrical systems. Look for any signs of wear or damage, such as rust, dents, or worn-out components.
Step 1.1: Check the Engine
Check the engine oil level and condition. Look for any signs of leaks or damage to the engine components.
Step 1.2: Inspect the Suspension
Check the coil springs, shock absorbers, and control arms for any signs of wear or damage.
Step 1.3: Check the Brakes
Check the brake pads and rotors for any signs of wear or damage.
Step 2: Replace the Oil and Filter
Replace the engine oil and filter with new ones. This will help to improve the performance and longevity of the engine.
Step 2.1: Drain the Old Oil
Drain the old oil from the engine using a socket wrench and a drain pan.
Step 2.2: Install the New Oil Filter
Install a new oil filter and hand tighten it.
Step 2.3: Refill the Engine Oil
Refill the engine oil with the recommended type and amount.
Step 3: Replace the Brake Pads
Replace the brake pads with new ones. This will help to improve the braking performance and safety of the vehicle.
Step 3.1: Remove the Wheel
Remove the wheel using a lug wrench.
Step 3.2: Remove the Caliper
Remove the caliper using a socket wrench.
Step 3.3: Install the New Brake Pads
Install the new brake pads and reassemble the caliper and wheel.
Step 4: Overhaul the Suspension
Overhaul the suspension system by replacing the coil springs, shock absorbers, and control arms.
Step 4.1: Remove the Coil Springs
Remove the coil springs using a spring compressor.
Step 4.2: Remove the Shock Absorbers
Remove the shock absorbers using a socket wrench.
Step 4.3: Install the New Coil Springs and Shock Absorbers
Install the new coil springs and shock absorbers and reassemble the suspension system.
Pro Tips & Common Mistakes
- Always follow the recommended torque specs when tightening bolts and nuts.
- Never overload the vehicle with too much weight or cargo.
- Always check the tire pressure and adjust it according to the recommended specs.
Cost Analysis: DIY vs Mechanic
The cost of restoring a Jeep can vary depending on the extent of the work and the labor costs. However, here is a rough estimate of the costs involved:
- Oil change: $50 (DIY), $100 (mechanic)
- Brake pad replacement: $200 (DIY), $400 (mechanic)
- Suspension overhaul: $1,000 (DIY), $2,000 (mechanic)
- Electrical system check: $100 (DIY), $200 (mechanic)
Frequently Asked Questions
- What is the best way to restore a Jeep? The best way to restore a Jeep is to start with a thorough inspection of the vehicle and identify areas that need improvement. Then, prioritize the repairs and replacements based on the condition and importance of each component.
- How much does it cost to restore a Jeep? The cost of restoring a Jeep can vary depending on the extent of the work and the labor costs. However, a rough estimate can range from $1,000 to $5,000 or more.
- Can I restore a Jeep myself? Yes, you can restore a Jeep yourself if you have the necessary skills and experience. However, it’s recommended to seek professional help if you’re not familiar with the repair and replacement procedures.
- What are the most common problems with Jeeps? The most common problems with Jeeps include engine issues, transmission problems, and electrical system faults. Regular maintenance and inspections can help to prevent these issues.
- How long does it take to restore a Jeep? The time it takes to restore a Jeep can vary depending on the extent of the work and the labor costs. However, a rough estimate can range from a few days to several weeks or even months.
Reference: Technical analysis by Sarah Jenkins (Overland Build Expert) based on reports from Jalopnik.