The Ultimate Guide to Suspension Maintenance and Upgrades for High-Performance Vehicles like the Corvette
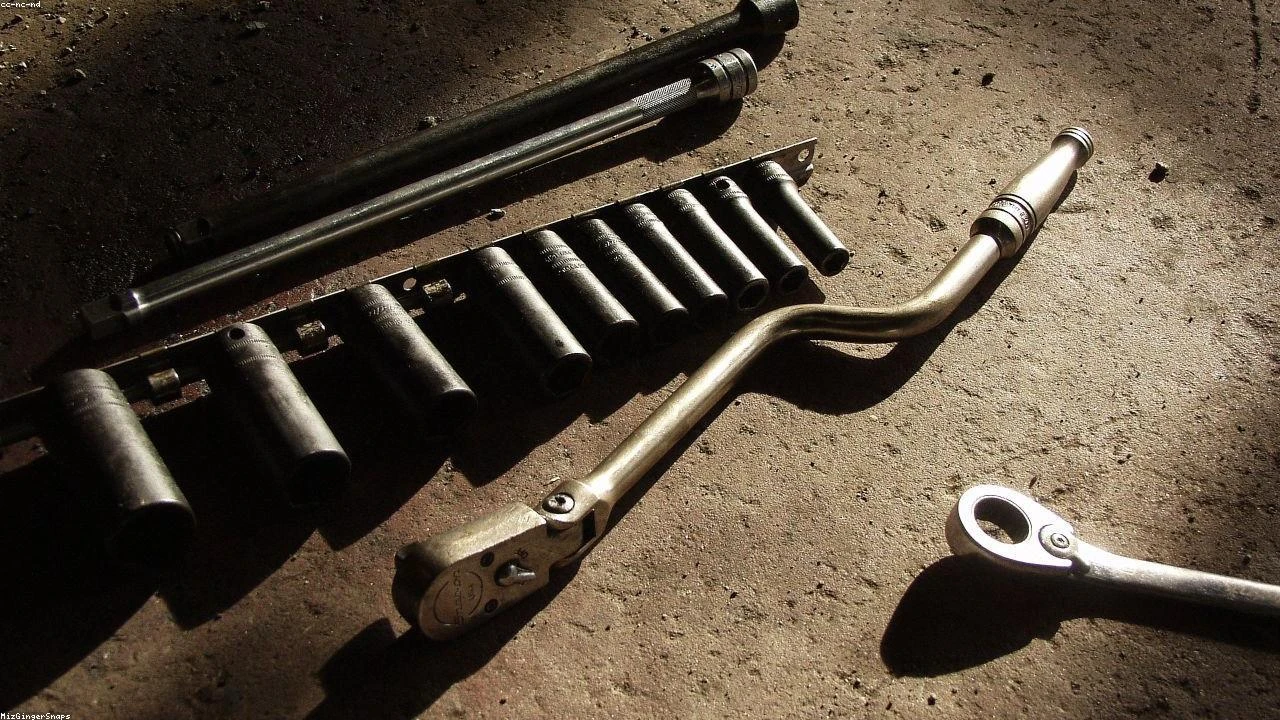
Table of Contents
- The Diagnostic / The Situation
- Technical Deep Dive
- Pre-Work Checklist
- Step-by-Step Guide
- Pro Tips & Common Mistakes
- Cost Analysis: DIY vs Mechanic
- Frequently Asked Questions
The Diagnostic / The Situation
As a suspension engineer and master mechanic, I’ve seen my fair share of high-performance vehicles like the Corvette. With great power comes great responsibility, and a well-maintained suspension system is crucial for optimal performance and safety. In this guide, we’ll dive deep into the world of suspension maintenance and upgrades, using the Corvette as our example vehicle.
Symptoms of a worn-out or faulty suspension system can include uneven tire wear, vibrations, and a general feeling of instability on the road. If left unchecked, these issues can lead to more severe problems, such as reduced handling and increased risk of accidents.
🔧 Related Guides:
Technical Deep Dive
The suspension system of a Corvette is a complex network of components, including springs, shocks, struts, and control arms. The system works by absorbing bumps and vibrations from the road, allowing the vehicle to maintain contact with the pavement and providing a smooth ride for the occupants.
Common failure points in the Corvette’s suspension system include the plastic impeller in the water pump, which can crack and cause coolant leaks, and the rear toe links, which can wear out and cause uneven tire wear.
Pre-Work Checklist
At a Glance Table
| Difficulty | Time | Cost | DIY vs Shop |
|---|---|---|---|
| 3/5 | 5-10 hours | $500-$1000 | DIY (with experience) |
Tools Required
- 10mm Socket
- 12mm Socket
- Torque Wrench
- Spring Compressor
- Shock Absorber Tool
Safety Warnings
When working with suspension systems, it’s essential to follow proper safety protocols to avoid injury. Always wear protective gear, such as gloves and safety glasses, and ensure the vehicle is securely lifted and supported before starting work.
Step-by-Step Guide
Step 1: Inspect the Suspension System
Step 1.1: Visual Inspection
Start by visually inspecting the suspension system, looking for signs of wear or damage. Check the shocks, struts, and springs for leaks, rust, or corrosion.
Step 1.2: Ride Height Check
Measure the ride height of the vehicle to ensure it’s within the manufacturer’s specifications. Uneven ride height can indicate a problem with the suspension system.
Step 2: Replace the Shocks and Struts
Step 2.1: Remove the Wheels
Remove the wheels to access the shocks and struts. Use a torque wrench to loosen the lug nuts, then lift the vehicle and remove the wheels.
Step 2.2: Remove the Shocks and Struts
Use a shock absorber tool to remove the shocks and struts. Be careful not to damage the surrounding components.
Step 2.3: Install the New Shocks and Struts
Install the new shocks and struts, making sure to tighten the bolts securely. Use a torque wrench to ensure the correct torque specs are applied.
Step 3: Upgrade the Springs
Step 3.1: Remove the Old Springs
Use a spring compressor to remove the old springs. Be careful not to damage the surrounding components.
Step 3.2: Install the New Springs
Install the new springs, making sure to tighten the bolts securely. Use a torque wrench to ensure the correct torque specs are applied.
Pro Tips & Common Mistakes
Don’t attempt to replace the shocks and struts without proper training and experience. It’s also essential to follow the manufacturer’s instructions and torque specs to avoid damaging the surrounding components.
Cost Analysis: DIY vs Mechanic
The cost of replacing the shocks and struts can range from $500 to $1000, depending on the quality of the components and the labor costs. If you’re experienced with suspension work, it’s possible to save money by doing the job yourself. However, if you’re not comfortable with the process, it’s recommended to seek the help of a professional mechanic.
Frequently Asked Questions
- What are the symptoms of a worn-out suspension system? Answer: Symptoms can include uneven tire wear, vibrations, and a general feeling of instability on the road.
- How often should I inspect my suspension system? Answer: It’s recommended to inspect your suspension system every 12,000 to 15,000 miles.
- Can I replace the shocks and struts myself? Answer: Yes, but only if you have experience with suspension work and follow the manufacturer’s instructions and torque specs.
- What are the benefits of upgrading my suspension system? Answer: Upgrading your suspension system can improve handling, reduce uneven tire wear, and provide a smoother ride.
- How much does it cost to replace the shocks and struts? Answer: The cost can range from $500 to $1000, depending on the quality of the components and the labor costs.
Reference: Technical analysis by Marcus Reynolds (Suspension Engineer) based on reports from Jalopnik.