The Ultimate Guide to Swapping a V8 Engine into a Classic 4x4: A Masterclass
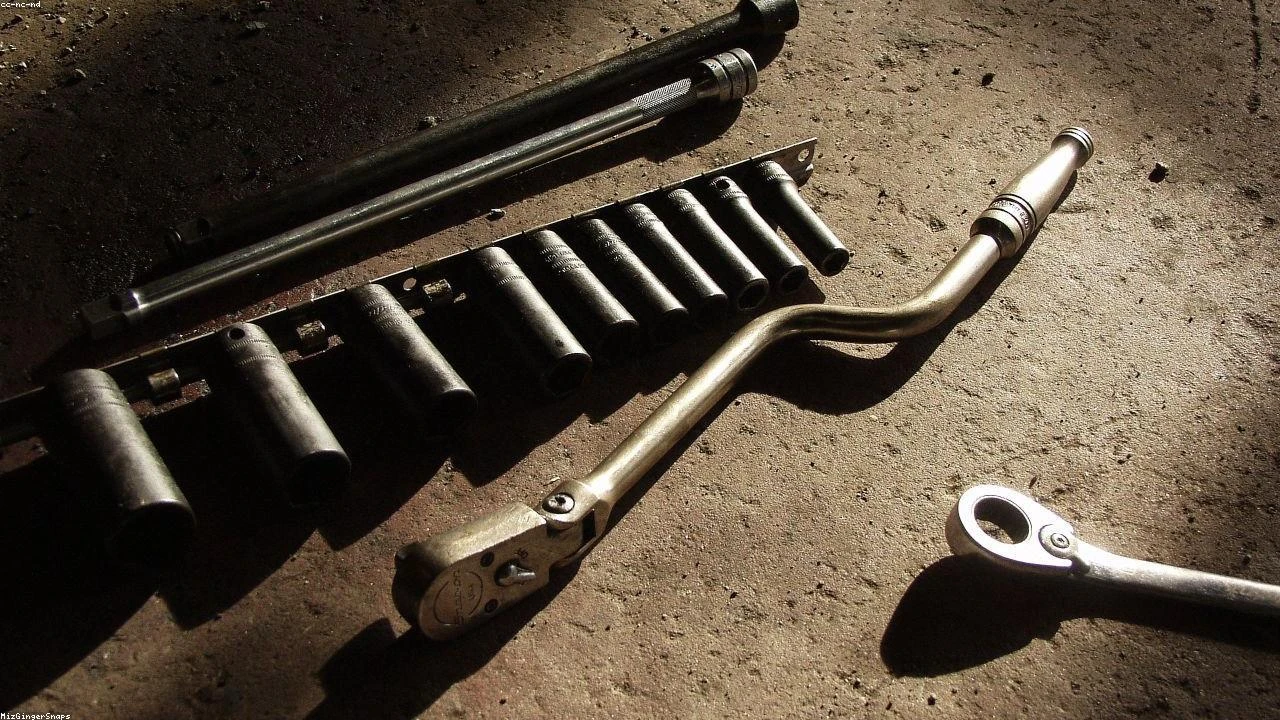
Table of Contents
- The Diagnostic / The Situation
- Technical Deep Dive
- Pre-Work Checklist
- Step-by-Step Guide
- Pro Tips & Common Mistakes
- Cost Analysis: DIY vs Mechanic
- Frequently Asked Questions
The Diagnostic / The Situation
When it comes to restomodding a classic 4x4, such as the Mercedes-Benz G-Wagen, one of the most significant upgrades you can make is swapping out the original engine for a more powerful V8. This can completely transform the vehicle’s performance, making it more capable both on and off the road. However, such a swap requires careful planning, precise execution, and a deep understanding of the vehicle’s systems and how they will interact with the new engine.
🔧 Related Guides:
Symptoms or signs that your classic 4x4 could benefit from a V8 engine swap include lackluster performance, particularly when towing or driving in hilly terrain, and the desire for increased reliability and parts availability that comes with modern engine designs.
Technical Deep Dive
The system involved in an engine swap is complex, encompassing not just the engine itself but also the transmission, cooling system, electrical system, and potentially the suspension and brakes, depending on the weight and power output of the new engine. For a V8 engine like the LS3, you’re looking at a significant increase in power and torque over the original engine, which means that other components must be upgraded to handle the stress.
Common failure points in an engine swap include improper wiring and electrical connections, insufficient cooling capacity, and transmission failure due to the increased power output. The engine mounts, crossmember, and even the frame may need to be reinforced or modified to accommodate the new engine’s size and weight.
Pre-Work Checklist
At a Glance Table
| Difficulty | Time | Cost | DIY vs Shop |
|---|---|---|---|
| 5/5 | 100+ hours | $10,000 - $20,000 | Advanced DIY or Professional |
Tools Required
- Engine hoist
- Transmission jack
- Set of metric and SAE sockets
- Torque wrench
- Welding equipment (for custom mounts and crossmembers)
- Electrical wiring and connectors
Safety Warnings
- Always disconnect the battery before starting work on the electrical system.
- Use proper lifting techniques and equipment to avoid injury from heavy components.
- Ensure the vehicle is securely supported and on level ground before starting work underneath it.
Step-by-Step Guide
Preparation and Planning
Research and Selection of the New Engine
Choose an engine that fits your performance and budget goals. The LS3 V8 is a popular choice for its power output and availability of aftermarket support.
Gathering Necessary Components
This includes the engine itself, a compatible transmission, engine mounts, a crossmember, and any necessary electrical and cooling system components.
Removing the Original Engine
Disconnecting the Battery and Draining Fluids
Ensure the vehicle is safe to work on by disconnecting the battery and draining the cooling and engine oil systems.
Removing the Intake and Exhaust
Take out the intake manifold and exhaust system to access the engine bolts.
Lifting Out the Engine
Use an engine hoist to carefully lift the original engine out of the vehicle.
Installing the New Engine
Preparing the Engine Compartment
Clean and prepare the engine compartment for the new engine, including any necessary modifications to the frame or crossmembers.
Installing the New Engine
Lower the new engine into place using the engine hoist, ensuring it is properly aligned with the engine mounts.
Connecting the Electrical and Cooling Systems
Hook up the electrical wiring and connectors, and install the new cooling system components as necessary.
Testing and Tuning
Initial Start-Up
Start the engine and check for any leaks or unusual noises.
Tuning the Engine
Use a tuner or engine computer to adjust the fuel injection and ignition timing for optimal performance.
Pro Tips & Common Mistakes
- Don’t underestimate the complexity and time required for an engine swap. It’s a major project.
- Ensure all components are compatible and properly installed to avoid premature failure.
- Consider consulting with or hiring a professional mechanic if you’re not experienced with such a project.
Cost Analysis: DIY vs Mechanic
The cost of an engine swap can vary widely depending on the engines involved, the vehicle, and the location. For a DIY project, you’re looking at the cost of the engine, transmission, and any other necessary components, which can range from $5,000 to $15,000 or more. If you hire a mechanic, labor costs can add another $5,000 to $10,000 to the total bill.
Frequently Asked Questions
Q: What is the most important thing to consider when swapping engines? A: Compatibility and ensuring that all systems (electrical, cooling, etc.) can handle the new engine’s power output.
Q: Can I use the original transmission with a new engine? A: It depends on the transmission’s capability to handle the new engine’s power and torque output. Often, a transmission upgrade is necessary.
Q: How long does an engine swap take? A: It can take anywhere from 100 to 500 hours or more, depending on the complexity of the swap and the individual’s experience.
Q: What are the benefits of swapping to a V8 engine? A: Increased power and torque, potentially better reliability, and often greater parts availability.
Q: Is an engine swap worth it for a classic 4x4? A: It can be, depending on your goals for the vehicle. If you want significantly improved performance and are willing to invest the time and money, an engine swap can be very rewarding.
Reference: Technical analysis by Dave Harsya (Certified 4x4 Mechanic) based on reports from Motor1 News.