The Ultimate Guide to Swapping an LS Engine into a Custom Vehicle Chassis
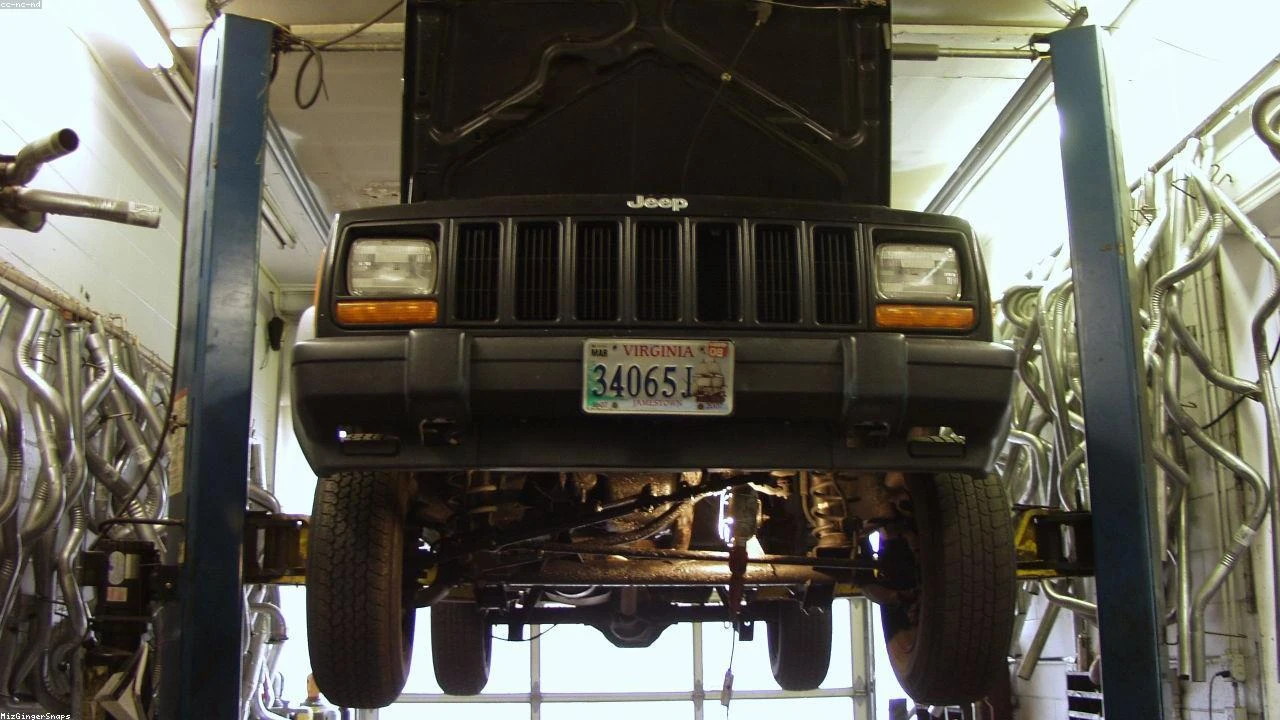
Table of Contents
- The Diagnostic / The Situation
- Technical Deep Dive
- Pre-Work Checklist
- Step-by-Step Guide
- Pro Tips & Common Mistakes
- Cost Analysis: DIY vs Mechanic
- Frequently Asked Questions
The Diagnostic / The Situation
When it comes to building a custom vehicle, such as the ‘Rhino Butt Car’ inspired by the movie ‘Ace Ventura: When Nature Calls’, one of the most critical components is the engine. The LS engine, known for its reliability, power, and versatility, is a popular choice among automotive enthusiasts for engine swaps. However, integrating an LS engine into a custom chassis requires meticulous planning, precise execution, and a deep understanding of both the engine and the vehicle’s framework. This guide will delve into the technical aspects of such a project, focusing on the challenges, solutions, and best practices for a successful LS engine swap into a custom vehicle chassis.
🔧 Related Guides:
Technical Deep Dive
The LS engine family, produced by General Motors, offers a range of V8 engines that have become the gold standard for engine swaps due to their compact size, lightweight design, and impressive power output. When considering an LS engine for a custom vehicle, it’s essential to understand how the engine works, including its fuel injection system, ignition timing, and cooling system. Common failure points in LS engines include the plastic impeller in the water pump and the failure of the lifter guides, but these can be mitigated with proper maintenance and the use of high-quality aftermarket parts.
The custom chassis, on the other hand, must be designed to accommodate the LS engine’s dimensions, weight distribution, and mounting points. This involves careful consideration of the engine’s crankshaft position, bellhousing pattern, and accessory drive system to ensure compatibility with the vehicle’s transmission, drivetrain, and electrical systems. The chassis should also be reinforced to handle the power and torque output of the LS engine, particularly if the vehicle is intended for off-road use.
Pre-Work Checklist
At a Glance Table
| Difficulty | Time | Cost | DIY vs Shop |
|---|---|---|---|
| 4/5 | 40-60 hours | $5,000-$10,000 | Advanced DIY/Shop |
Tools Required
- 10mm, 12mm, and 14mm sockets
- Torque wrench
- Engine hoist
- Custom engine mounts
- Wiring harness
- ECM (Engine Control Module) and programming tools
Safety Warnings
- Always wear protective gear, including gloves and safety glasses, when working with power tools and engine components.
- Ensure the vehicle is securely supported on jack stands and apply the parking brake before starting work underneath it.
- Follow proper procedures for handling electrical systems to avoid shock or damage to components.
Step-by-Step Guide
Step 1: Planning and Preparation
Step 1.1: Choose the Right LS Engine
Select an appropriate LS engine for your project, considering factors like power output, engine management system, and physical dimensions.
Step 1.2: Design the Custom Chassis
Design the vehicle’s chassis to accommodate the LS engine, ensuring proper clearance, mounting points, and structural integrity.
Step 2: Engine Preparation
Step 2.1: Inspect and Clean the Engine
Inspect the LS engine for any signs of wear or damage and clean it thoroughly to prevent contamination during the swap.
Step 2.2: Install Engine Accessories
Install any necessary engine accessories, such as a water pump, alternator, and power steering pump, ensuring they are compatible with the LS engine.
Step 3: Chassis Preparation
Step 3.1: Fabricate Custom Engine Mounts
Design and fabricate custom engine mounts to secure the LS engine to the chassis, ensuring proper alignment and vibration dampening.
Step 3.2: Install the Transmission and Drivetrain
Install the transmission and drivetrain components, ensuring they are compatible with the LS engine and properly aligned.
Step 4: Electrical and Fuel System Integration
Step 4.1: Install the Wiring Harness
Install a custom wiring harness to connect the LS engine’s electronic control module (ECM) to the vehicle’s electrical system.
Step 4.2: Configure the ECM
Configure the ECM for the LS engine, setting parameters such as fuel injection timing, ignition timing, and transmission control.
Step 5: Final Assembly and Testing
Step 5.1: Assemble the Vehicle
Assemble the vehicle, connecting all systems, including the engine, transmission, drivetrain, electrical, and fuel systems.
Step 5.2: Test the Vehicle
Test the vehicle under various conditions to ensure all systems are functioning correctly and the LS engine is performing as expected.
Pro Tips & Common Mistakes
- Don’t overlook the importance of proper engine mounting and alignment, as this can lead to vibration issues and premature wear on engine and chassis components.
- Do ensure all electrical connections are secure and meet the specifications of the LS engine’s ECM to avoid system malfunctions.
- Consider consulting with experienced mechanics or engine swap specialists if you’re new to such projects.
Cost Analysis: DIY vs Mechanic
The cost of an LS engine swap into a custom chassis can vary widely, depending on the specific components chosen, the complexity of the installation, and whether the work is done by a DIY enthusiast or a professional mechanic. Parts costs can range from $5,000 to $10,000, while labor costs, if hiring a mechanic, can add another $5,000 to $15,000, depending on the shop’s rates and the project’s complexity. DIY enthusiasts can save on labor costs but must consider the value of their time and the potential for costly mistakes without proper experience.
Frequently Asked Questions
Q: What is the most challenging part of an LS engine swap?
- A: The most challenging part is often the electrical system integration and ECM configuration, requiring a deep understanding of the engine’s management system and the vehicle’s electrical architecture.
Q: Can I use an LS engine in any custom vehicle chassis?
- A: While the LS engine is versatile, the chassis must be specifically designed to accommodate the engine’s dimensions, weight, and mounting points, as well as its power and torque output.
Q: How long does an LS engine swap typically take?
- A: The time required can vary significantly, from 40 to 100 hours or more, depending on the complexity of the swap, the availability of custom parts, and the individual’s level of experience.
Q: What are the benefits of using an LS engine in a custom vehicle?
- A: Benefits include high power output, reliability, and a wide range of aftermarket support for performance enhancements and custom applications.
Q: Are there any specific safety considerations for an LS engine swap?
- A: Yes, safety considerations include proper handling of electrical systems, secure mounting of the engine to prevent vibration and movement, and ensuring all systems are properly tested before operation.
Reference: Technical analysis by Sarah Jenkins (Overland Build Expert) based on reports from Jalopnik.