The Ultimate Guide to Track Preparation for the Caterham Seven
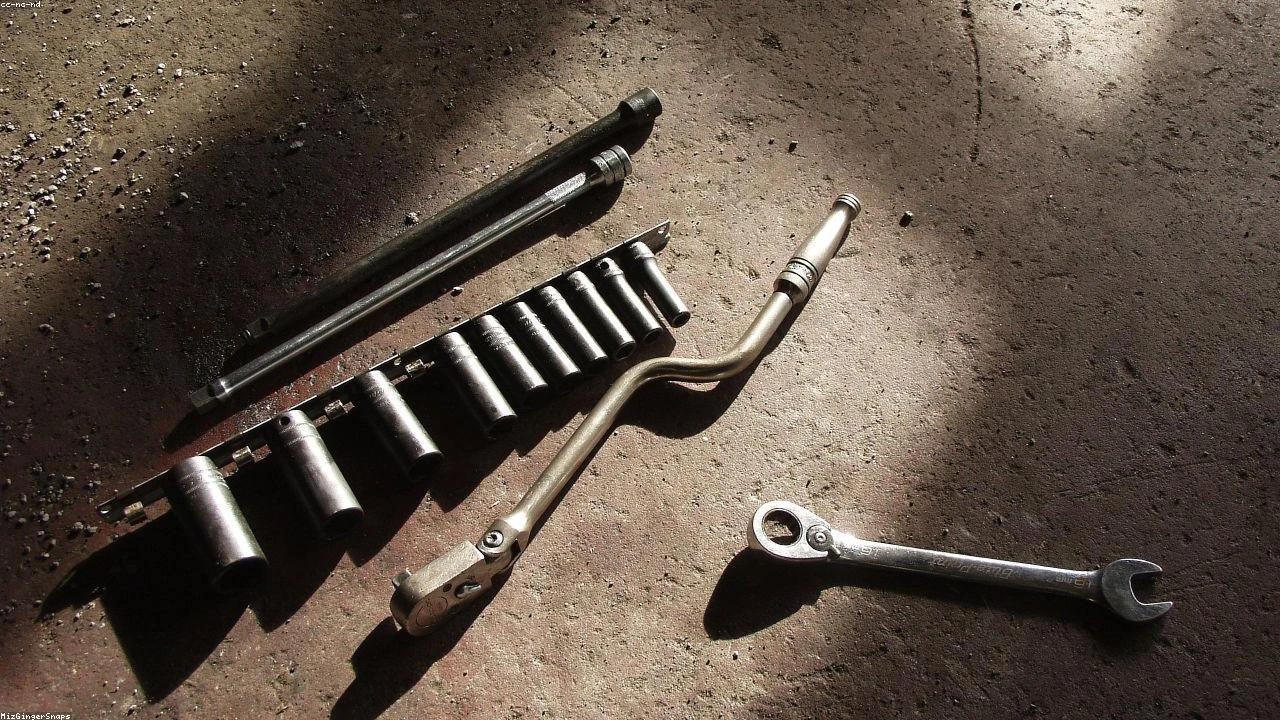
Table of Contents
- The Diagnostic / The Situation
- Technical Deep Dive
- Pre-Work Checklist
- Step-by-Step Guide
- Pro Tips & Common Mistakes
- Cost Analysis: DIY vs Mechanic
- Frequently Asked Questions
The Diagnostic / The Situation
The Caterham Seven is a lightweight, high-performance sports car that is well-suited for track driving. However, to get the most out of the car, it’s essential to prepare it properly for the demands of track driving. This includes making sure the car is in good working condition, as well as making any necessary modifications to improve its performance and safety.
Some common symptoms of a Caterham Seven that is not properly prepared for track driving include overheating, brake fade, and suspension wear. These issues can be caused by a variety of factors, including inadequate cooling, insufficient brake pads, and worn-out suspension components.
🔧 Related Guides:
Technical Deep Dive
The Caterham Seven’s engine, suspension, and braking systems are all critical components that need to be considered when preparing the car for track driving. The engine, for example, needs to be able to withstand the high temperatures and stresses of track driving, while the suspension needs to be able to handle the high cornering forces and braking loads.
One common failure point in the Caterham Seven is the cooling system. The car’s small radiator and lack of cooling fans can make it prone to overheating, especially in hot weather or during intense driving. To address this issue, it’s essential to upgrade the cooling system with a high-performance radiator and cooling fans.
Another critical component is the braking system. The Caterham Seven’s brakes are designed for street driving, and may not be able to withstand the high temperatures and stresses of track driving. To improve the braking system, it’s essential to upgrade the brake pads and rotors with high-performance components.
Pre-Work Checklist
At a Glance Table
| Task | Difficulty | Time | Cost | DIY vs Shop |
|---|---|---|---|---|
| Oil change | 2 | 1 hour | $100 | DIY |
| Brake pad replacement | 3 | 2 hours | $200 | DIY |
| Suspension upgrade | 4 | 4 hours | $500 | Shop |
| Cooling system upgrade | 4 | 4 hours | $500 | Shop |
Tools Required
- Socket set
- Wrench set
- Pliers
- Torque wrench
- Brake bleeding kit
- Suspension alignment tools
Safety Warnings
- Always wear protective gear, including a helmet and gloves, when working on the car.
- Make sure the car is securely supported by jack stands before starting work.
- Never work on the car while it is in motion.
Step-by-Step Guide
Step 1: Oil Change
Step 1.1: Drain the oil
Use a socket wrench to remove the oil drain plug and drain the oil into a pan.
Step 1.2: Replace the oil filter
Use a filter wrench to remove the oil filter and replace it with a new one.
Step 1.3: Refill the oil
Use a funnel to pour in the new oil and replace the oil cap.
Step 2: Brake Pad Replacement
Step 2.1: Remove the wheels
Use a lug wrench to remove the wheels and gain access to the brake calipers.
Step 2.2: Remove the caliper
Use a socket wrench to remove the caliper and access the brake pads.
Step 2.3: Replace the brake pads
Use a wrench to remove the old brake pads and replace them with new ones.
Step 3: Suspension Upgrade
Step 3.1: Remove the suspension components
Use a socket wrench to remove the suspension components, including the shocks and springs.
Step 3.2: Install the new suspension components
Use a socket wrench to install the new suspension components, including the shocks and springs.
Step 3.3: Align the suspension
Use suspension alignment tools to ensure the suspension is properly aligned.
Step 4: Cooling System Upgrade
Step 4.1: Remove the old radiator
Use a socket wrench to remove the old radiator and access the cooling system.
Step 4.2: Install the new radiator
Use a socket wrench to install the new radiator and connect the cooling hoses.
Step 4.3: Install the cooling fans
Use a wrench to install the cooling fans and connect the electrical wiring.
Pro Tips & Common Mistakes
- Always use high-quality components when upgrading the car.
- Make sure to properly align the suspension to avoid uneven tire wear.
- Never overload the car with too much weight, as this can cause damage to the suspension and braking systems.
Cost Analysis: DIY vs Mechanic
The cost of preparing a Caterham Seven for track driving can vary widely, depending on the extent of the modifications and the labor costs. However, here is a rough estimate of the costs involved:
- Oil change: $100 (DIY), $200 (mechanic)
- Brake pad replacement: $200 (DIY), $400 (mechanic)
- Suspension upgrade: $500 (DIY), $1,000 (mechanic)
- Cooling system upgrade: $500 (DIY), $1,000 (mechanic)
Frequently Asked Questions
- Q: What is the best way to prepare a Caterham Seven for track driving? A: The best way to prepare a Caterham Seven for track driving is to upgrade the cooling system, braking system, and suspension, and to make sure the car is in good working condition.
- Q: What are the most common failure points in a Caterham Seven? A: The most common failure points in a Caterham Seven include the cooling system, braking system, and suspension.
- Q: How often should I change the oil in my Caterham Seven? A: It’s recommended to change the oil in your Caterham Seven every 5,000 to 7,500 miles, depending on the driving conditions.
- Q: Can I upgrade the suspension on my Caterham Seven myself? A: Yes, it’s possible to upgrade the suspension on your Caterham Seven yourself, but it’s recommended to seek the help of a professional mechanic if you’re not experienced with suspension work.
- Q: What are the benefits of upgrading the cooling system on my Caterham Seven? A: Upgrading the cooling system on your Caterham Seven can help to improve the car’s performance and reliability, especially in hot weather or during intense driving.
Reference: Technical analysis by Marcus Reynolds (Suspension Engineer) based on reports from Motor1 News.