The Ultimate Guide to Turbocharging: Single vs Dual Turbos
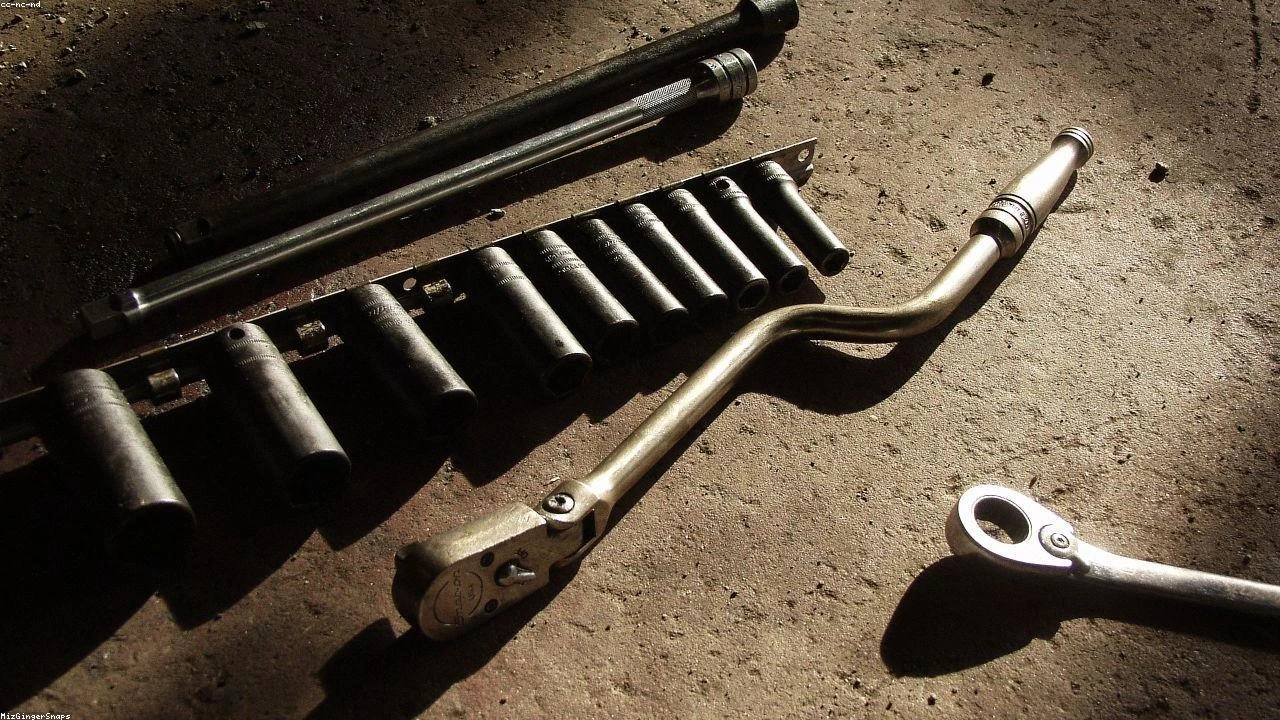
Table of Contents
- The Diagnostic / The Situation
- Technical Deep Dive
- Pre-Work Checklist
- Step-by-Step Guide
- Pro Tips & Common Mistakes
- Cost Analysis: DIY vs Mechanic
- Frequently Asked Questions
The Diagnostic / The Situation
Turbocharging has become a crucial aspect of modern engine design, allowing for significant increases in power output while minimizing engine size. However, the choice between single and dual turbo setups can have a substantial impact on engine performance, reliability, and maintenance. In this guide, we will delve into the technical background of turbocharging, explore the symptoms and signs of turbocharger failure, and discuss the reasons behind BMW’s decision to opt for single turbo engines.
Turbocharging works by using the exhaust gases to drive a turbine, which in turn compresses the air entering the engine’s cylinders. This compression allows for a significant increase in power output, as the engine can burn more fuel and air. However, the added complexity of turbocharging systems can lead to increased maintenance costs and reduced reliability. Symptoms of turbocharger failure can include decreased power output, increased fuel consumption, and unusual noises emanating from the turbocharger.
🔧 Related Guides:
Technical Deep Dive
The technical differences between single and dual turbo setups are significant. A single turbo setup uses a single turbine and compressor to boost the engine’s power output. This setup is simpler and less expensive to manufacture, but can be limited by the turbine’s ability to handle the exhaust gases. Dual turbo setups, on the other hand, use two smaller turbines and compressors to boost the engine’s power output. This setup can provide more power and better responsiveness, but is more complex and expensive to manufacture.
Common failure points in turbocharging systems include the turbine and compressor wheels, the bearings, and the seals. The turbine and compressor wheels can become damaged due to excessive heat, debris, or imbalance, while the bearings can fail due to wear and tear or contamination. The seals can also fail due to wear and tear, allowing oil to leak into the turbocharger and causing damage.
Pre-Work Checklist
At a Glance Table
| Difficulty | Time | Cost | DIY vs Shop |
|---|---|---|---|
| 4/5 | 10-20 hours | $1,000-$3,000 | DIY (experienced) |
Tools Required
- Turbocharger removal tool
- Compressor wheel puller
- Turbine wheel puller
- Bearing puller
- Seal installer
- Oil drain pan
- New turbocharger gaskets and seals
Safety Warnings
- Always wear protective gloves and eyewear when working with turbocharging systems
- Ensure the engine is cool before starting work
- Use a lift or jack stands to support the vehicle
- Never touch the turbocharger or its components with your bare hands, as the oils from your skin can cause damage
Step-by-Step Guide
Step 1: Removing the Turbocharger
Step 1.1: Locate the Turbocharger
The turbocharger is typically located near the exhaust manifold, and is connected to the engine’s cylinder head. Use a turbocharger removal tool to loosen the turbocharger’s mounting bolts.
Step 1.2: Disconnect the Oil and Coolant Lines
Use a wrench to loosen the oil and coolant lines connected to the turbocharger. Be careful not to spill any fluids, and use a drain pan to catch any spills.
Step 1.3: Remove the Turbocharger Mounting Bolts
Use a socket wrench to remove the turbocharger’s mounting bolts. Be careful not to damage the threads or the surrounding components.
Step 2: Inspecting and Replacing the Turbocharger
Step 2.1: Inspect the Turbocharger
Use a compressor wheel puller and turbine wheel puller to remove the wheels from the turbocharger. Inspect the wheels for damage or wear, and replace them if necessary.
Step 2.2: Replace the Bearings and Seals
Use a bearing puller to remove the old bearings, and install new ones. Use a seal installer to install new seals, and ensure they are properly seated.
Step 2.3: Reassemble the Turbocharger
Use a compressor wheel installer and turbine wheel installer to reassemble the turbocharger. Ensure all components are properly seated and secured.
Step 3: Reinstalling the Turbocharger
Step 3.1: Reconnect the Oil and Coolant Lines
Use a wrench to reconnect the oil and coolant lines to the turbocharger. Ensure they are properly secured and not leaking.
Step 3.2: Reinstall the Turbocharger Mounting Bolts
Use a socket wrench to reinstall the turbocharger’s mounting bolts. Ensure they are properly torqued and secured.
Step 3.3: Start the Engine and Check for Leaks
Start the engine and check for any leaks or unusual noises. Use a boost gauge to monitor the turbocharger’s boost pressure, and ensure it is within the manufacturer’s specifications.
Pro Tips & Common Mistakes
- Always use a turbocharger removal tool to avoid damaging the turbocharger or its components
- Ensure the engine is cool before starting work to avoid damaging the turbocharger or its components
- Use a lift or jack stands to support the vehicle, and never work under a vehicle that is supported by a jack alone
- Don’t over-tighten the turbocharger’s mounting bolts, as this can damage the threads or the surrounding components
Cost Analysis: DIY vs Mechanic
The cost of replacing a turbocharger can range from $1,000 to $3,000, depending on the type and quality of the turbocharger. Labor costs can add an additional $500 to $1,000, depending on the mechanic’s rates and the complexity of the job. DIY enthusiasts can save money by purchasing a turbocharger kit and installing it themselves, but must be experienced and confident in their abilities.
Frequently Asked Questions
- Q: What are the benefits of a single turbo setup? A: A single turbo setup is simpler and less expensive to manufacture, and can provide better low-end torque and responsiveness.
- Q: What are the benefits of a dual turbo setup? A: A dual turbo setup can provide more power and better high-end performance, and can be more efficient at high engine speeds.
- Q: How often should I replace my turbocharger? A: The turbocharger should be replaced every 50,000 to 100,000 miles, depending on the manufacturer’s recommendations and the vehicle’s usage.
- Q: Can I install a turbocharger myself? A: Yes, but it is recommended that only experienced DIY enthusiasts attempt to install a turbocharger themselves. The job requires specialized tools and knowledge, and can be complex and time-consuming.
- Q: What are the symptoms of turbocharger failure? A: Symptoms of turbocharger failure can include decreased power output, increased fuel consumption, and unusual noises emanating from the turbocharger. The vehicle may also experience decreased performance, and may produce a warning light on the dashboard.
Reference: Technical analysis by Marcus Reynolds (Suspension Engineer) based on reports from Jalopnik.