The Ultimate Guide to Understanding and Maintaining Camshafts in Pushrod V-Twins
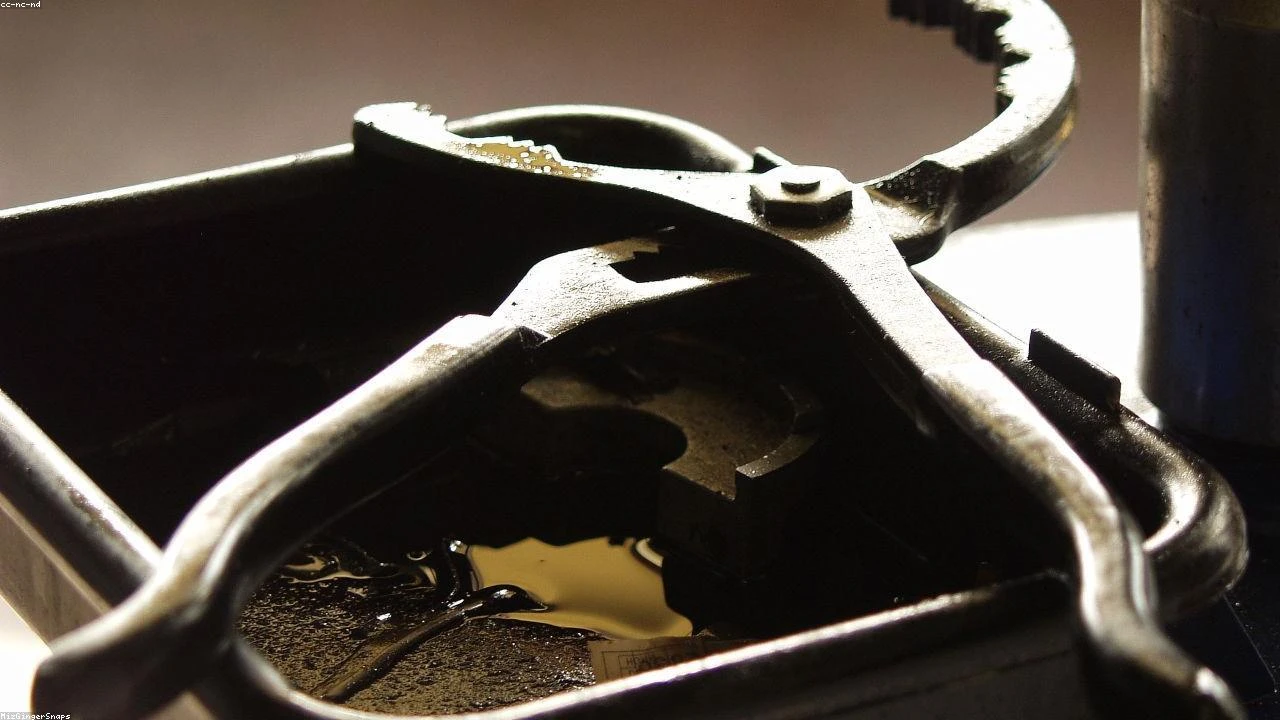
Table of Contents
- The Diagnostic / The Situation
- Technical Deep Dive
- Pre-Work Checklist
- Step-by-Step Guide
- Pro Tips & Common Mistakes
- Cost Analysis: DIY vs Mechanic
- Frequently Asked Questions
The Diagnostic / The Situation
The Pushrod V-Twin engine is a unique and iconic design that has been used in various applications, including motorcycles and classic cars. One of the distinctive features of this engine is the use of four camshafts connected by meshed gears. This design may seem complex, but it serves a specific purpose. Understanding the technical background and symptoms of camshaft issues is crucial for proper diagnosis and maintenance.
The four-camshaft design allows for a more efficient and compact engine layout, while also providing a smoother and more consistent power delivery. However, this design also presents some challenges when it comes to maintenance and repair. Symptoms of camshaft issues can include rough idling, decreased power output, and unusual engine noises.
🔧 Related Guides:
Technical Deep Dive
The camshaft is a critical component of the engine, responsible for operating the valves that allow air and fuel into the cylinders and exhaust gases out of the cylinders. In a Pushrod V-Twin engine, the four camshafts work together to provide a precise and synchronized valve operation.
The camshafts are connected by meshed gears, which allow them to rotate in a specific sequence. This sequence is critical to ensure proper valve operation and to prevent engine damage. The camshafts are also equipped with bearings and seals to reduce friction and prevent oil leakage.
Common failure points in the camshaft system include worn or damaged camshaft bearings, faulty camshaft seals, and broken or worn camshaft gears. These issues can cause a range of problems, from decreased engine performance to complete engine failure.
Pre-Work Checklist
At a Glance Table
| Difficulty | Time | Cost | DIY vs Shop |
|---|---|---|---|
| 4/5 | 10-20 hours | $500-$2000 | DIY (experienced) |
Tools Required
- Camshaft locking tool
- Camshaft bearing puller
- Gear puller
- Torque wrench
- Socket set
- Pliers and punches
Safety Warnings
When working with the camshaft system, it is essential to follow proper safety procedures to avoid injury or engine damage. Always wear protective gear, including gloves and safety glasses, and ensure the engine is properly supported and secured before starting work.
Step-by-Step Guide
Step 1: Remove the Camshaft Cover
The first step in accessing the camshaft system is to remove the camshaft cover. This will provide access to the camshafts and the meshed gears.
Step 1.1: Remove the bolts and screws
Use a socket set to remove the bolts and screws that hold the camshaft cover in place.
Step 1.2: Carefully lift the cover
Use a pry bar or a screwdriver to carefully lift the cover off the engine block.
Step 2: Inspect the Camshafts
Once the camshaft cover is removed, inspect the camshafts for any signs of wear or damage.
Step 2.1: Check the camshaft bearings
Use a camshaft locking tool to hold the camshaft in place, and then use a bearing puller to remove the bearings.
Step 2.2: Inspect the camshaft seals
Check the camshaft seals for any signs of leakage or damage.
Step 3: Replace the Camshaft Bearings
If the camshaft bearings are worn or damaged, replace them with new ones.
Step 3.1: Install the new bearings
Use a bearing installer to install the new bearings onto the camshaft.
Step 3.2: Apply lubricant
Apply a small amount of lubricant to the bearings to reduce friction.
Step 4: Reassemble the Camshaft System
Once the camshaft bearings are replaced, reassemble the camshaft system.
Step 4.1: Reinstall the camshaft cover
Use the socket set to reinstall the camshaft cover and tighten the bolts and screws in a star pattern.
Step 4.2: Check the meshed gears
Use a gear puller to check the meshed gears for any signs of wear or damage.
Pro Tips & Common Mistakes
When working with the camshaft system, it is essential to follow proper procedures to avoid common mistakes.
- Always use a camshaft locking tool to hold the camshaft in place when removing the bearings or seals.
- Never use a hammer or a chisel to remove the bearings or seals, as this can cause damage to the camshaft or the engine block.
- Always apply lubricant to the bearings and gears to reduce friction and prevent wear.
Cost Analysis: DIY vs Mechanic
The cost of repairing or replacing the camshaft system can vary depending on the extent of the damage and the labor costs.
- DIY: $500-$2000 (parts and tools)
- Mechanic: $1000-$5000 (labor and parts)
Frequently Asked Questions
- What are the symptoms of a faulty camshaft? The symptoms of a faulty camshaft can include rough idling, decreased power output, and unusual engine noises.
- How often should I inspect the camshaft system? The camshaft system should be inspected every 10,000 to 20,000 miles, or as recommended by the manufacturer.
- Can I replace the camshaft bearings myself? Yes, replacing the camshaft bearings can be done yourself, but it requires specialized tools and expertise.
- What is the purpose of the meshed gears in the camshaft system? The meshed gears in the camshaft system provide a precise and synchronized valve operation, allowing for a smoother and more consistent power delivery.
- How much does it cost to replace the entire camshaft system? The cost of replacing the entire camshaft system can vary depending on the extent of the damage and the labor costs, but it can range from $1000 to $5000.
Reference: Technical analysis by Luca Romano (Restoration Specialist) based on reports from Jalopnik.