The Ultimate Guide to Understanding and Maintaining Modern Semi-Automatic and Automated Manual Transmissions
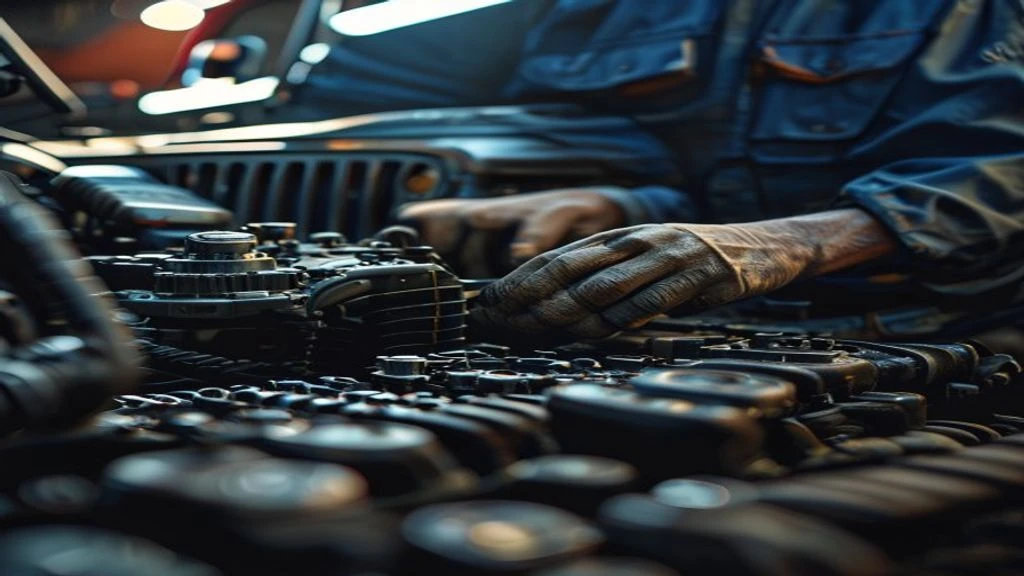
Table of Contents
- The Diagnostic / The Situation
- Technical Deep Dive
- Pre-Work Checklist
- Step-by-Step Guide
- Pro Tips & Common Mistakes
- Cost Analysis: DIY vs Mechanic
- Frequently Asked Questions
The Diagnostic / The Situation
Modern vehicles, including Jeeps, have seen a significant shift towards more efficient and technologically advanced transmissions. The introduction of semi-automatic and automated manual transmissions has brought about a new era of performance and fuel efficiency. However, these systems also present unique challenges for mechanics and DIY enthusiasts. Understanding how these systems work and being able to diagnose and maintain them is crucial for optimal performance and longevity.
🔧 Related Guides:
Symptoms of issues with these systems can range from erratic shifting patterns to complete system failure. Signs to look for include unusual noises, delayed or harsh shifting, and warning lights on the dashboard. In the case of the ‘Manuale By-Wire’ system, understanding the electronic signals and how they translate to mechanical actions is key to successful diagnosis and repair.
Technical Deep Dive
The ‘Manuale By-Wire’ system, as seen in some modern Ferrari models, translates physical inputs from the gear lever and clutch into electronic signals that are then interpreted by the vehicle’s computer. This system allows for precise control over the transmission, enabling features like automatic shifting and manual override. In Jeep models, similar technology is used in certain automatic and semi-automatic transmissions, where electronic controls manage the clutch and gear engagement.
Common failure points in these systems include the electronic control units, wiring, and sensors. The plastic or metal components in the transmission itself can also fail due to wear and tear or manufacturing defects. Understanding how these components interact and how to diagnose issues is critical for successful maintenance and repair.
Pre-Work Checklist
At a Glance Table
| Task | Difficulty (1-5) | Time | Cost | DIY vs Shop |
|---|---|---|---|---|
| Basic Diagnosis | 2 | 1-2 hours | $0 - $100 | DIY |
| Component Replacement | 4 | 2-5 hours | $500 - $2,000 | Shop |
| System Overhaul | 5 | 5-10 hours | $2,000 - $5,000 | Shop |
Tools Required
- 10mm Socket
- Torque Wrench
- Multimeter
- Scan Tool for vehicle-specific codes
- Laptop with vehicle-specific software
Safety Warnings
When working with electrical systems, ensure all power sources are disconnected to prevent electrical shock. Wear protective gloves and safety glasses when working with tools and around moving parts.
Step-by-Step Guide
Introduction to Diagnostic Procedures
The first step in diagnosing issues with modern transmissions is to understand the system’s components and how they interact. This includes the electronic control unit, sensors, wiring, and mechanical components of the transmission itself.
Connecting the Scan Tool
- Locate the OBD-II port under the steering column.
- Connect the scan tool and turn the ignition to the “on” position.
- Follow the scan tool’s instructions to retrieve any stored codes.
Analyzing Electronic Signals
- Use a multimeter to measure voltage at key points in the system.
- Compare readings to the manufacturer’s specifications.
- Identify any discrepancies that could indicate a problem.
Component Replacement
Replacing the Electronic Control Unit
- Disconnect the battery to prevent any accidental starts.
- Locate the electronic control unit, usually found under the hood or behind the center console.
- Remove any brackets or screws holding the unit in place.
- Carefully pull the unit out and disconnect the wiring harness.
- Install the new unit, ensuring all connections are secure.
- Replace any brackets or screws.
Replacing Sensors
- Identify the sensor that needs to be replaced, using the scan tool or manufacturer’s documentation.
- Disconnect the sensor’s wiring harness.
- Remove any bolts or clips holding the sensor in place.
- Install the new sensor, ensuring it is properly seated and secured.
- Reconnect the wiring harness.
Pro Tips & Common Mistakes
- Always refer to the vehicle’s specific repair manual for detailed instructions and precautions.
- Use the correct tools to avoid damaging components.
- Be cautious when working with electrical systems to prevent short circuits or electrical shock.
- Don’t overlook the basics: ensure the vehicle is on level ground and apply the parking brake before starting any work.
Cost Analysis: DIY vs Mechanic
The cost of parts for modern transmission repairs can range from a few hundred dollars for sensors to several thousand dollars for the electronic control unit or transmission overhaul. Labor costs at a mechanic’s shop can add significantly to the total bill, often doubling or tripling the cost of parts. DIY repairs can save on labor costs but require a significant investment in tools and knowledge.
Frequently Asked Questions
Q: What is the ‘Manuale By-Wire’ system? A: The ‘Manuale By-Wire’ system is a technology that translates physical inputs from the gear lever and clutch into electronic signals to control the transmission.
Q: How do I diagnose issues with my vehicle’s transmission? A: Start by using a scan tool to retrieve any stored codes, then proceed with a visual inspection and electronic signal analysis as needed.
Q: Can I replace the electronic control unit myself? A: Yes, but it requires careful attention to detail and the right tools. Ensure you follow the manufacturer’s instructions and take necessary safety precautions.
Q: What safety precautions should I take when working with electrical systems? A: Always disconnect power sources, wear protective gear, and ensure the vehicle is in a safe working condition.
Q: How often should I maintain my vehicle’s transmission? A: Regular maintenance, such as fluid checks and filter replacements, should be performed according to the manufacturer’s schedule to prevent premature wear and failure.
Reference: Technical analysis by Ben Foster (Trail Recovery Instructor) based on reports from Motor1 News.