The Ultimate Guide to Understanding and Managing Torque in Your Jeep
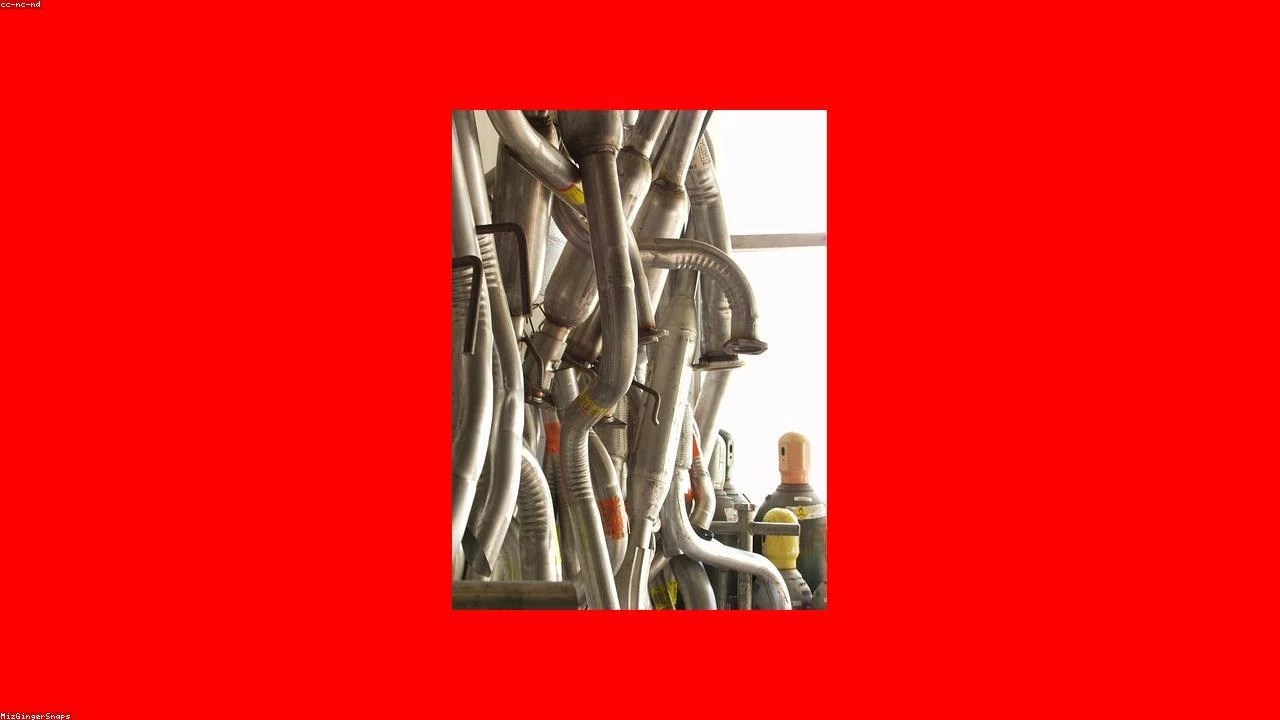
Table of Contents
- The Diagnostic / The Situation
- Technical Deep Dive
- Pre-Work Checklist
- Step-by-Step Guide
- Pro Tips & Common Mistakes
- Cost Analysis: DIY vs Mechanic
- Frequently Asked Questions
The Diagnostic / The Situation
Torque is a fundamental concept in the world of mechanics, representing the rotational force that causes an object to rotate. In the context of vehicles, particularly Jeeps, understanding and managing torque is crucial for optimal performance, especially when navigating challenging terrains and tight corners. The 90-degree torque problem refers to the inherent difficulty in transmitting torque around sharp bends, such as those encountered in off-road driving or tight city corners. This issue arises because torque naturally prefers to move in a straight line, and any deviation from this path requires additional mechanical components and engineering solutions to efficiently manage and deliver the torque to the wheels.
🔧 Related Guides:
Symptoms of inefficient torque management can include decreased performance, increased wear on drivetrain components, and in severe cases, mechanical failure. Recognizing the signs of poor torque management, such as unusual vibrations, noises, or decreased traction, is crucial for maintaining the health and performance of your Jeep.
Technical Deep Dive
The system responsible for managing and delivering torque in a Jeep involves several key components, including the engine, transmission, transfer case, and drivetrain. The engine produces torque, which is then transmitted through the transmission and transfer case before being split between the front and rear axles. In a Jeep, this system must be capable of handling the demands of both on-road driving and off-road adventures, where the ability to deliver torque around 90-degree bends is essential.
Common failure points in the torque management system include the universal joints, constant velocity (CV) joints, and the differential gears. The universal joints, for example, are designed to allow for the flexibility needed to transmit torque around bends, but they can wear out over time, leading to vibrations and decreased performance. Similarly, CV joints are critical in the front axle for allowing the suspension to move while maintaining the delivery of torque, but they can be prone to damage from debris and excessive wear.
Pre-Work Checklist
At a Glance Table
| Task | Difficulty | Time | Cost | DIY vs Shop |
|---|---|---|---|---|
| Inspect Universal Joints | 2 | 1 hour | $0 - $50 | DIY |
| Replace Universal Joints | 4 | 3 hours | $200 - $500 | Shop |
| Inspect CV Joints | 2 | 1 hour | $0 - $50 | DIY |
| Replace CV Joints | 4 | 3 hours | $300 - $600 | Shop |
Tools Required
- 10mm Socket
- 12mm Socket
- Torque Wrench
- CV Joint Puller
- Universal Joint Puller
- Grease Gun
- Safety Glasses
- Gloves
Safety Warnings
When working with the drivetrain and suspension components, it is essential to follow proper safety protocols to avoid injury. Always refer to the vehicle’s repair manual for specific instructions and precautions. Wear protective gear, including safety glasses and gloves, and ensure the vehicle is securely lifted and supported before starting any work underneath it.
Step-by-Step Guide
Inspecting Universal Joints
Preparing the Vehicle
- Ensure the vehicle is on a level surface and apply the parking brake.
- Place the transmission in neutral (if manual) or park (if automatic).
- Locate the universal joints in the drivetrain.
Inspection Procedure
- Visually inspect each universal joint for signs of wear, such as rust, corrosion, or excessive movement.
- Use a grease gun to apply grease to the universal joints, if applicable.
- Check the universal joint bearings for smooth operation.
Replacing Universal Joints
Removing the Old Universal Joint
- Mark the position of the driveshaft in relation to the universal joint.
- Use a universal joint puller to remove the old joint.
- Clean the area around the universal joint mounting points.
Installing the New Universal Joint
- Align the new universal joint with the marks made during removal.
- Use the universal joint puller to install the new joint.
- Tighten the universal joint bolts to the specified torque (typically around 40-50 Nm).
Inspecting CV Joints
Preparing the Vehicle
- Raise the vehicle to access the CV joints.
- Remove any protective covers or shields.
Inspection Procedure
- Visually inspect each CV joint for signs of wear or damage.
- Check the CV joint boots for cracks or tears.
- Test the CV joints for smooth operation by rotating the wheel.
Replacing CV Joints
Removing the Old CV Joint
- Remove the CV joint from the axle shaft.
- Use a CV joint puller to remove the old joint.
- Clean the area around the CV joint mounting points.
Installing the New CV Joint
- Apply a small amount of grease to the new CV joint.
- Align the new CV joint with the axle shaft.
- Use the CV joint puller to install the new joint.
- Tighten the CV joint bolts to the specified torque (typically around 20-30 Nm).
Pro Tips & Common Mistakes
- Always refer to the vehicle’s repair manual for specific instructions and torque specifications.
- Use the correct tools to avoid damaging components.
- Do not overtighten bolts, as this can lead to premature wear or component failure.
- Regularly inspect and maintain the drivetrain and suspension components to prevent issues.
Cost Analysis: DIY vs Mechanic
The cost of inspecting and replacing universal joints and CV joints can vary significantly depending on whether you choose to do it yourself (DIY) or take it to a mechanic. For DIY, the cost of parts can range from $200 to $600, depending on the quality and brand. Labor costs are saved, but the time and expertise required should not be underestimated. Taking the vehicle to a mechanic can add labor costs, which can double or triple the total cost, but it ensures the job is done by a professional with the right tools and experience.
Frequently Asked Questions
Q: What are the symptoms of a failing universal joint? A: Symptoms can include vibrations, noises (such as clunking or clicking), and decreased performance, especially when accelerating or decelerating.
Q: How often should I inspect my CV joints? A: It is recommended to inspect CV joints every 12,000 to 15,000 miles, or as part of your regular vehicle maintenance routine.
Q: Can I replace a universal joint myself? A: Yes, but it requires the right tools and some mechanical knowledge. If you are not confident in your abilities, it is recommended to consult a professional mechanic.
Q: What causes CV joints to fail? A: CV joints can fail due to wear and tear, lack of maintenance (such as not replacing the CV joint boots when damaged), and excessive stress (such as from aggressive driving).
Q: Are all universal joints the same? A: No, universal joints are specific to the make and model of the vehicle. Always ensure to purchase the correct universal joint for your Jeep to avoid compatibility issues.
Reference: Technical analysis by Dave Harsya (Certified 4x4 Mechanic) based on reports from Jalopnik.