The Ultimate Guide to Understanding Back Pressure in Harley-Davidson Motorcycles
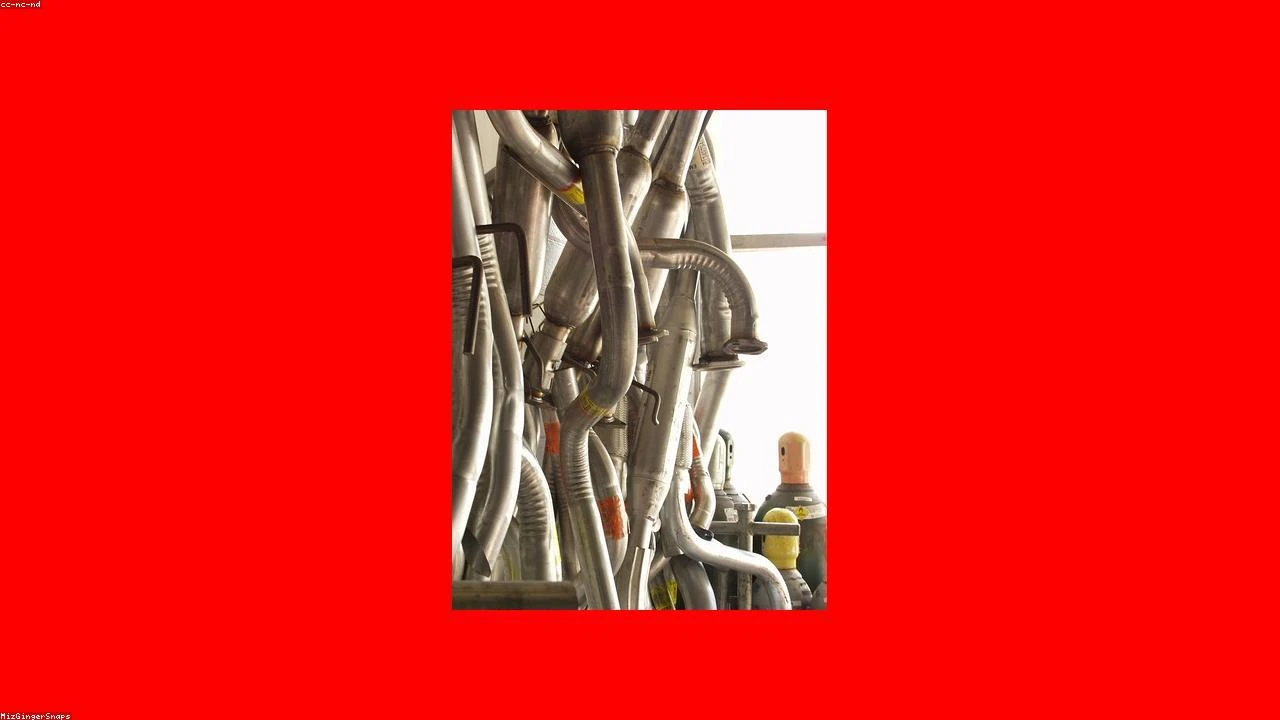
Table of Contents
- The Diagnostic / The Situation
- Technical Deep Dive
- Pre-Work Checklist
- Step-by-Step Guide
- Pro Tips & Common Mistakes
- Cost Analysis: DIY vs Mechanic
- Frequently Asked Questions
The Diagnostic / The Situation
Back pressure is a topic of much debate among motorcycle enthusiasts, particularly when it comes to Harley-Davidson bikes. The concept of back pressure refers to the resistance to the flow of exhaust gases out of the engine and into the atmosphere. Many riders believe that their Harley-Davidson needs back pressure to run efficiently, but is this really the case? In this guide, we’ll delve into the technical background of back pressure, its importance, and the symptoms to look out for.
Back pressure is created by the combination of the exhaust system, engine design, and other factors. In a Harley-Davidson, the exhaust system is designed to provide a certain amount of back pressure to help the engine breathe and run efficiently. However, too much or too little back pressure can have a significant impact on the performance of the bike. Symptoms of incorrect back pressure can include decreased power, poor idle, and increased emissions.
🔧 Related Guides:
Technical Deep Dive
To understand how back pressure works in a Harley-Davidson, it’s essential to look at the engine and exhaust system. The engine produces power by burning a mixture of air and fuel, which creates exhaust gases. These gases are then expelled out of the engine and into the exhaust system, which is designed to direct them out of the bike. The exhaust system consists of the exhaust pipes, mufflers, and catalytic converter (if equipped).
In a Harley-Davidson, the exhaust system is typically designed to provide a certain amount of back pressure to help the engine breathe. This back pressure is created by the restrictive nature of the exhaust system, which includes the mufflers and catalytic converter. The back pressure helps to slow down the flow of exhaust gases, which allows the engine to produce more power and torque.
However, too much back pressure can be detrimental to the performance of the bike. Excessive back pressure can cause the engine to overheat, decrease power, and increase emissions. On the other hand, too little back pressure can also cause problems, such as poor idle and decreased low-end torque.
Pre-Work Checklist
Before attempting to modify or repair the exhaust system on your Harley-Davidson, it’s essential to consider the following factors:
| Difficulty | Time | Cost | DIY vs Shop |
|---|---|---|---|
| 3/5 | 2-3 hours | $500-$1000 | DIY (with experience) |
Tools Required
- Exhaust system diagram
- Socket set
- Wrench set
- Torque wrench
- Exhaust system gaskets and seals
- Muffler and catalytic converter (if equipped)
Safety Warnings
- Always wear protective gear, including gloves and safety glasses, when working with power tools and exhaust systems.
- Make sure the bike is on a level surface and the engine is cold before starting work.
- Never work on a hot exhaust system, as it can cause serious burns.
Step-by-Step Guide
Step 1: Inspect the Exhaust System
Inspect the exhaust system for any signs of damage or wear. Look for cracks in the exhaust pipes, mufflers, and catalytic converter (if equipped). Check the exhaust system gaskets and seals for any signs of leaks.
Step 1.1: Remove the Exhaust System
Remove the exhaust system from the bike, taking care not to damage any of the components. Use a socket set and wrench set to loosen the exhaust system bolts and clamps.
Step 1.2: Inspect the Exhaust System Components
Inspect the exhaust system components, including the mufflers and catalytic converter (if equipped). Look for any signs of damage or wear, such as rust or corrosion.
Step 2: Measure the Back Pressure
Measure the back pressure in the exhaust system using a back pressure gauge. This will give you an idea of the current back pressure in the system.
Step 2.1: Install the Back Pressure Gauge
Install the back pressure gauge in the exhaust system, following the manufacturer’s instructions.
Step 2.2: Take Readings
Take readings from the back pressure gauge, making sure to record the results.
Step 3: Modify the Exhaust System (if necessary)
If the back pressure is too high or too low, modify the exhaust system to bring it within the recommended range. This may involve replacing the mufflers or catalytic converter (if equipped) or installing a new exhaust system.
Step 3.1: Choose the Right Components
Choose the right components for the exhaust system, taking into account the bike’s engine size, type, and intended use.
Step 3.2: Install the New Components
Install the new components, following the manufacturer’s instructions and taking care not to damage any of the surrounding components.
Pro Tips & Common Mistakes
- Don’t over-tighten the exhaust system bolts and clamps, as this can cause damage to the components.
- Make sure to use the correct gaskets and seals when installing the exhaust system, as this can help prevent leaks.
- Don’t modify the exhaust system without proper knowledge and experience, as this can cause serious problems with the bike’s performance and emissions.
Cost Analysis: DIY vs Mechanic
The cost of modifying or repairing the exhaust system on a Harley-Davidson can vary depending on the components and labor involved. If you choose to do the work yourself, the cost will be limited to the components and tools needed. However, if you take the bike to a mechanic, the labor cost can add up quickly.
- DIY: $500-$1000 (components and tools)
- Mechanic: $1000-$2000 (labor and components)
Frequently Asked Questions
- Q: What is back pressure in a Harley-Davidson? A: Back pressure refers to the resistance to the flow of exhaust gases out of the engine and into the atmosphere.
- Q: Why is back pressure important in a Harley-Davidson? A: Back pressure is essential for the engine to breathe and run efficiently. Too much or too little back pressure can have a significant impact on the performance of the bike.
- Q: What are the symptoms of incorrect back pressure in a Harley-Davidson? A: Symptoms of incorrect back pressure can include decreased power, poor idle, and increased emissions.
- Q: Can I modify the exhaust system on my Harley-Davidson to change the back pressure? A: Yes, you can modify the exhaust system to change the back pressure. However, this should only be done with proper knowledge and experience, as incorrect modifications can cause serious problems with the bike’s performance and emissions.
- Q: How often should I inspect the exhaust system on my Harley-Davidson? A: You should inspect the exhaust system on your Harley-Davidson regularly, ideally every 5,000 to 10,000 miles, to look for any signs of damage or wear.
Reference: Technical analysis by Luca Romano (Restoration Specialist) based on reports from Jalopnik.