The Ultimate Maintenance Masterclass for Range Rover and Similar 4x4 Vehicles
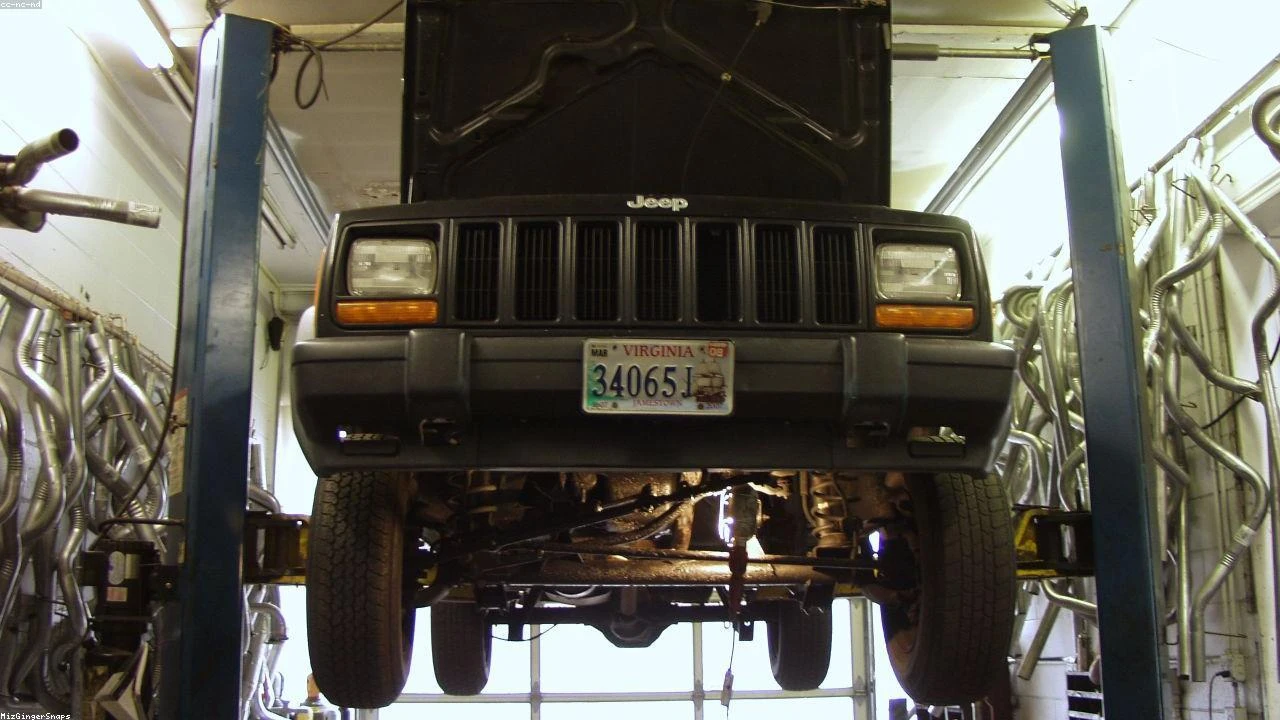
Table of Contents
- The Diagnostic / The Situation
- Technical Deep Dive
- Pre-Work Checklist
- Step-by-Step Guide
- Pro Tips & Common Mistakes
- Cost Analysis: DIY vs Mechanic
- Frequently Asked Questions
The Diagnostic / The Situation
The Range Rover’s reputation for steep maintenance and poor reliability is a concern for many owners. However, with proper maintenance and care, it is possible to prevent steep depreciation and costly repairs. As a Master Jeep Mechanic and Off-road Engineer, I will provide a comprehensive guide on how to maintain your 4x4 vehicle, focusing on common issues and repair techniques.
Symptoms or signs to look for include unusual noises, vibrations, or leaks. Regular checks and maintenance can help identify potential issues before they become major problems. In this guide, we will cover the technical background, common failure points, and provide a step-by-step guide on how to perform routine maintenance tasks.
🔧 Related Guides:
Technical Deep Dive
The 2021 Range Rover’s engine, suspension, and electrical systems are complex and require regular maintenance to function properly. The engine, for example, has a plastic impeller in the water pump, which can fail over time, causing overheating issues. The suspension system, on the other hand, has multiple components that can wear out, affecting the vehicle’s stability and handling.
Common failure points include the water pump, alternator, and suspension components. The water pump, in particular, is prone to failure due to the plastic impeller, which can crack or break over time. The alternator, on the other hand, can fail due to worn-out bearings or a faulty voltage regulator.
Pre-Work Checklist
At a Glance Table
| Task | Difficulty | Time | Cost | DIY vs Shop |
|---|---|---|---|---|
| Oil change | 2 | 1 hour | $50 | DIY |
| Brake pad replacement | 3 | 2 hours | $200 | Shop |
| Suspension check | 2 | 1 hour | $0 | DIY |
Tools Required
- 10mm Socket
- Torque Wrench
- Oil filter wrench
- Brake pad spreader
- Suspension compressor
Safety Warnings
- Always wear protective gloves and safety glasses when working with power tools or handling sharp objects.
- Make sure the vehicle is on a level surface and apply the parking brake before starting any maintenance task.
- Never work under a vehicle that is supported only by a jack.
Step-by-Step Guide
Oil Change
Step 1: Gather materials
Gather the necessary materials, including oil filter wrench, new oil filter, and enough motor oil to fill the engine.
Step 2: Warm up the engine
Warm up the engine by driving the vehicle for a few minutes. This will help the oil drain more easily.
Step 3: Drain the oil
Locate the oil drain plug and use a socket wrench to remove it. Let the oil drain into a pan for at least 10 minutes.
Step 4: Replace the oil filter
Use an oil filter wrench to remove the old oil filter. Dispose of the old filter responsibly and install a new one.
Step 5: Refill the oil
Refill the engine with new oil, making sure to use the correct type and amount.
Brake Pad Replacement
Step 1: Remove the wheels
Remove the wheels to access the brake pads.
Step 2: Remove the caliper
Use a socket wrench to remove the caliper bolts. Slide the caliper off the rotor.
Step 3: Remove the old brake pads
Pull out the old brake pads and dispose of them responsibly.
Step 4: Install the new brake pads
Install the new brake pads, making sure they are properly seated and aligned.
Step 5: Reinstall the caliper
Reinstall the caliper, making sure it is properly aligned and secured.
Suspension Check
Step 1: Inspect the suspension components
Inspect the suspension components, including the shocks, struts, and springs.
Step 2: Check for wear and tear
Check for wear and tear on the suspension components, including signs of rust, corrosion, or damage.
Step 3: Test the suspension
Test the suspension by bouncing the vehicle up and down. Listen for any unusual noises or vibrations.
Pro Tips & Common Mistakes
- Always use the correct type and amount of oil for your vehicle.
- Never mix different types of oil or use oil that is past its expiration date.
- Make sure to properly dispose of used oil and filters.
- Common mistakes include over-tightening the oil drain plug or using the wrong type of brake pads.
Cost Analysis: DIY vs Mechanic
The cost of maintenance tasks can vary depending on whether you choose to do it yourself or hire a mechanic. Here is a breakdown of the estimated costs:
- Oil change: $50 (DIY) vs $100 (mechanic)
- Brake pad replacement: $200 (DIY) vs $500 (mechanic)
- Suspension check: $0 (DIY) vs $100 (mechanic)
Frequently Asked Questions
- Q: How often should I change my oil? A: It is recommended to change your oil every 5,000 to 7,500 miles, depending on your vehicle’s make and model.
- Q: What type of oil should I use? A: Always use the correct type and amount of oil for your vehicle, as specified in the owner’s manual.
- Q: How do I know if my brake pads need to be replaced? A: If you notice any unusual noises or vibrations when braking, it may be a sign that your brake pads need to be replaced.
- Q: Can I do my own suspension check? A: Yes, you can do your own suspension check by inspecting the suspension components and testing the suspension.
- Q: How much does it cost to hire a mechanic? A: The cost of hiring a mechanic can vary depending on the task and the mechanic’s labor rate. On average, it can cost between $50 to $200 per hour.
Reference: Technical analysis by Dave Harsya (Certified 4x4 Mechanic) based on reports from Jalopnik.