The Ultimate Tie Rod Replacement Guide for Jeep Owners
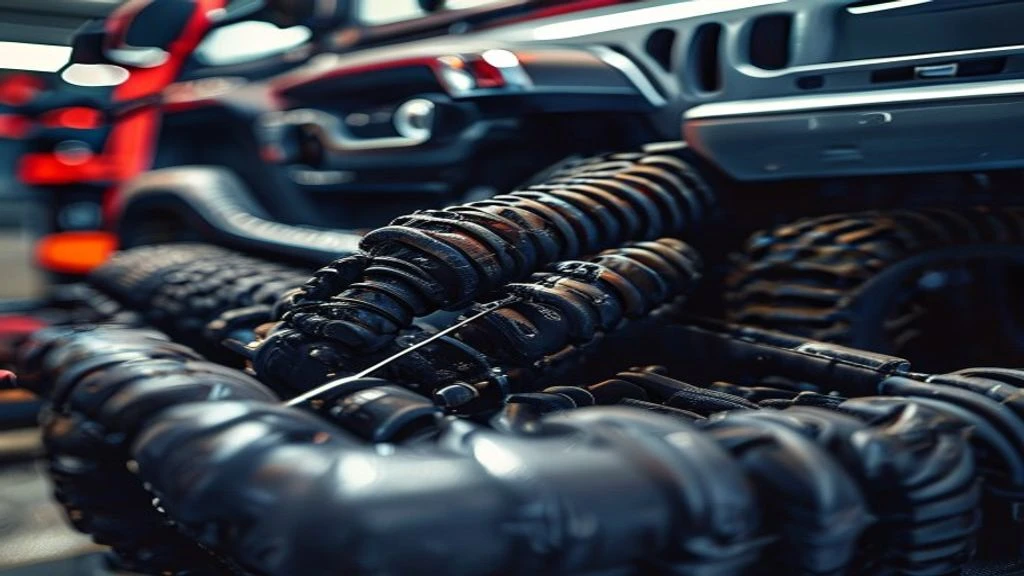
Table of Contents
- The Diagnostic / The Situation
- Technical Deep Dive
- Pre-Work Checklist
- Step-by-Step Guide
- Pro Tips & Common Mistakes
- Cost Analysis: DIY vs Mechanic
- Frequently Asked Questions
The Diagnostic / The Situation
Tie rods are a critical component of your Jeep’s steering system, playing a vital role in maintaining vehicle stability and handling. As a Master Jeep Mechanic, I’ve seen firsthand how worn-out tie rods can compromise your safety on the road. Potholes, curbs, and other road hazards can cause significant stress on your tie rods, leading to premature wear and potential failure. It’s essential to recognize the signs of worn-out tie rods to ensure your Jeep remains safe and reliable.
🔧 Related Guides:
Symptoms of worn-out tie rods may include:
- Loose or vague steering
- Uneven tire wear
- Clunking or rattling noises from the steering system
- Vibrations in the steering wheel
Technical Deep Dive
The tie rod is a linkage that connects the steering gear to the steering knuckle, allowing your Jeep to turn smoothly and maintain directional stability. The system consists of an inner and outer tie rod end, which are connected by a threaded rod. Over time, the constant stress and motion can cause the tie rod ends to wear out, leading to play in the joint and compromised steering performance.
Common failure points in the tie rod system include:
- The ball joint in the outer tie rod end
- The threaded rod itself, which can become loose or damaged
- The inner tie rod end, which can wear out due to excessive play or misalignment
Pre-Work Checklist
At a Glance Table
| Difficulty | Time | Cost | DIY vs Shop |
|---|---|---|---|
| 3/5 | 2-3 hours | $200-$500 | DIY (with experience) |
Tools Required
- 10mm socket
- 12mm socket
- 14mm socket
- Torque wrench
- Ball joint separator
- Tire iron
- Jack stands
Safety Warnings
- Always raise your Jeep on jack stands and ensure the vehicle is securely supported before starting work
- Wear protective gloves and eyewear when working with power tools and handling sharp objects
- Never drive your Jeep with worn-out tie rods, as this can lead to loss of control and accidents
Step-by-Step Guide
Step 1: Raise and Support the Vehicle
Raise your Jeep using a hydraulic lift or jack stands, ensuring the front wheels are off the ground. Remove the wheels to access the steering system.
Step 1.1: Remove the Caliper and Rotor
Remove the caliper and rotor to access the steering knuckle and outer tie rod end.
Step 1.2: Disconnect the Outer Tie Rod End
Use a ball joint separator to disconnect the outer tie rod end from the steering knuckle.
Step 2: Remove the Inner Tie Rod End
Use a 10mm socket to loosen the inner tie rod end nut, then use a wrench to remove the nut and washer.
Step 2.1: Remove the Inner Tie Rod End from the Steering Gear
Use a puller to remove the inner tie rod end from the steering gear.
Step 2.2: Inspect and Clean the Steering Gear
Inspect the steering gear for any signs of wear or damage, and clean the area to ensure proper installation of the new inner tie rod end.
Step 3: Install the New Inner Tie Rod End
Apply a thin layer of lubricant to the new inner tie rod end, then insert it into the steering gear.
Step 3.1: Secure the Inner Tie Rod End
Use a new nut and washer to secure the inner tie rod end, tightening the nut to the specified torque (typically 40-50 ft-lbs).
Step 3.2: Reconnect the Outer Tie Rod End
Reconnect the outer tie rod end to the steering knuckle, using a new ball joint if necessary.
Step 4: Reassemble the Steering System
Reinstall the caliper and rotor, then lower the vehicle to the ground.
Step 4.1: Tighten the Lug Nuts
Tighten the lug nuts in a star pattern to ensure even pressure.
Step 4.2: Check the Steering System
Check the steering system for any signs of wear or play, and test the vehicle to ensure proper handling and stability.
Pro Tips & Common Mistakes
- Always use a torque wrench to ensure proper tightening of the inner tie rod end nut
- Never reuse old tie rod ends or ball joints, as this can lead to premature wear and failure
- Be careful not to damage the steering gear or knuckle during the removal and installation process
Cost Analysis: DIY vs Mechanic
The cost of replacing tie rods can vary depending on the type of vehicle and the labor rates of the mechanic. On average, the cost of parts can range from $200 to $500, while labor costs can range from $200 to $500. If you choose to DIY, you can save on labor costs, but you’ll need to consider the cost of any specialized tools or equipment.
Frequently Asked Questions
- Q: How often should I inspect my tie rods? A: It’s recommended to inspect your tie rods every 12,000 to 15,000 miles, or as part of your regular vehicle maintenance schedule.
- Q: Can I replace just one tie rod end? A: While it’s possible to replace just one tie rod end, it’s generally recommended to replace both inner and outer tie rod ends at the same time to ensure proper alignment and handling.
- Q: What are the consequences of driving with worn-out tie rods? A: Driving with worn-out tie rods can lead to loss of control, accidents, and damage to other components in the steering system.
- Q: Can I use aftermarket tie rod ends? A: Yes, aftermarket tie rod ends can be used, but it’s essential to choose high-quality components that meet or exceed OEM specifications.
- Q: How long does it take to replace tie rods? A: The replacement process can take anywhere from 2 to 5 hours, depending on the complexity of the job and the individual’s level of experience.
Reference: Technical analysis by Marcus Reynolds (Suspension Engineer) based on reports from Jalopnik.