The Ultimate Turbocharging Guide: Masterclass for Chevy and Beyond
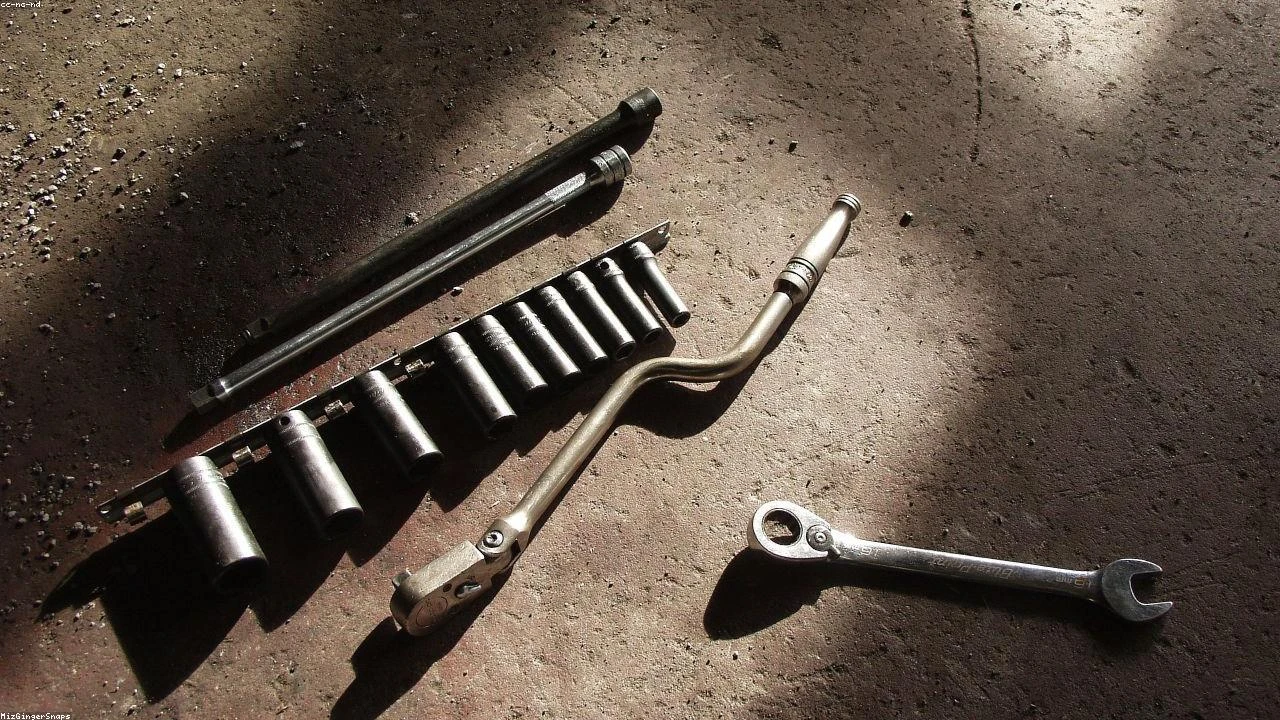
Table of Contents
- Technical Deep Dive
- Pre-Work Checklist
- Step-by-Step Guide
- Pro Tips & Common Mistakes
- Cost Analysis: DIY vs Mechanic
- Frequently Asked Questions
The Diagnostic / The Situation
Turbocharging has been a crucial technology in the automotive world for decades, significantly enhancing engine performance and efficiency. The concept of turbocharging involves using the exhaust gases from an engine to drive a turbine, which in turn compresses the air entering the engine’s combustion chamber. This process allows for a substantial increase in power output without a proportional increase in engine size. The history of turbocharging in mass production vehicles is marked by several key milestones, with General Motors’ introduction of the turbocharged Chevrolet Corvair in the early 1960s being one of the first attempts to bring this technology to the mainstream. However, the Corvair’s story is also intertwined with controversy, notably due to safety concerns raised by consumer advocate Ralph Nader. Understanding the technical background of turbocharging and its application in vehicles like the Corvair is essential for both enthusiasts and professionals looking to work on or maintain turbocharged engines.
🔧 Related Guides:
Symptoms or signs that a turbocharger may be failing include a decrease in engine performance, an increase in fuel consumption, or the presence of blue smoke from the exhaust, indicating oil leakage into the combustion chamber. Diagnosing turbocharger issues requires a comprehensive approach, including visual inspections, pressure tests, and the use of diagnostic tools to assess the turbocharger’s operation and the overall health of the engine.
Technical Deep Dive
The turbocharging system in a vehicle like the Chevy Corvair or any modern turbocharged engine consists of a turbocharger unit, an intercooler, and the necessary plumbing and control systems. The turbocharger itself is made up of a turbine and a compressor, both connected by a shaft. The turbine is driven by the exhaust gases, and this energy is used to drive the compressor, which compresses the intake air. The compressed air is then cooled by the intercooler to increase its density, allowing for more air and, consequently, more fuel to be burned in the engine, resulting in a significant power increase.
Common failure points in turbocharging systems include the turbocharger bearings, the turbine and compressor wheels, and the seals. The bearings can fail due to overheating or lack of lubrication, while the wheels can be damaged by debris or excessive heat. Seals can leak, allowing oil into the compressor housing or exhaust gases into the turbine housing, leading to inefficiency and potential engine damage. Regular maintenance, including oil changes and filter replacements, is crucial to prevent such failures. Additionally, monitoring boost pressure and being aware of the signs of turbocharger failure can help in addressing issues before they become major problems.
Pre-Work Checklist
At a Glance Table
| Task | Difficulty (1-5) | Time | Cost | DIY vs Shop |
|---|---|---|---|---|
| Turbocharger Replacement | 4 | 8-10 hours | $1,500-$3,000 | DIY (with experience) |
| Turbocharger Maintenance | 2 | 2-3 hours | $100-$500 | DIY |
Tools Required
- 10mm and 12mm sockets
- Torque wrench
- Pliers and punches for hose removal
- New gaskets and seals
- Turbocharger replacement kit (if applicable)
Safety Warnings
When working with turbocharged engines, it’s essential to follow safety guidelines to avoid injuries. Always ensure the engine is cool before starting work, and be cautious of hot surfaces and moving parts. Use protective gear, including gloves and safety glasses, and make sure the vehicle is securely supported by jack stands if it’s raised.
Step-by-Step Guide
Introduction to Turbocharger Maintenance
Turbocharger maintenance is critical for the longevity and performance of the engine. Regular checks and replacements of worn-out parts can prevent major failures.
Checking the Turbocharger
- Visual Inspection: Look for signs of oil leakage or damage on the turbocharger and its connections.
- Boost Pressure Test: Use a boost gauge to check if the turbocharger is producing the specified boost pressure.
- Listen for Unusual Sounds: Abnormal noises from the turbocharger area can indicate worn-out bearings or other issues.
Replacing the Turbocharger
Preparation
- Gather All Tools and Parts: Ensure you have the new turbocharger, gaskets, and any other required parts.
- Drain the Cooling System: If the turbocharger is water-cooled, drain the cooling system to prevent spills.
- Disconnect the Battery: Safety precaution to prevent any accidental engine starts.
Removal of the Old Turbocharger
- Remove the Downpipe: Use a socket to loosen and remove the downpipe from the turbocharger.
- Disconnect the Oil Supply and Return Lines: Be careful not to spill oil when disconnecting these lines.
- Remove the Turbocharger Mounting Bolts: Use a socket to remove the bolts holding the turbocharger in place.
Installation of the New Turbocharger
- Mount the New Turbocharger: Place the new turbocharger and secure it with the mounting bolts.
- Reconnect the Oil Supply and Return Lines: Ensure these lines are securely connected to prevent leaks.
- Reconnect the Downpipe: Tighten the downpipe bolts securely to the turbocharger.
Final Checks
- Check for Leaks: Start the engine and check for any signs of oil or coolant leaks.
- Monitor Boost Pressure: Ensure the turbocharger is producing the correct boost pressure.
- Listen for Any Unusual Sounds: Verify that there are no unusual noises from the turbocharger area.
Pro Tips & Common Mistakes
- Use the Correct Tools: Always use the specified tools to avoid damaging the turbocharger or its connections.
- Follow the Manufacturer’s Instructions: For replacement and maintenance, follow the guidelines provided by the vehicle’s manufacturer.
- Be Patient and Methodical: Turbocharger work can be complex; take your time and ensure each step is completed correctly.
Cost Analysis: DIY vs Mechanic
The cost of replacing a turbocharger can vary significantly depending on the vehicle model, the turbocharger’s quality, and whether the work is done DIY or by a professional mechanic. On average, a DIY replacement can cost between $1,500 to $3,000, including the cost of the new turbocharger and any additional parts needed. Having a mechanic perform the replacement can cost between $2,500 to $5,000, including labor costs. While DIY can save on labor costs, it requires experience and the right tools, and any mistakes can lead to further expenses.
Frequently Asked Questions
Q: How often should I replace my turbocharger? A: The lifespan of a turbocharger varies, but regular maintenance can help extend its life. Replacement is typically needed when the turbocharger fails, which can be after 100,000 to 200,000 miles, depending on the vehicle and driving conditions.
Q: Can I upgrade my non-turbo engine to a turbocharged one? A: While technically possible, upgrading a non-turbo engine to a turbocharged one is complex and often not cost-effective. It involves more than just adding a turbocharger, as the engine’s internals, cooling system, and exhaust system may also need modifications.
Q: How does turbocharging affect fuel efficiency? A: Turbocharging can actually improve fuel efficiency in many cases, especially in diesel engines or when the turbocharger is properly matched to the engine size and application. However, if the engine is not optimized for turbocharging, it can lead to decreased fuel efficiency.
Q: What are the benefits of turbocharging over supercharging? A: Turbocharging uses the exhaust gases to drive the compressor, which means it does not directly consume engine power like a supercharger does. This can make turbocharging more efficient, especially at higher engine speeds.
Q: Can I use a universal turbocharger kit on my vehicle? A: While universal turbocharger kits are available, they may not always be the best choice for every vehicle. The turbocharger needs to be correctly sized and matched to the engine’s specifications for optimal performance and reliability. Consulting with a professional or the vehicle’s manufacturer is recommended.
Reference: Technical analysis by Sarah Jenkins (Overland Build Expert) based on reports from Jalopnik.